The year is off to a good start when I can take a little time to get creative.
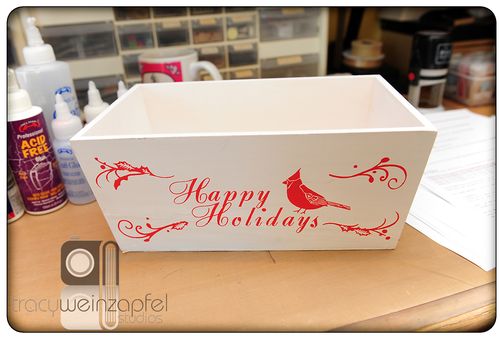
I picked up this wood bin from Michael's on clearance after the holidays with a vision it could become something functional and pretty.

Materials Used:
- Adhesives – Helmar Acid Free Glue, Premium Craft Glue, Gemstone Glue & 450 Quick Dry
- Patterned Paper – Basic Grey
- Chipboard Letters – Best Creation Inc.
- Ribbon & Flowers – Maya Road
- Glitter – Martha Stewart
- Acrylic Paint – DecoArt
- Stamps – unknown
- Ink – Marvy
- Other Tools – Tim Holtz Inker & Sanding Block

Step-By-Step:
- Coat face of bin with Helmar Acid Free Glue and spread evently. Adhere patterned paper (Basic Grey) and cut around with Xacto Blade. Sand and Distress edges with ink as desired. Repeat for all (4) Sides.
- Adhere Ribbon (Maya Road) with Helmar 450 Quick Dry around top edge
- Paint Chipboard Letters with Acrylic Paint (DecoArt) and spread Helmar Gemstone Glue on top face with fingers.
- Sprinkle Letters with Glitter and remove excess. Let Dry
- Adhere Letters with Helmar 450 Gemstone Glue along with Flowers (Maya Road) to complete bin.

My new custom Helmar Adhesive Storage Bin……

It was simple, inexpensive and now very pretty to match my room. Gotta love that!
The great part of this project was my little artist was also working on a project of her own and she is so inspiring to work with as she is so uninhibited and just goes for it…….

That wasn't all the craftsmanship going on in my studio….my new shelves are going up. Thanks Dad!


"What art offers is space – a certain breathing room for the spirit."~ John Updike