
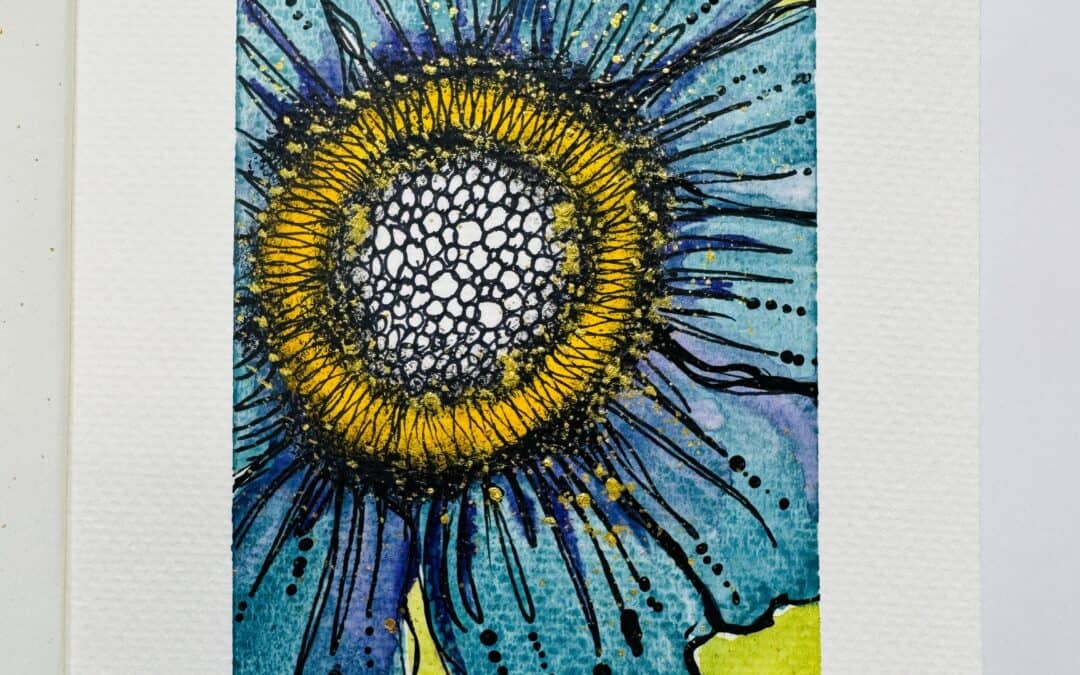
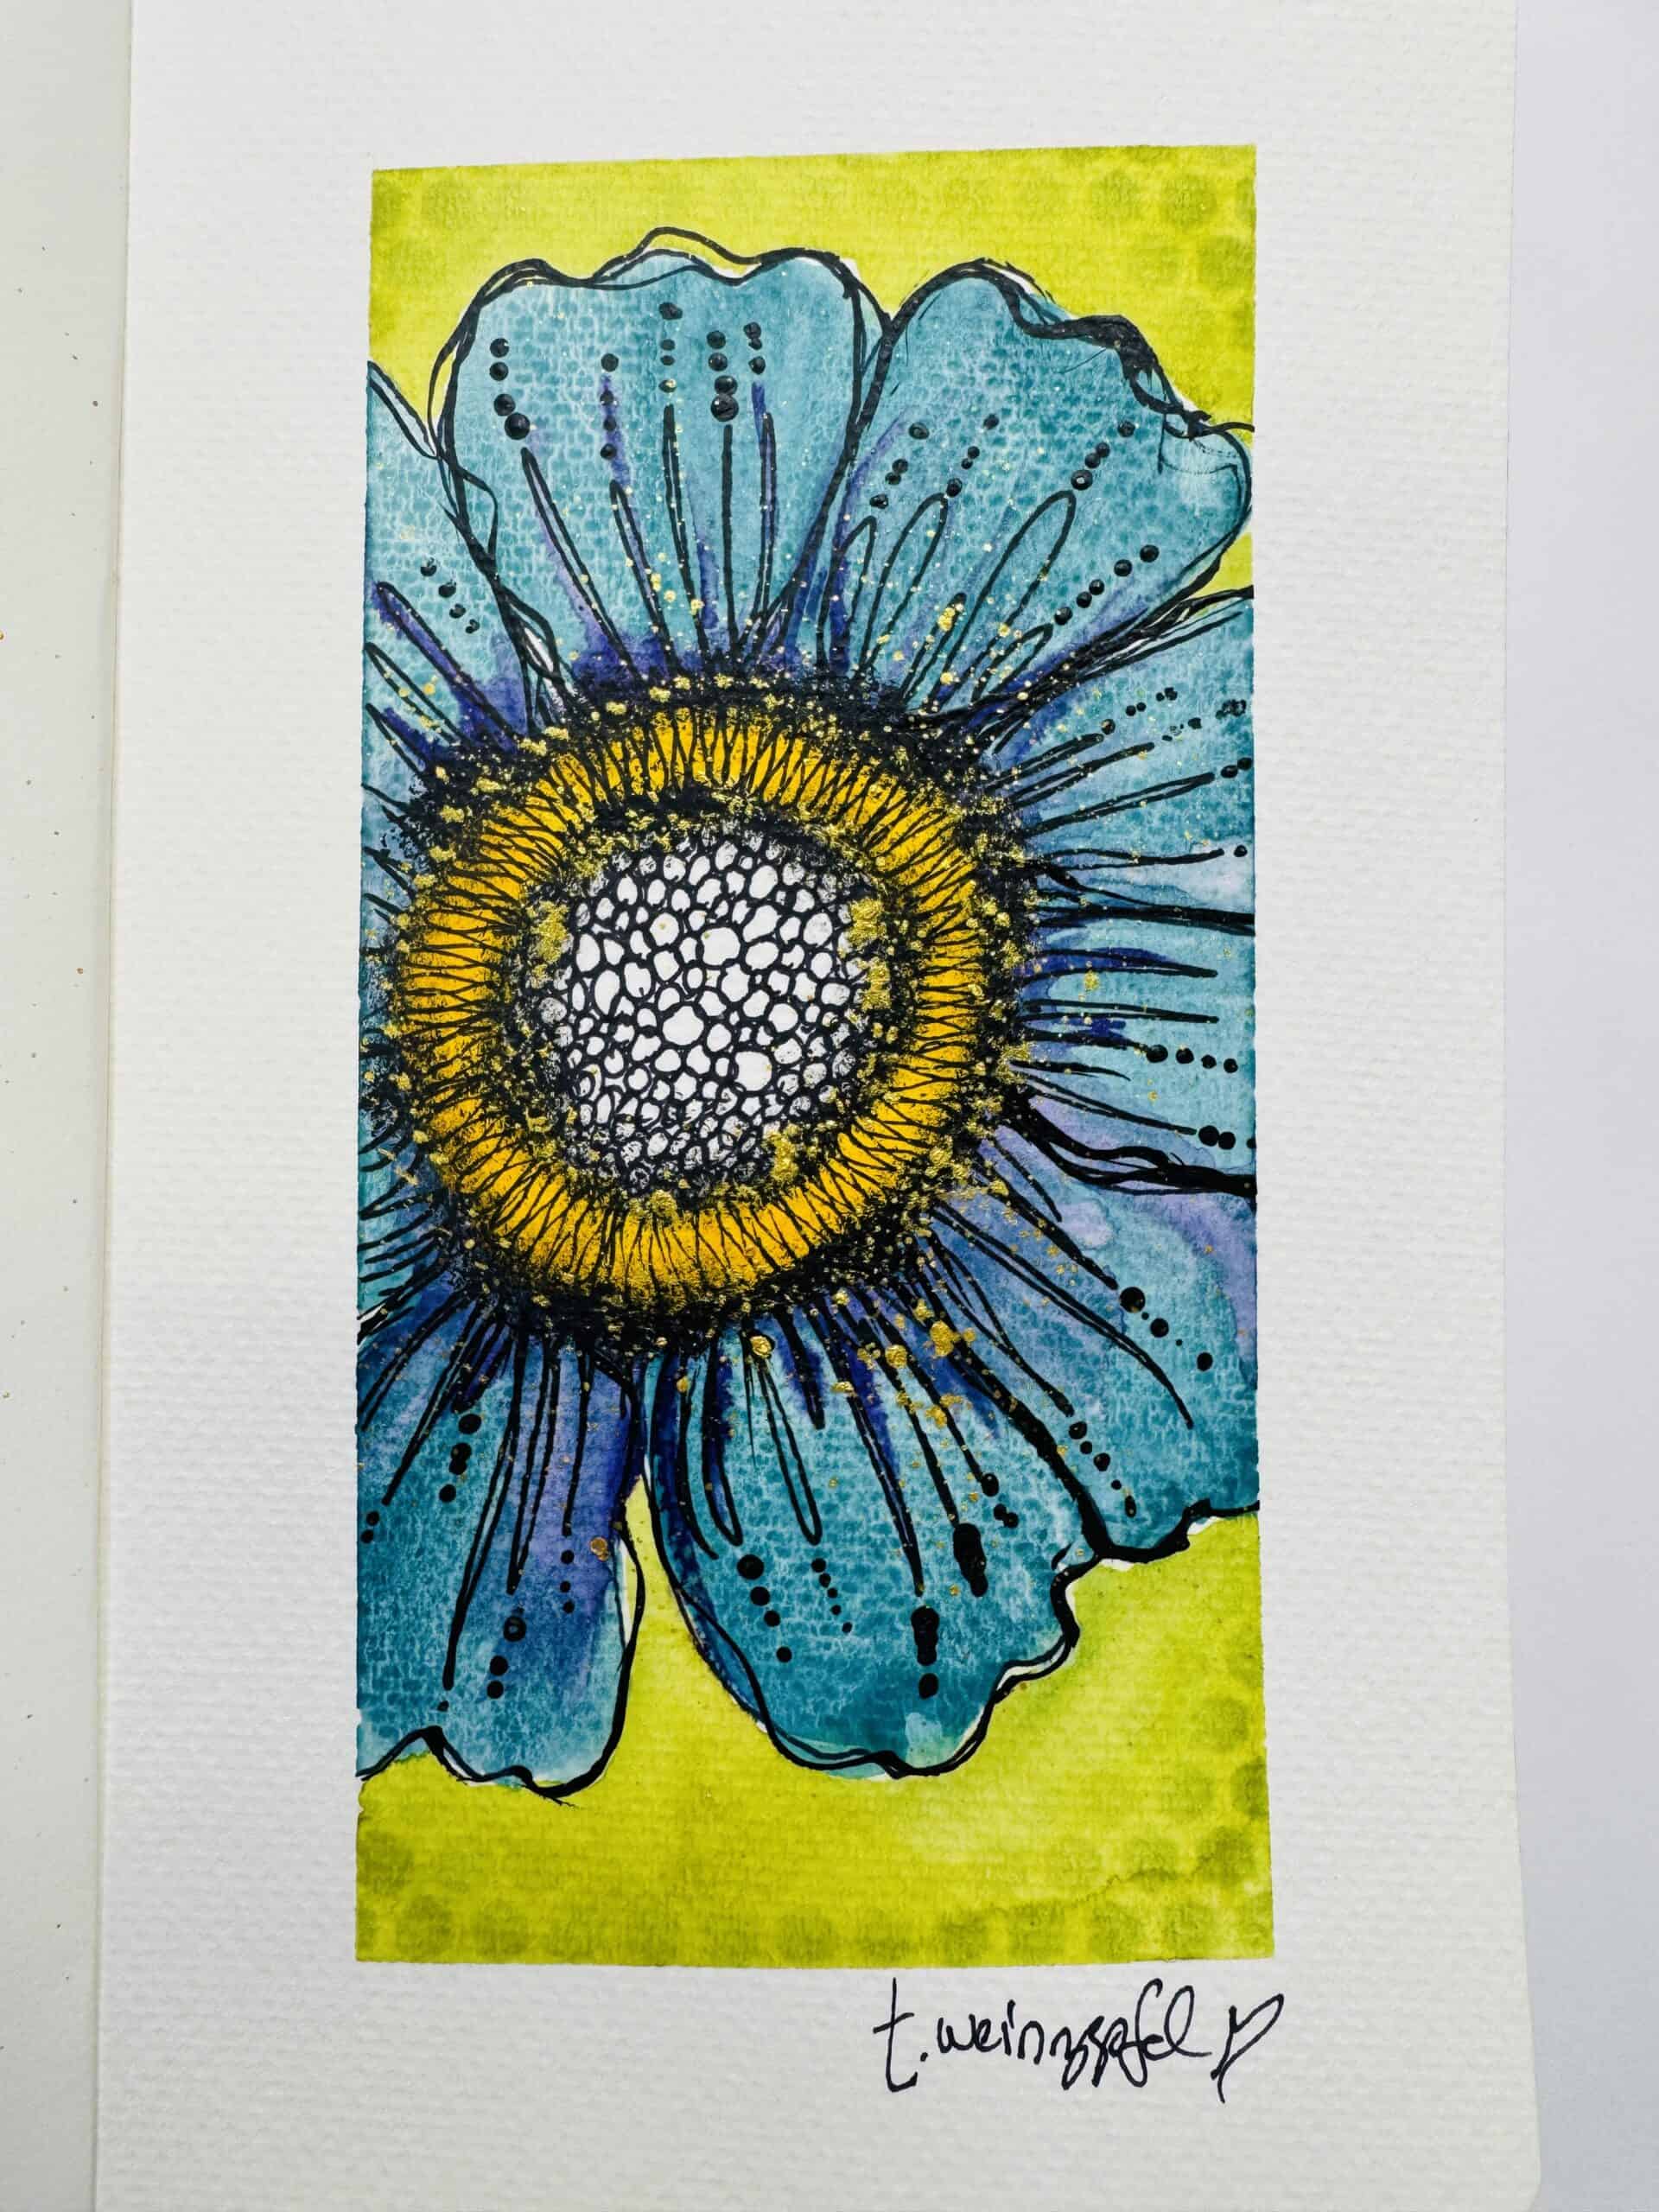
This colorful art journal page started with a simple idea: draw a flower, keep the supplies manageable, and let the details build from there. The result is a bold teal bloom with a graphic black center, bright yellow-green background, expressive ink work, subtle purple shading, and just enough metallic gold to make the whole page sparkle.
It’s a great project for those days when you want to create something vibrant without overcomplicating the process. A Sharpie, watercolor, a few pens and brushes, and some finishing details are really all you need!
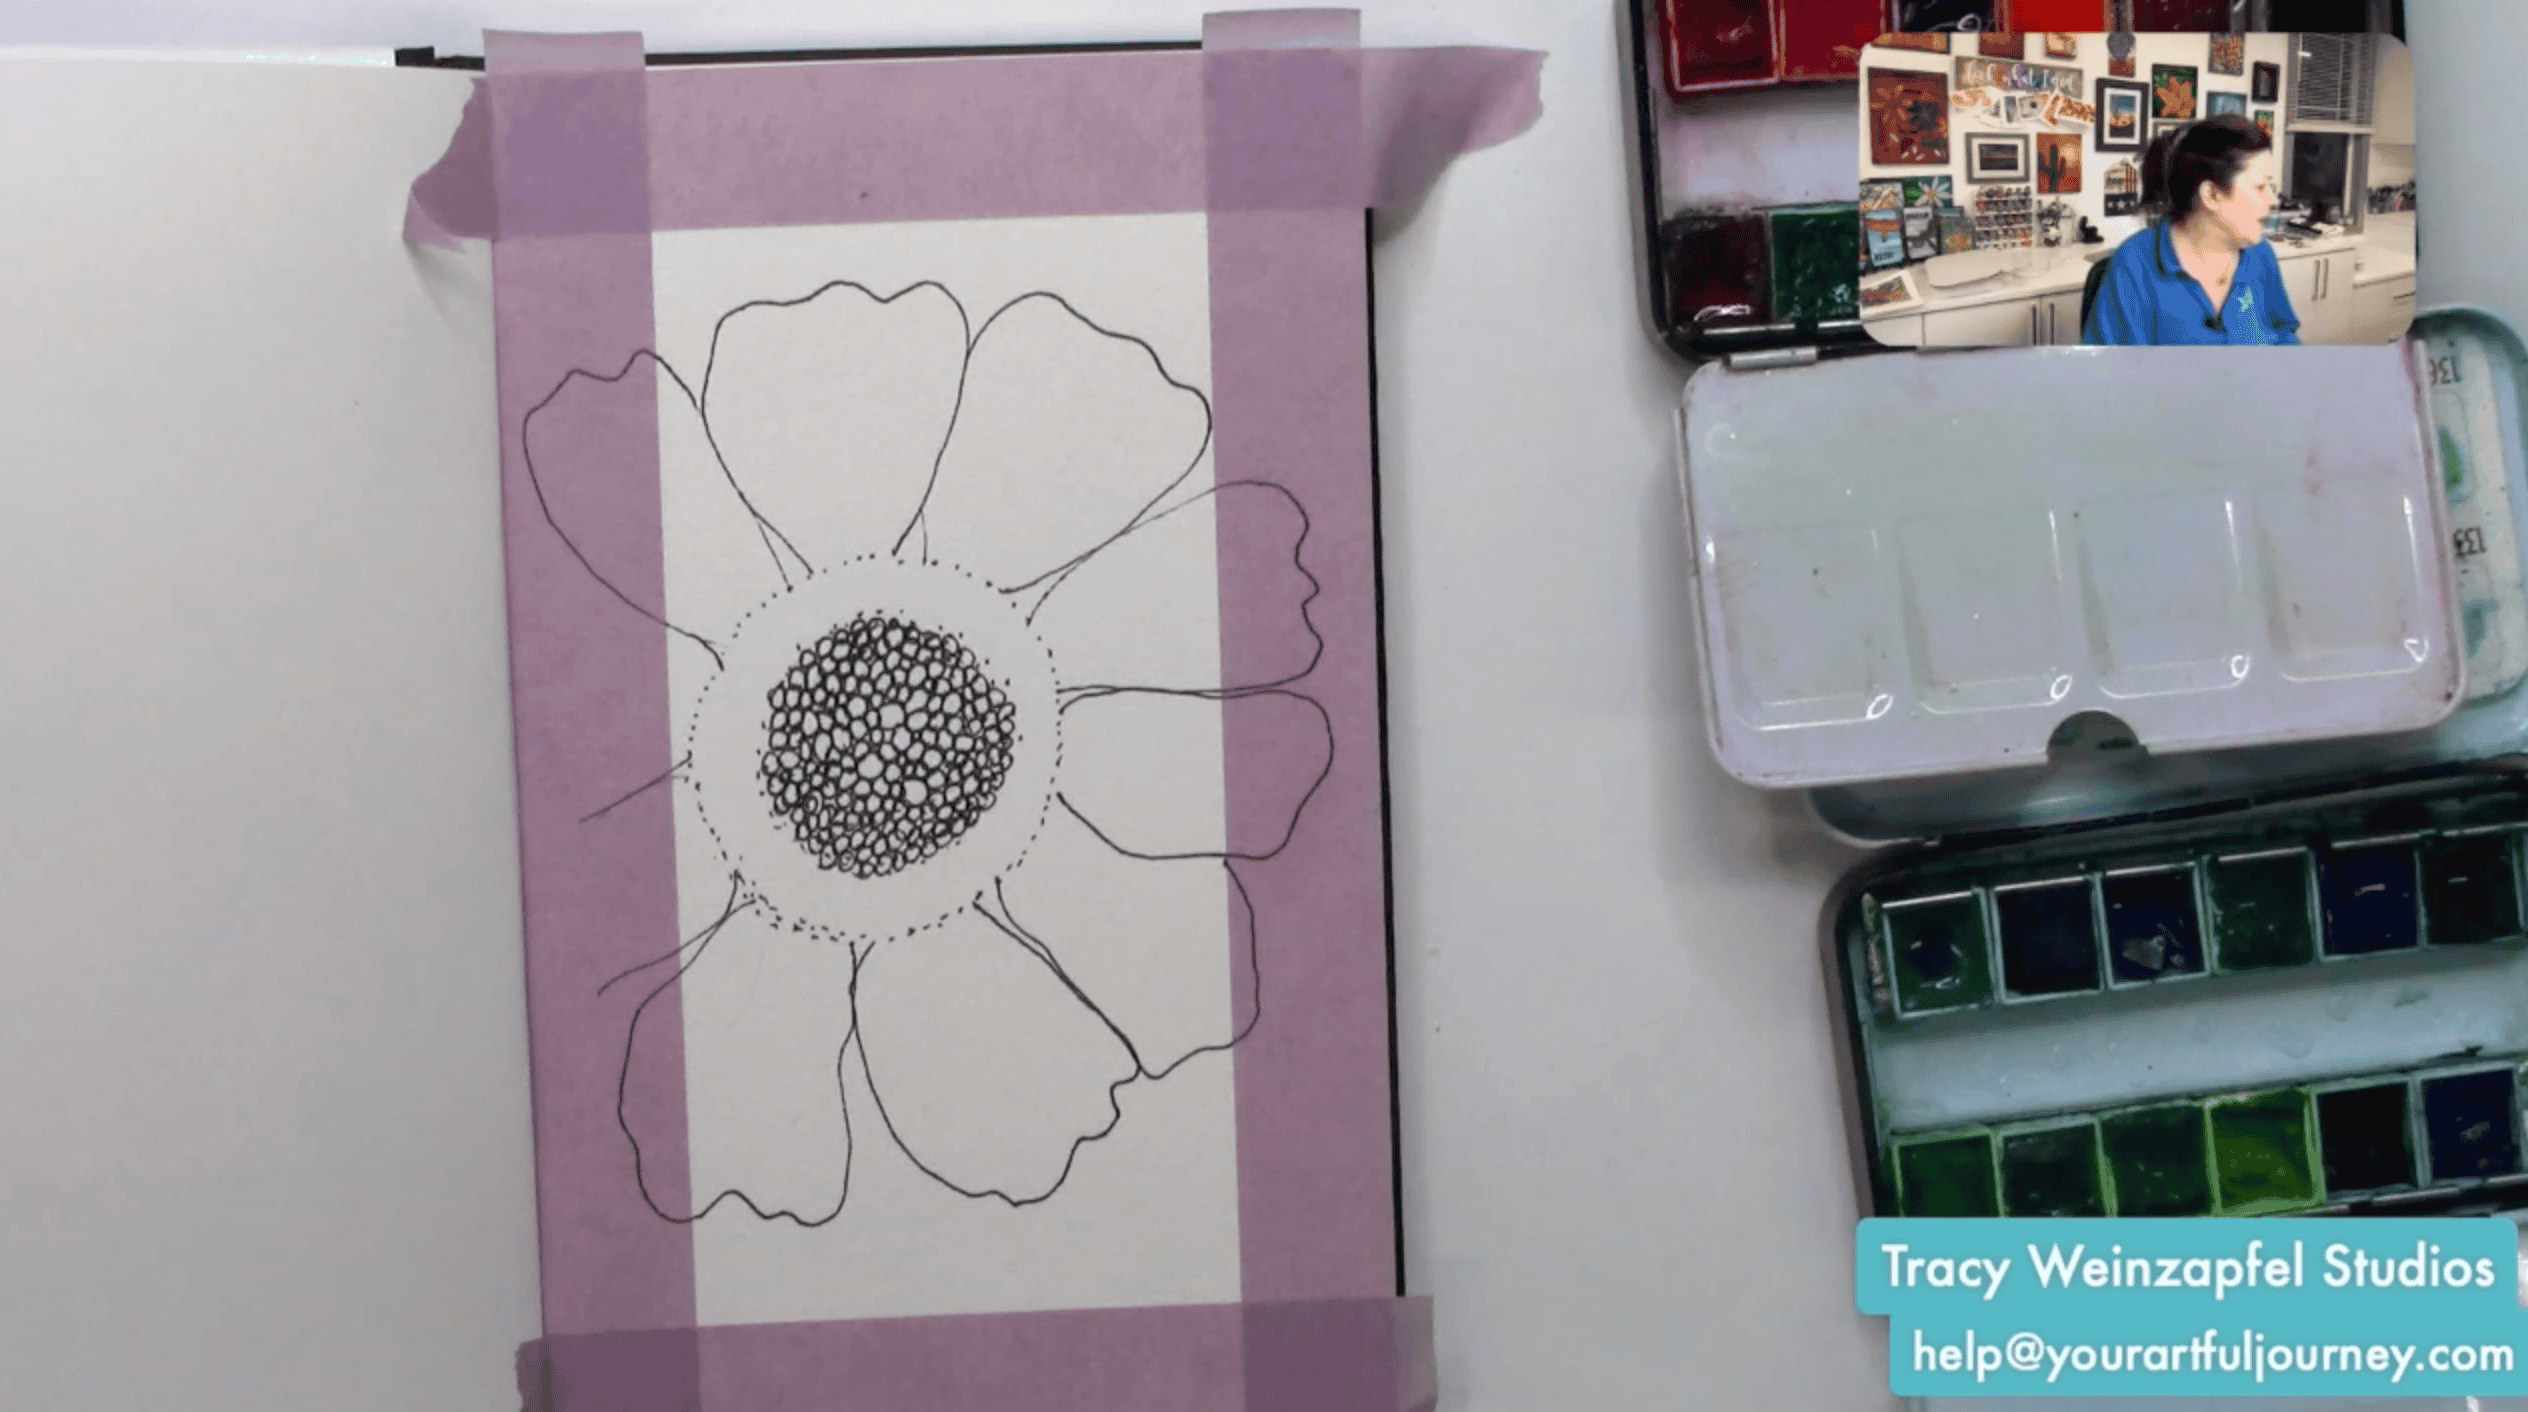
Begin by taping around the edges of your art journal page. Press the painter’s tape down firmly so the watercolor does not seep underneath. Mist your watercolor palette with water to activate the colors.
Using a black Sharpie, begin by drawing a circle for the center of the flower. Add a second larger circle around it to create a layered center. I’m using dots to create my circles for texture.
Fill the innermost area with lots of small, imperfect circles. These do not need to be uniform. Their irregular shapes will create texture and give the center more personality.
Draw large, loose petals radiating out from the center. Let the petals overlap slightly and vary in width and length. Avoid making everything too symmetrical. A little unevenness makes the flower feel much more expressive. Some petals can extend off the edges of the painted area so the bloom feels oversized and fills the page.
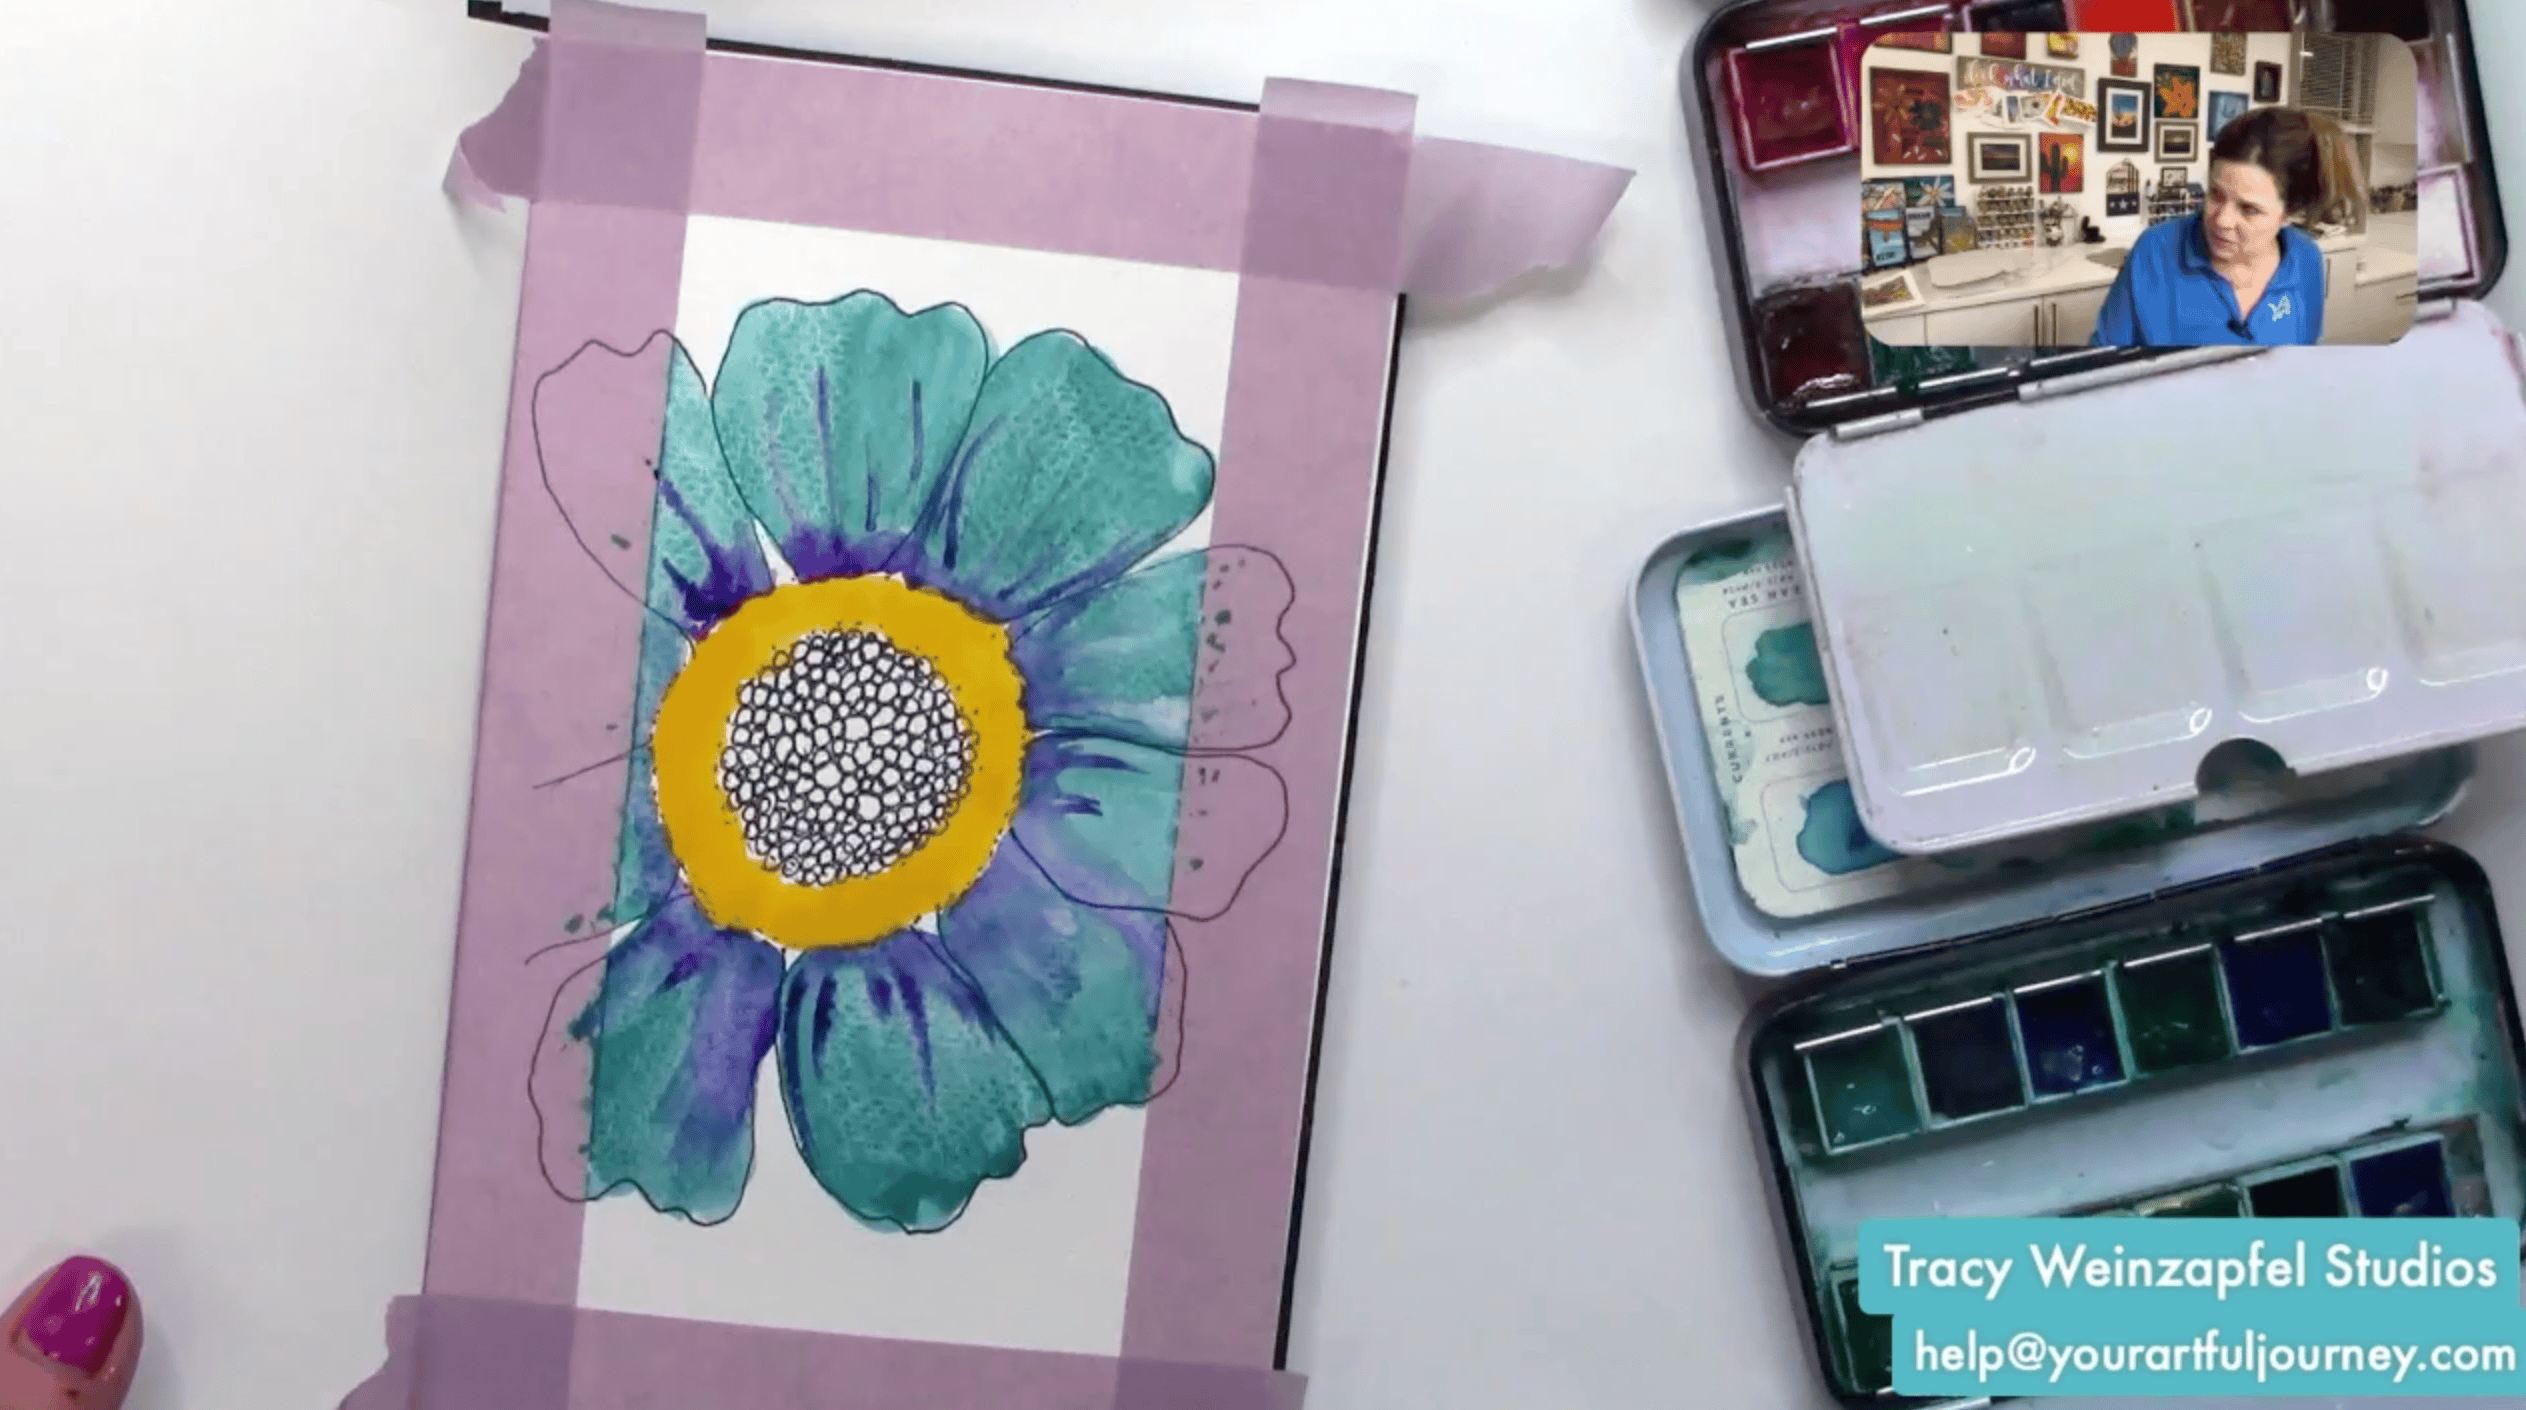
Wet the ring around the white center and begin adding bright yellow watercolor. Let the color flow naturally around the circle. Keep the very center mostly white so the small black circles remain visible and the flower has a strong focal point. Dry with a heat tool.
Begin filling the petals with teal watercolor. Use plenty of water so the pigment moves easily and creates soft transitions. Let some areas become darker and more saturated while others stay lighter. You do not need to paint every petal exactly the same. Variation in color creates depth and keeps the flower from feeling flat.
While some of the teal is still slightly damp, drop in small amounts of purple near the base of the petals and around the flower center. Let the purple blend naturally into the teal rather than brushing it out completely. This adds dimension and creates richer shadows. If the paint becomes too heavy, dry your brush on a paper towel and use it to lift some pigment away. Dry again.
Next, paint the open background with a bright yellow-green or lime color. Work carefully around the outer edges of the petals, but do not worry about making every line perfect. The black outlining added later will help redefine the flower.
The bold green background creates a strong contrast against the teal petals and makes the bloom stand out immediately!
Use a heat tool or allow the page to air dry completely. This is especially important before adding Micron pen details. Drawing over damp watercolor can damage the pen tip or cause the ink to bleed.
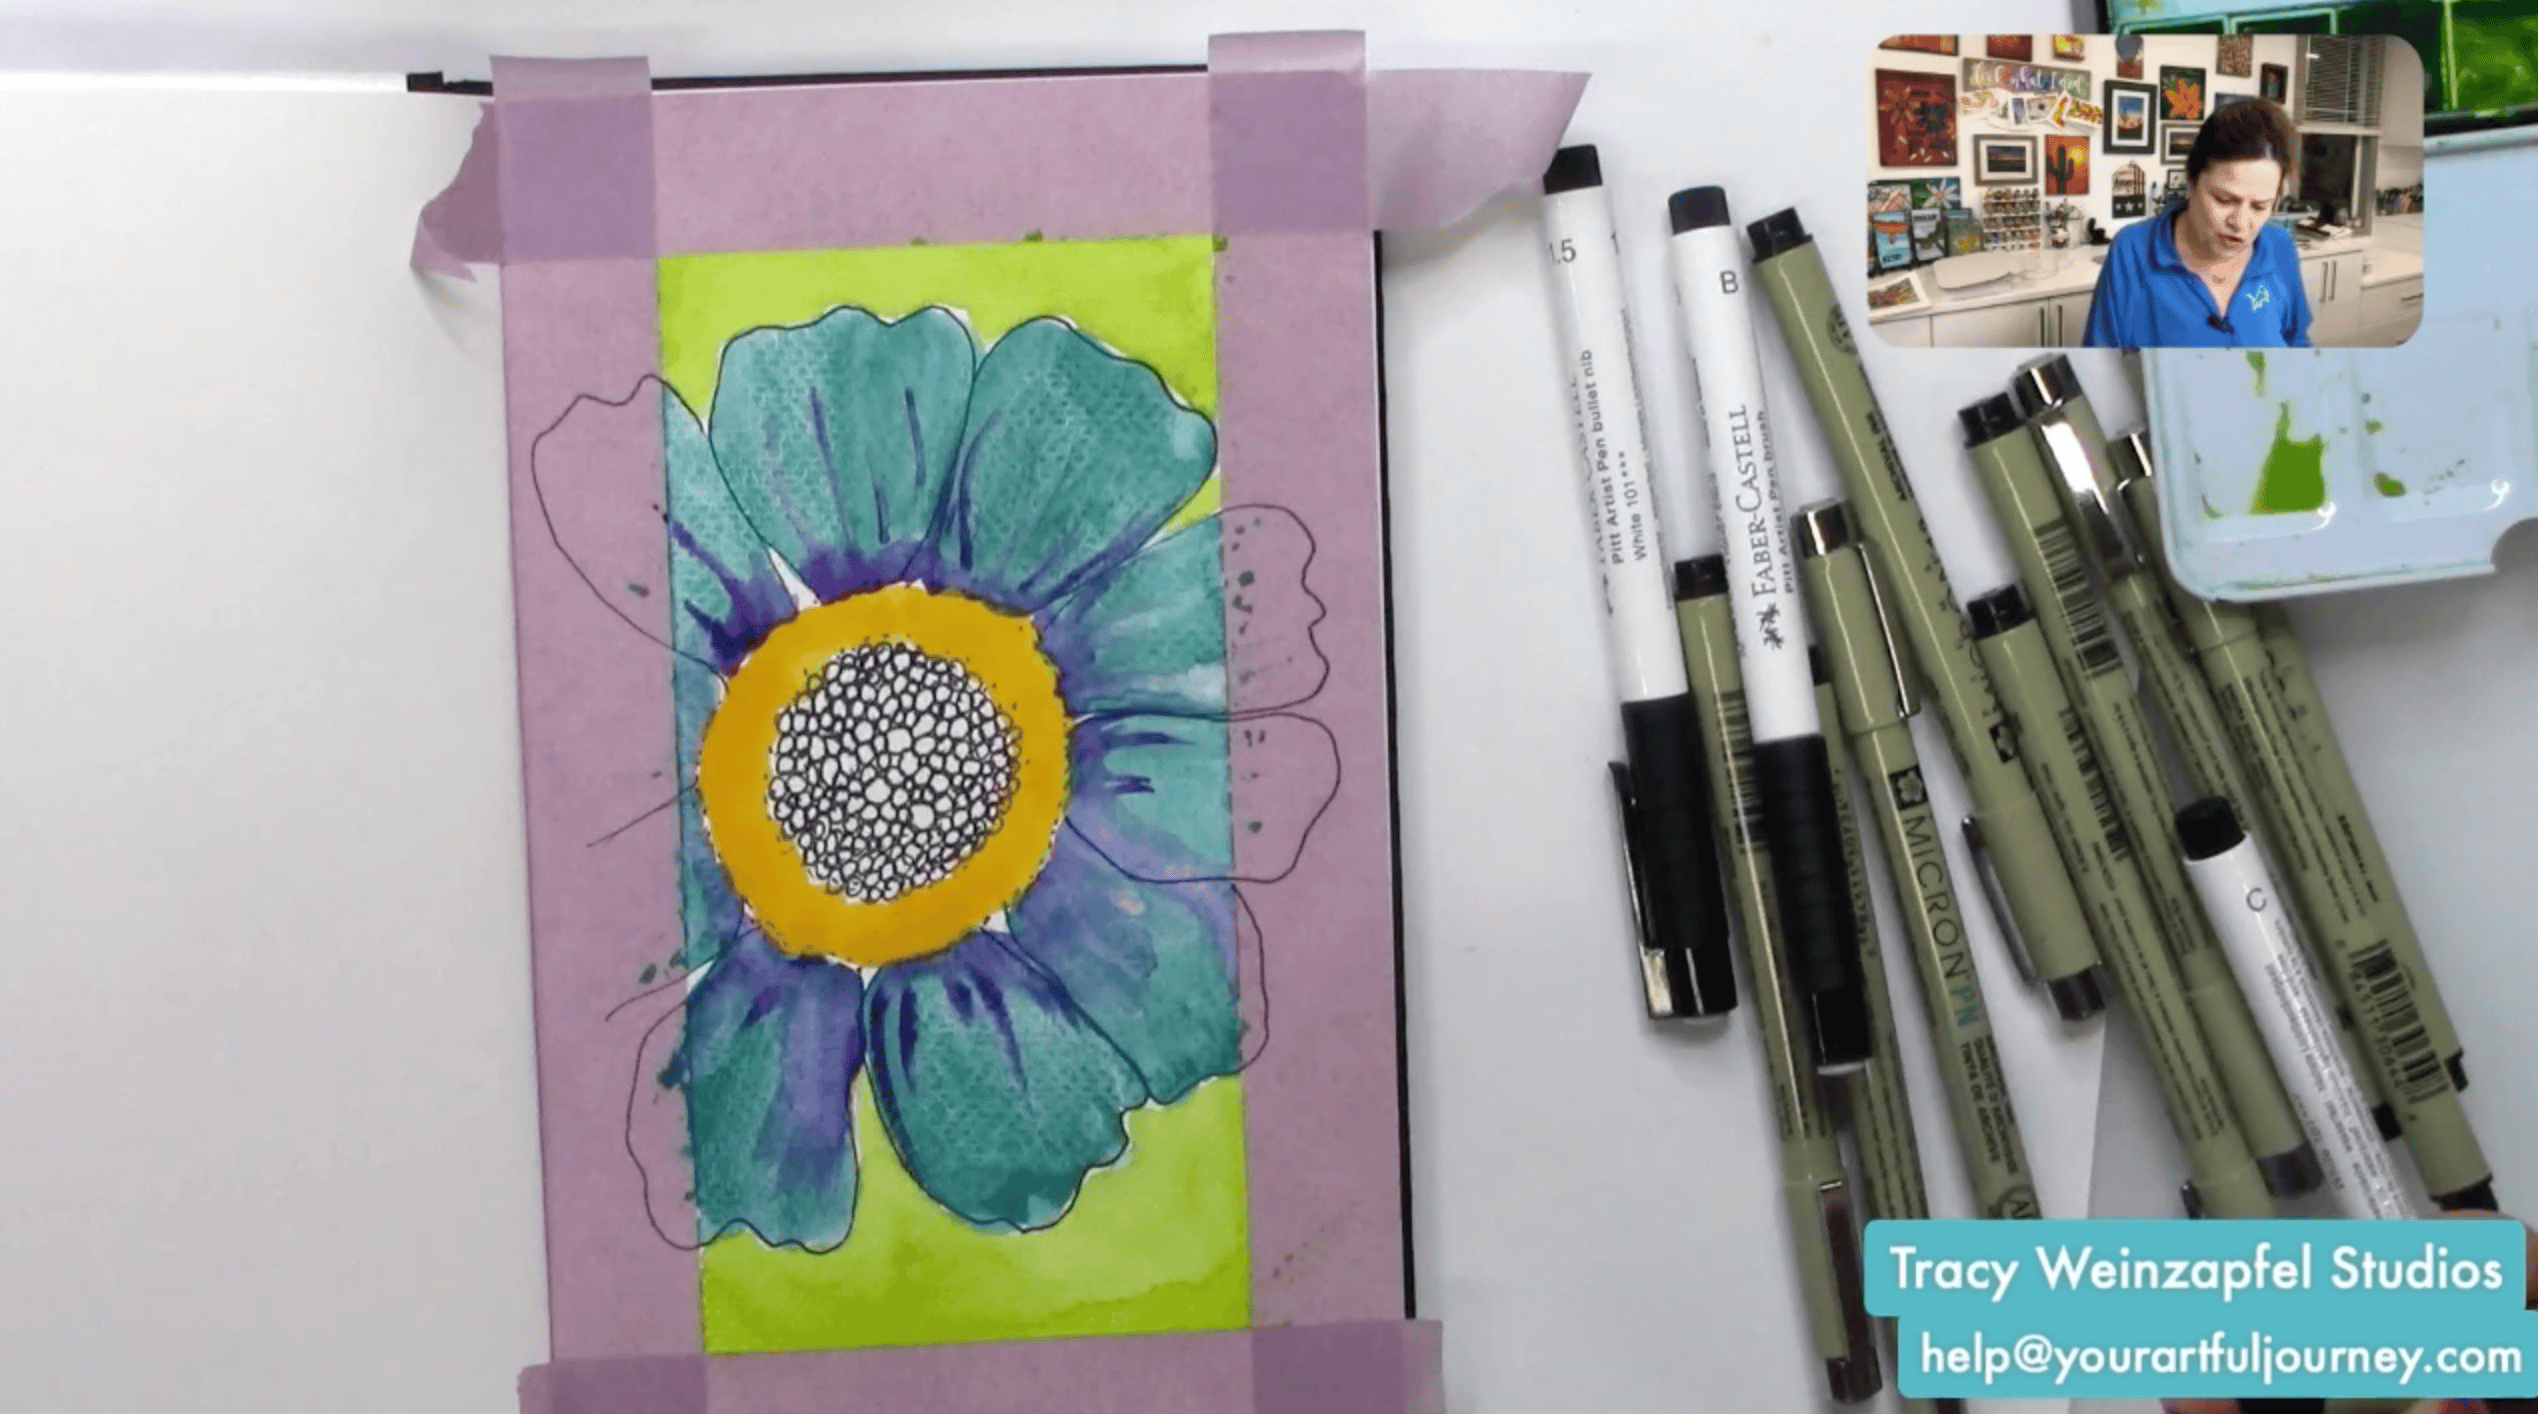
Use assorted Micron pens to add loose black linework throughout the flower. Redraw portions of the outer petal edges and add thin lines extending from the center into each petal.
You can also add small squiggles, dotted lines, heartbeat-style marks, and irregular accents. Do not try to make the marks identical. The variety is what gives the page energy.
Use Carbon Black acrylic paint and a stencil brush to deepen the flower center. Pounce the paint around the flower center to add shading.
Use a foam detailer or dotting tool with Carbon Black acrylic paint to create dots throughout the petals and around the center. Make some dots larger and others smaller. Add them in short trails or clusters rather than evenly spacing them.
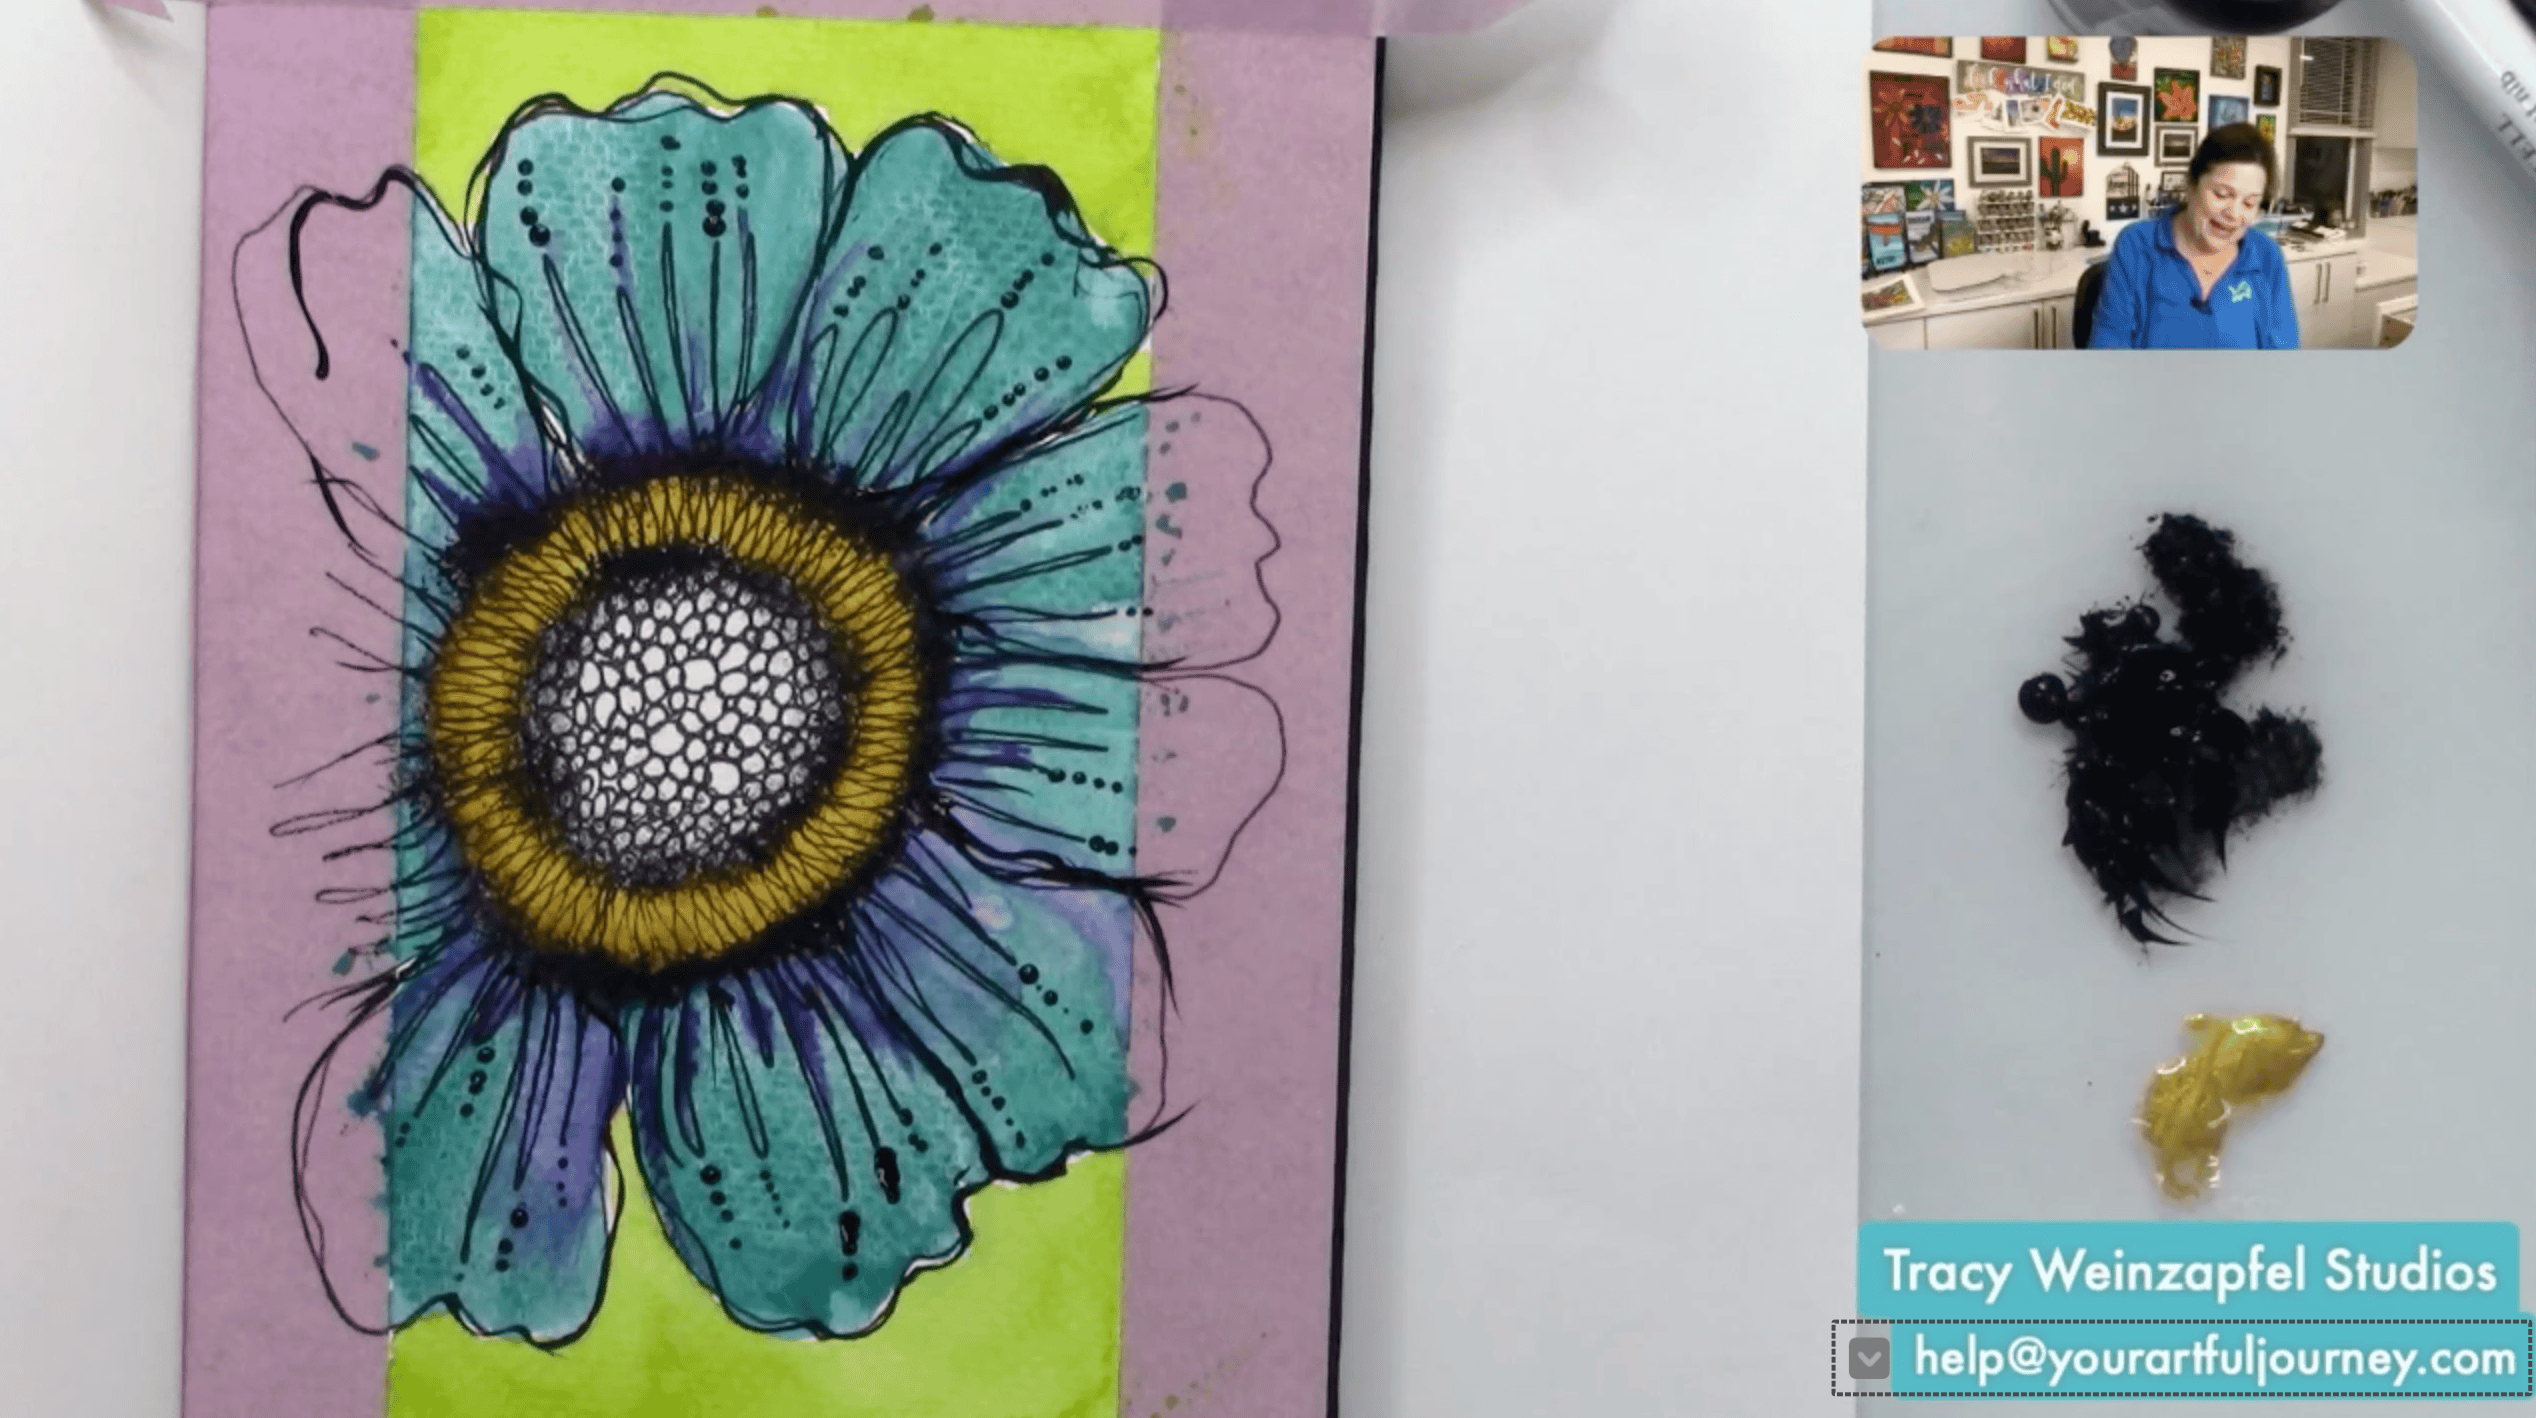
Using metallic gold acrylic paint, add a few subtle accents around the flower center and selected areas of the petals. You can flick a little gold onto the page with a fan brush, paint small dots, or lightly brush it around the dark center.
Place the honeycomb stencil over selected areas of the background. Using a stencil brush and a small amount of green ink, lightly stencil around the outside edges of the page.
Once everything is completely dry, apply a thin layer of Dorland’s Wax Medium. Use a paper towel or soft cloth to rub the wax gently across the painted area. Because the watercolor layers are water-soluble, the wax protects the finished piece without brushing over and reactivating all that color. Do not add additional paint after waxing.
Carefully peel away the painter’s tape to reveal the clean white border. Pull the tape slowly and away from the artwork to avoid tearing the paper. Sign the finished page and take a moment to enjoy all those details!
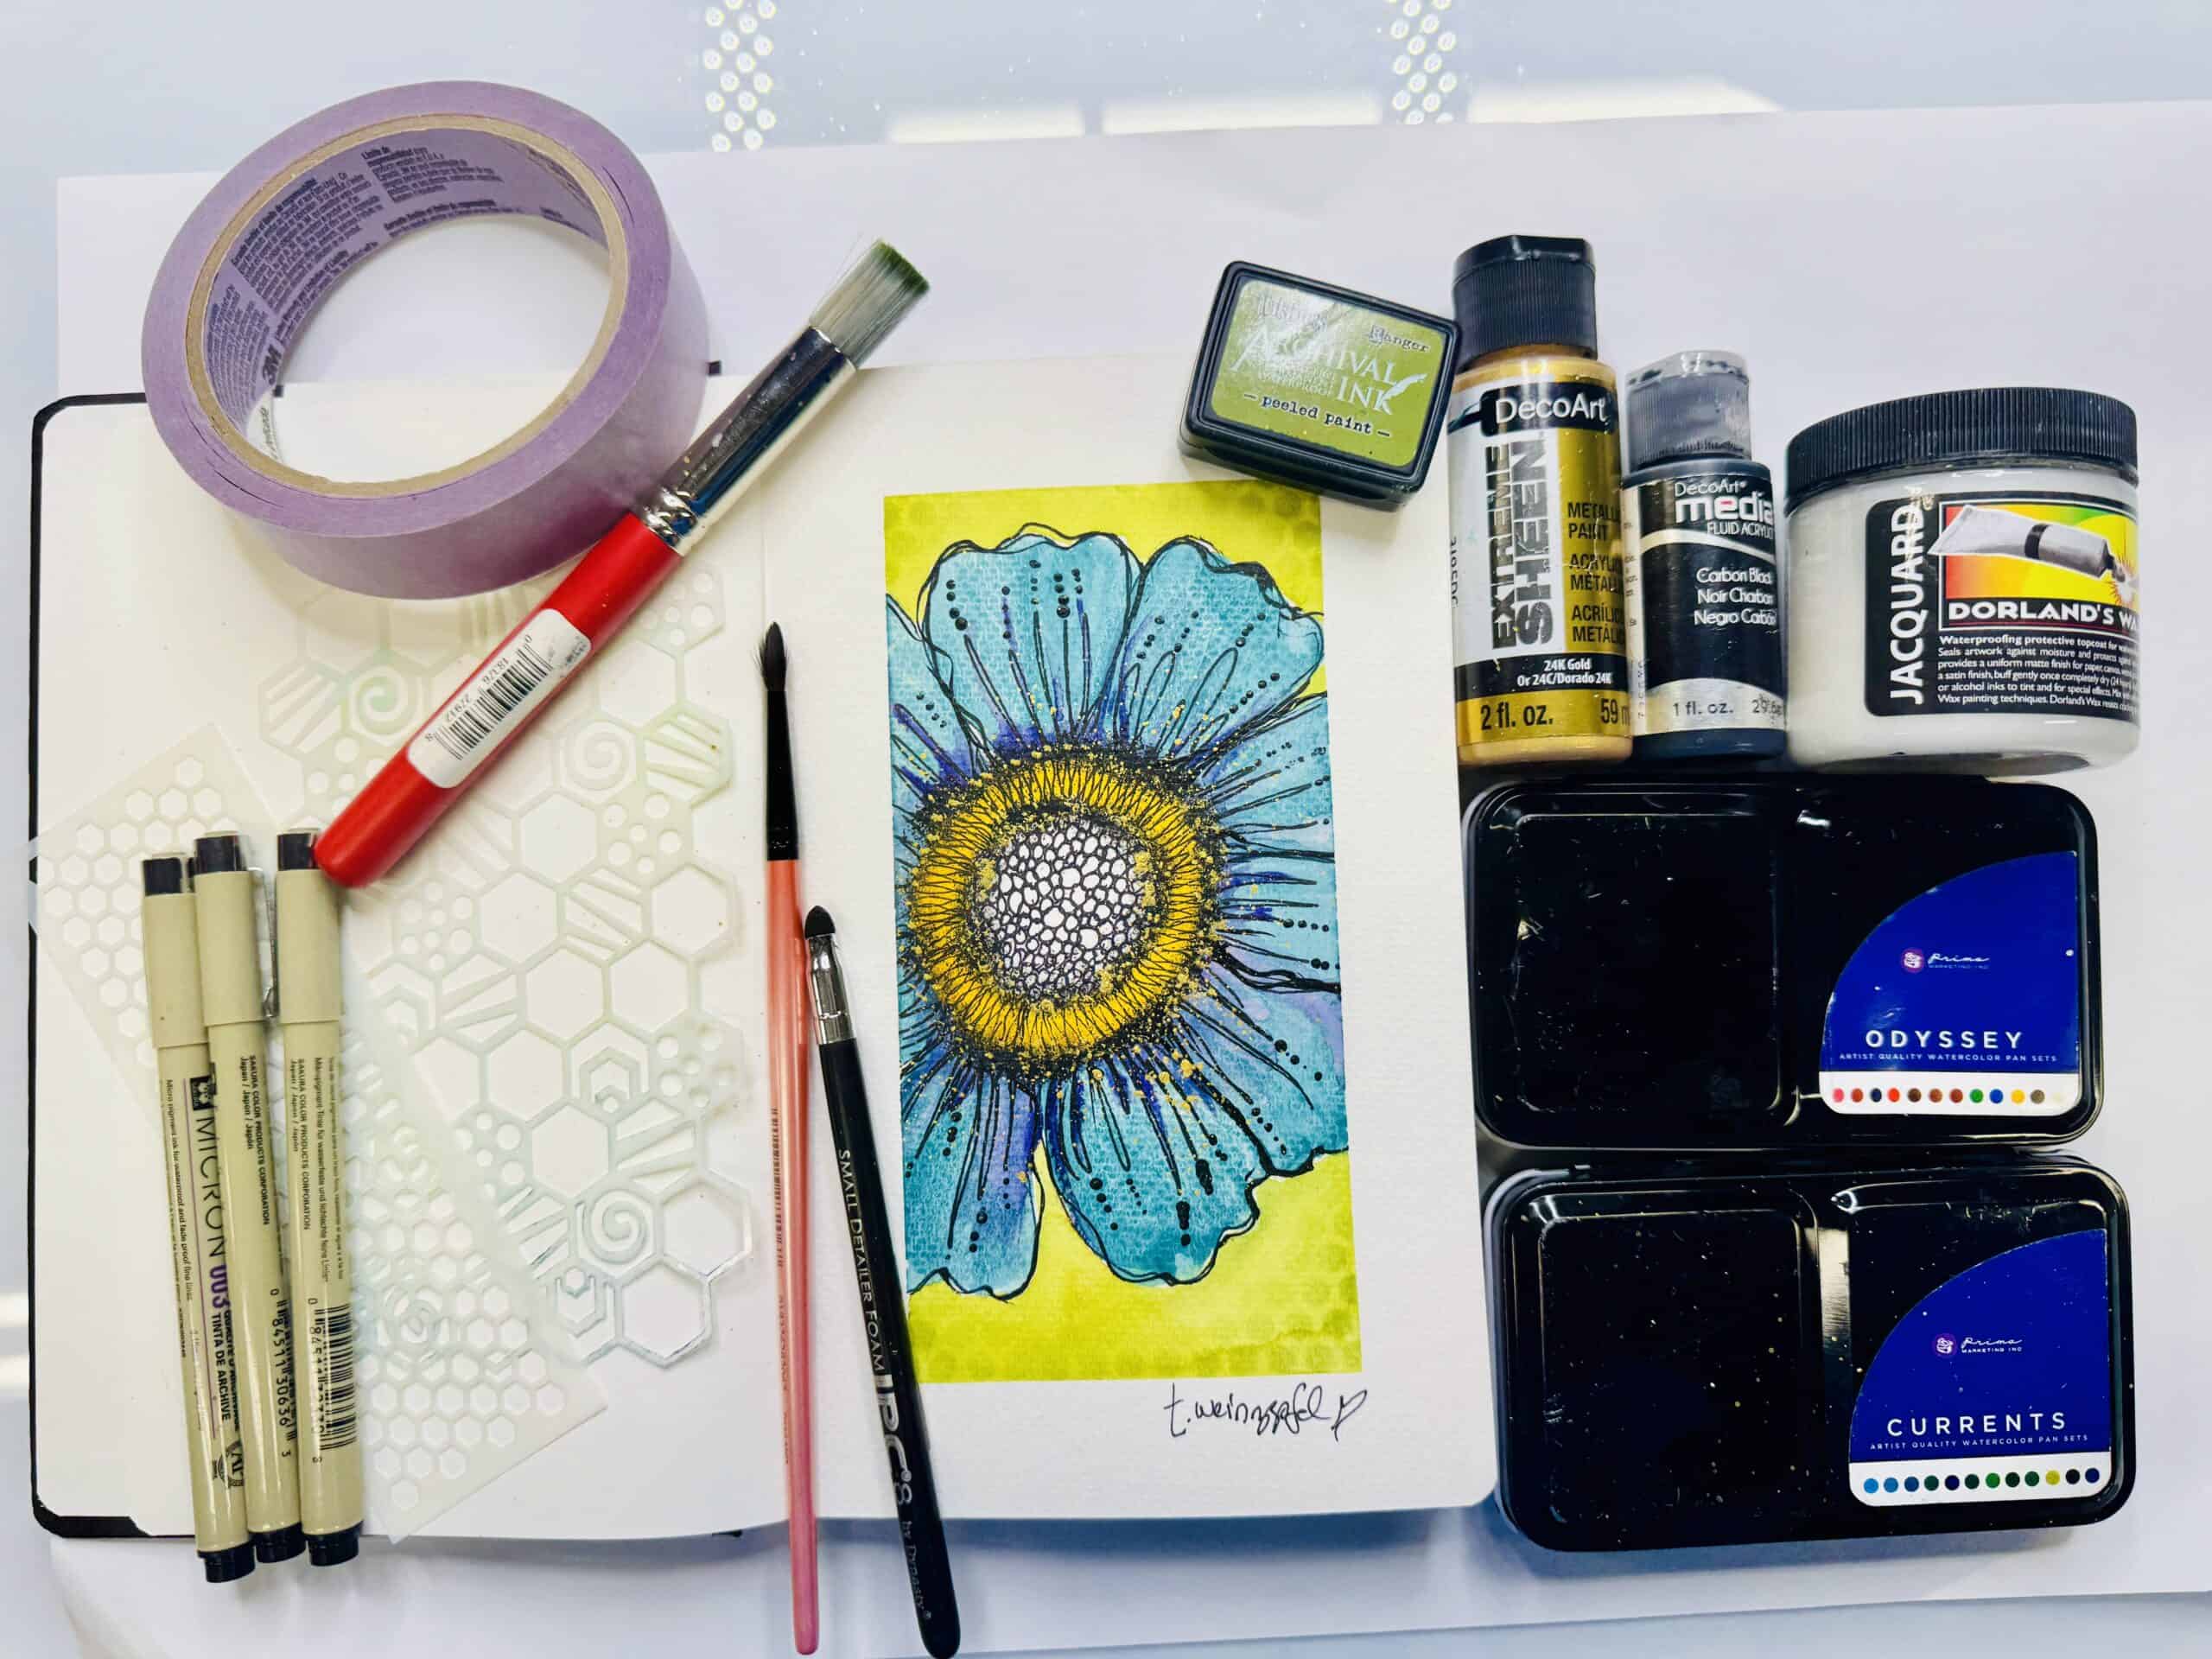
This bold teal flower is a great reminder that you do not need a complicated composition to create something eye-catching. One oversized bloom, a strong color combination, and a mix of simple details can fill a page beautifully.
Watch the replay below!
Thank you for joining in on the creative fun. Join us LIVE every Wednesday at 5:30 pm PST on Facebook at Tracy Weinzapfel Studios.
Join the waitlist for Your Artful Journey! This is my exclusive creative membership where you can explore the world of art journaling! Join a community of support and inspiration with interactive art sessions full of tips and tricks, conversation, Q & As, and most of all, FUN!
Supply List:
- Decoart Media Fluid Acrylics
- DecoArt Metallics – 24K Gold
- Watercolors: Odyssey & Currents
- Sealer: Dorland’s Wax
- Brushes – Tracy Weinzapfel Brush Set 2
- Dynasty Stencil Brush
- Dynasty Micron Detail Brush
- Micron Small Detail Round Brush
- Micron Fine Liner Brush
- Foam Detailer
Check out Tracy’s Art Journal Starter Kit!
Tracy’s Resources Page and visit Tracy’s Shop