
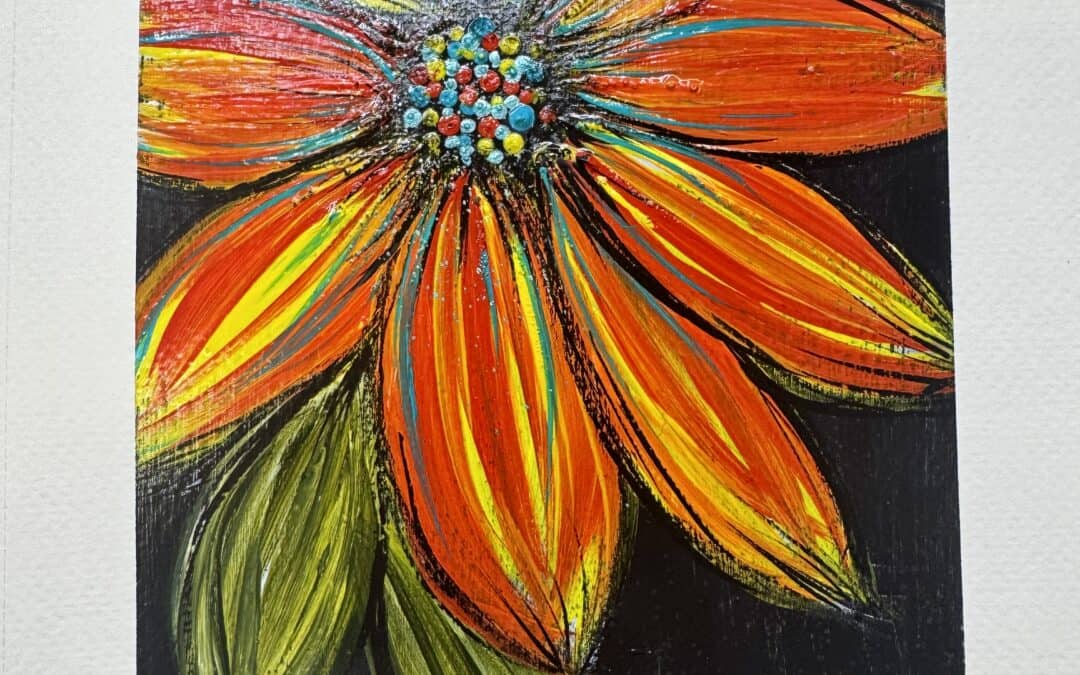
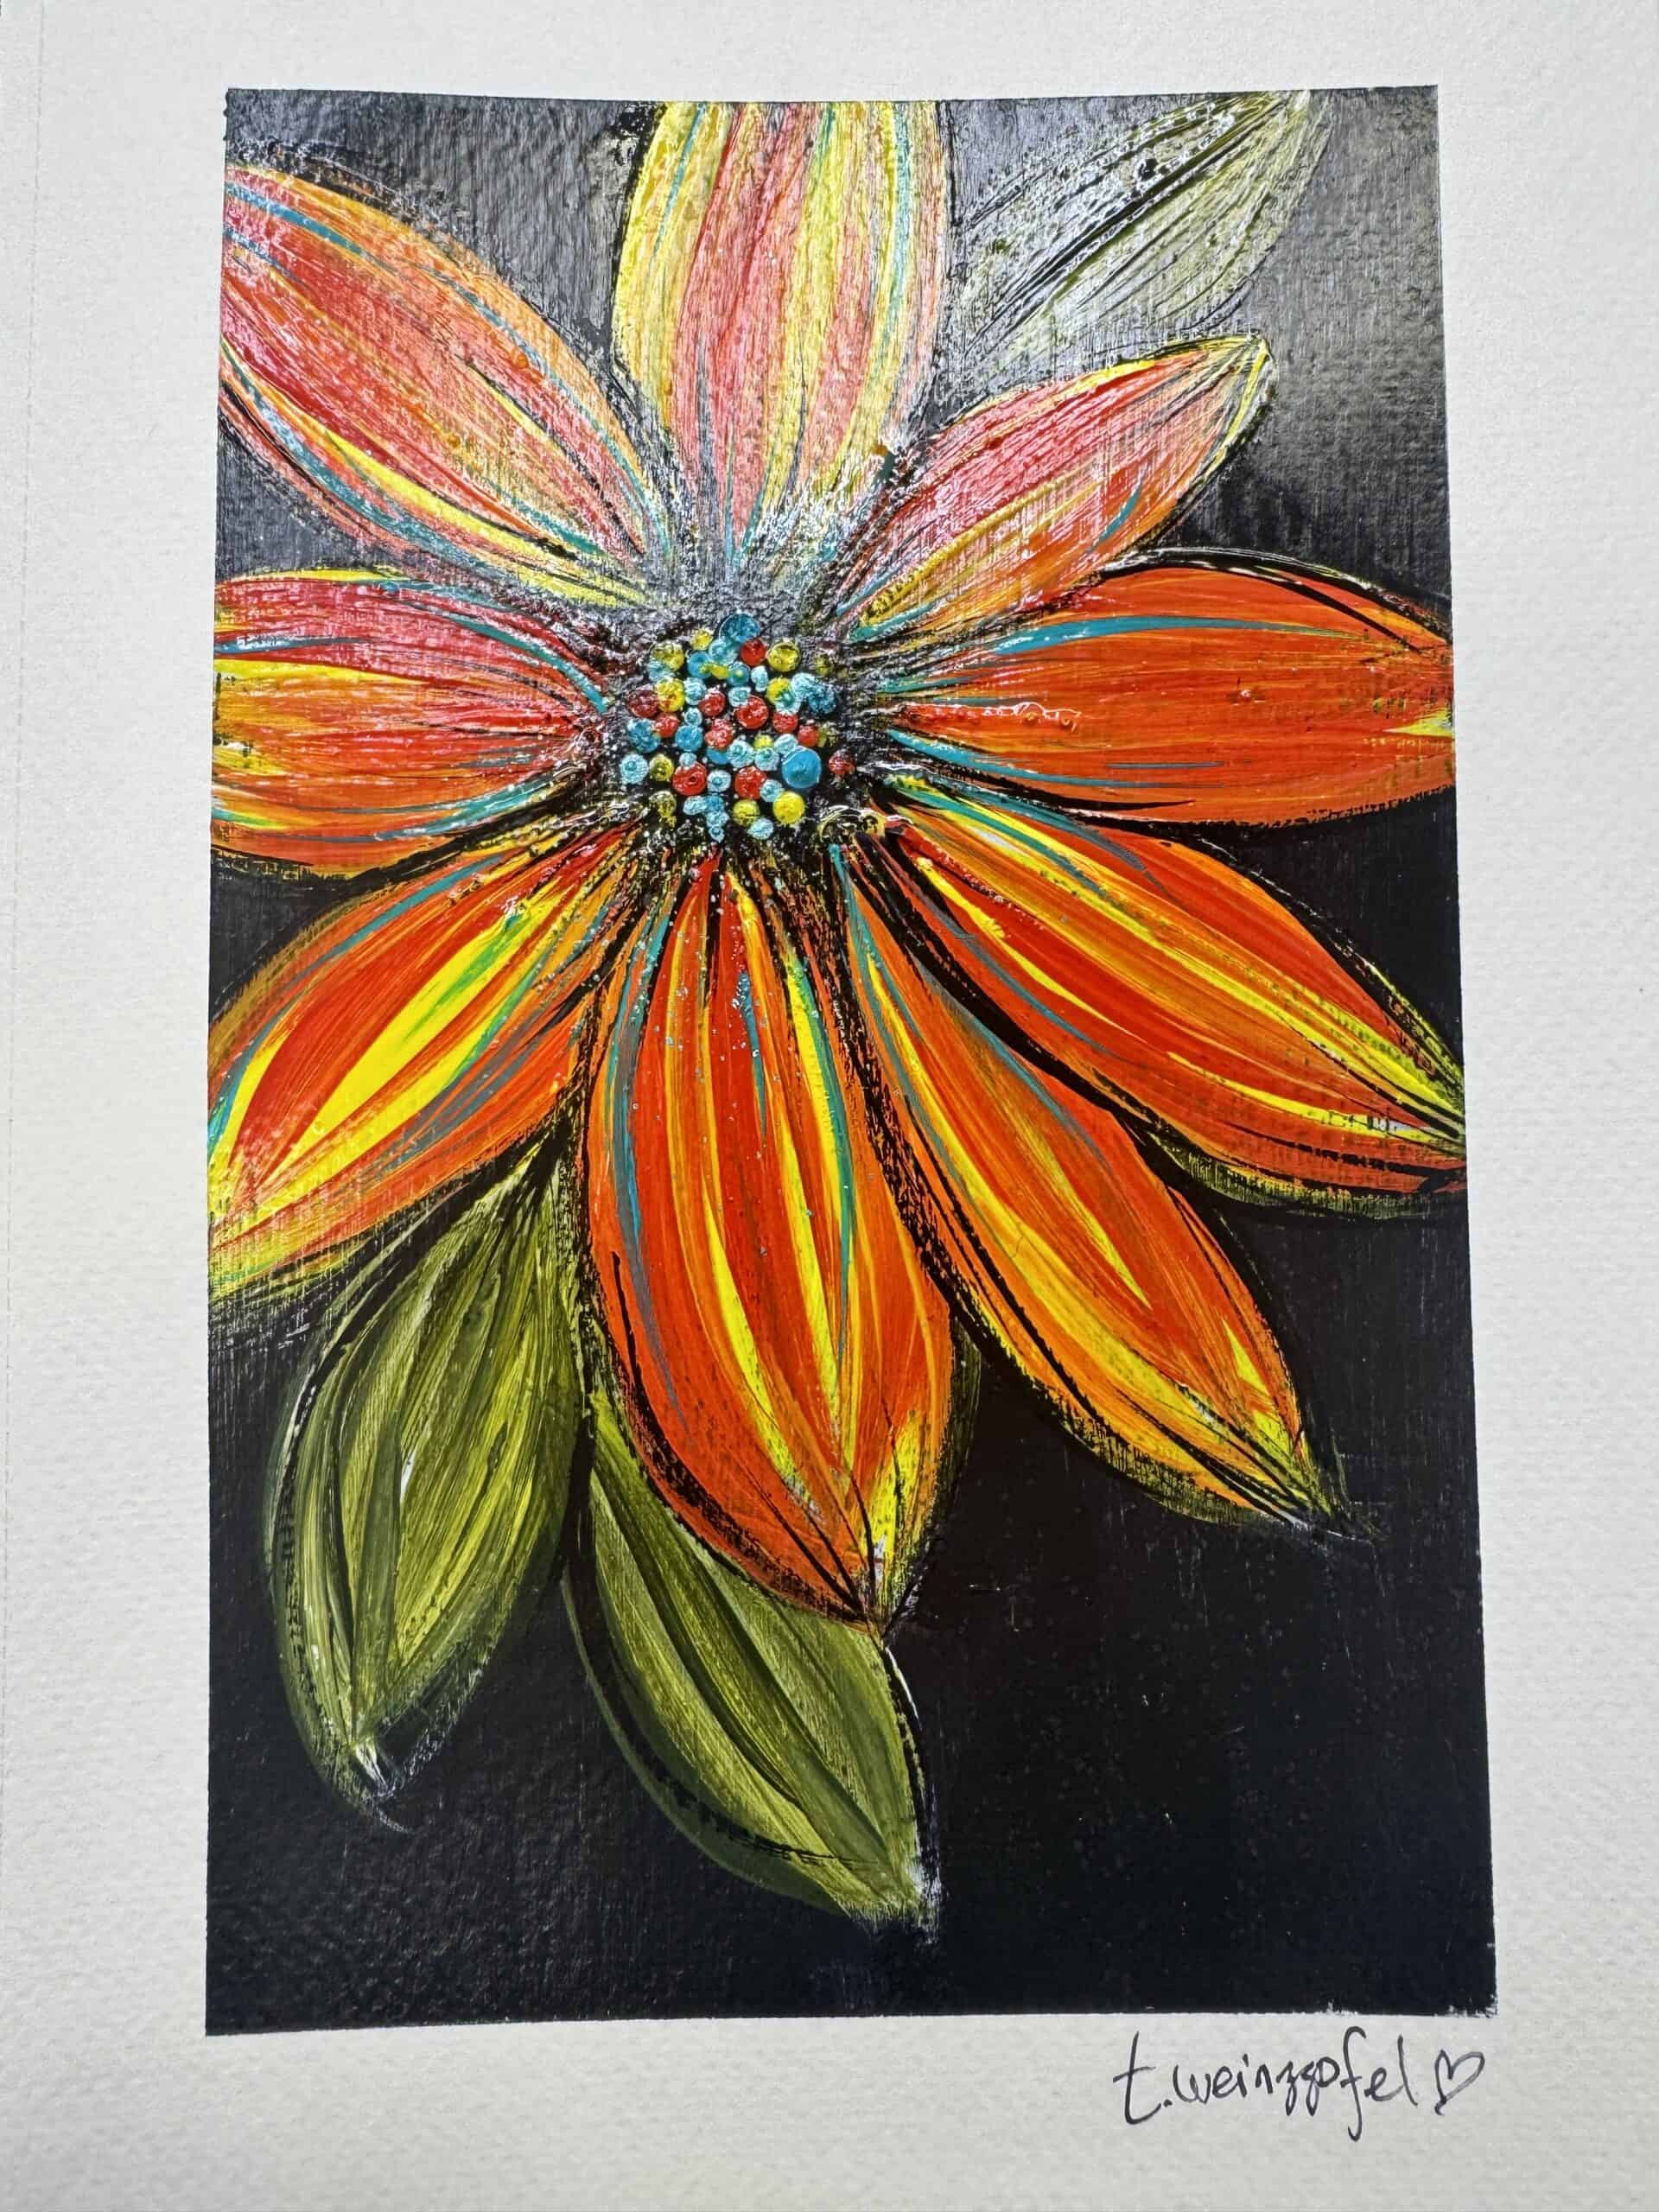
This bold mixed-media flower started without much of a plan and turned into a vibrant floral filled with loose brushstrokes, unexpected color, and lots of personality. The black background really makes the reds, yellows, greens, and turquoise pop! This is also a great project for practicing loose, expressive painting. The goal isn’t perfectly shaped petals or carefully controlled lines. It’s about layering color, adding marks, and seeing where the painting takes you.
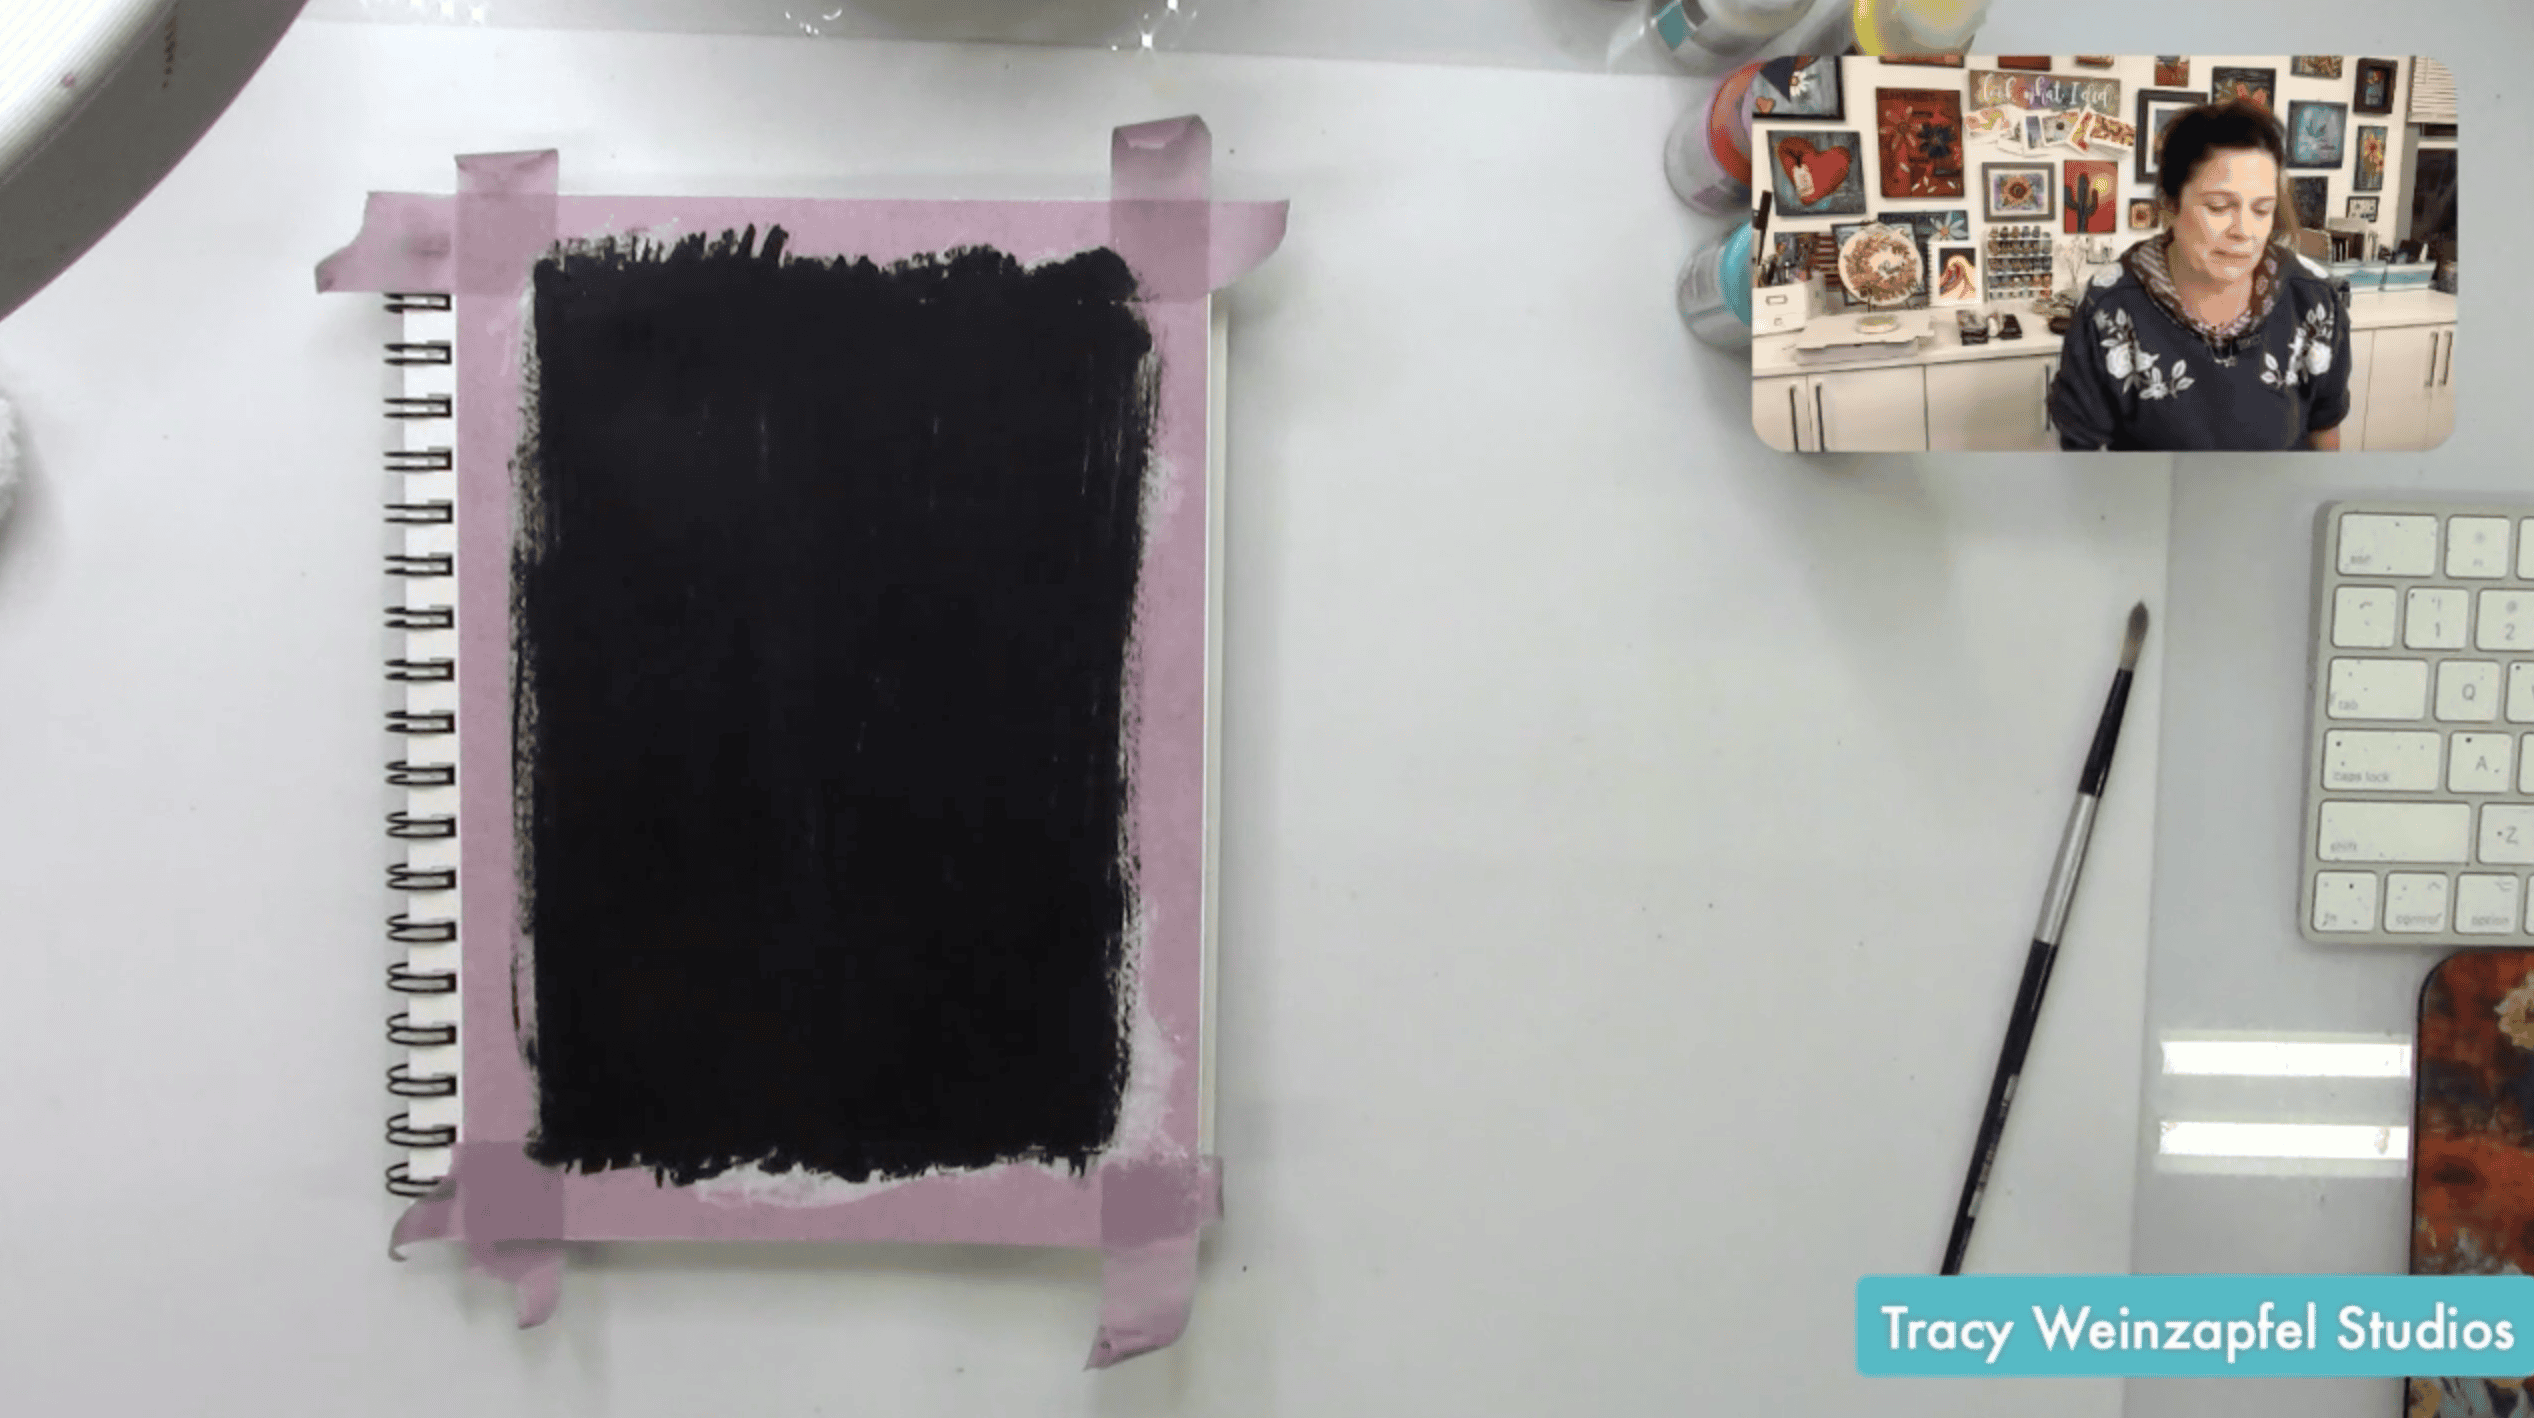
Prep your watercolor art journal page by taping off the edges with painter’s tape. Cover the surface with white gesso and then black acrylic paint to create a rich, dark background. Let it dry before moving on. The black is what gives this piece so much drama. Instead of starting on a traditional white surface, you’re going to build the flower back up with bright color.
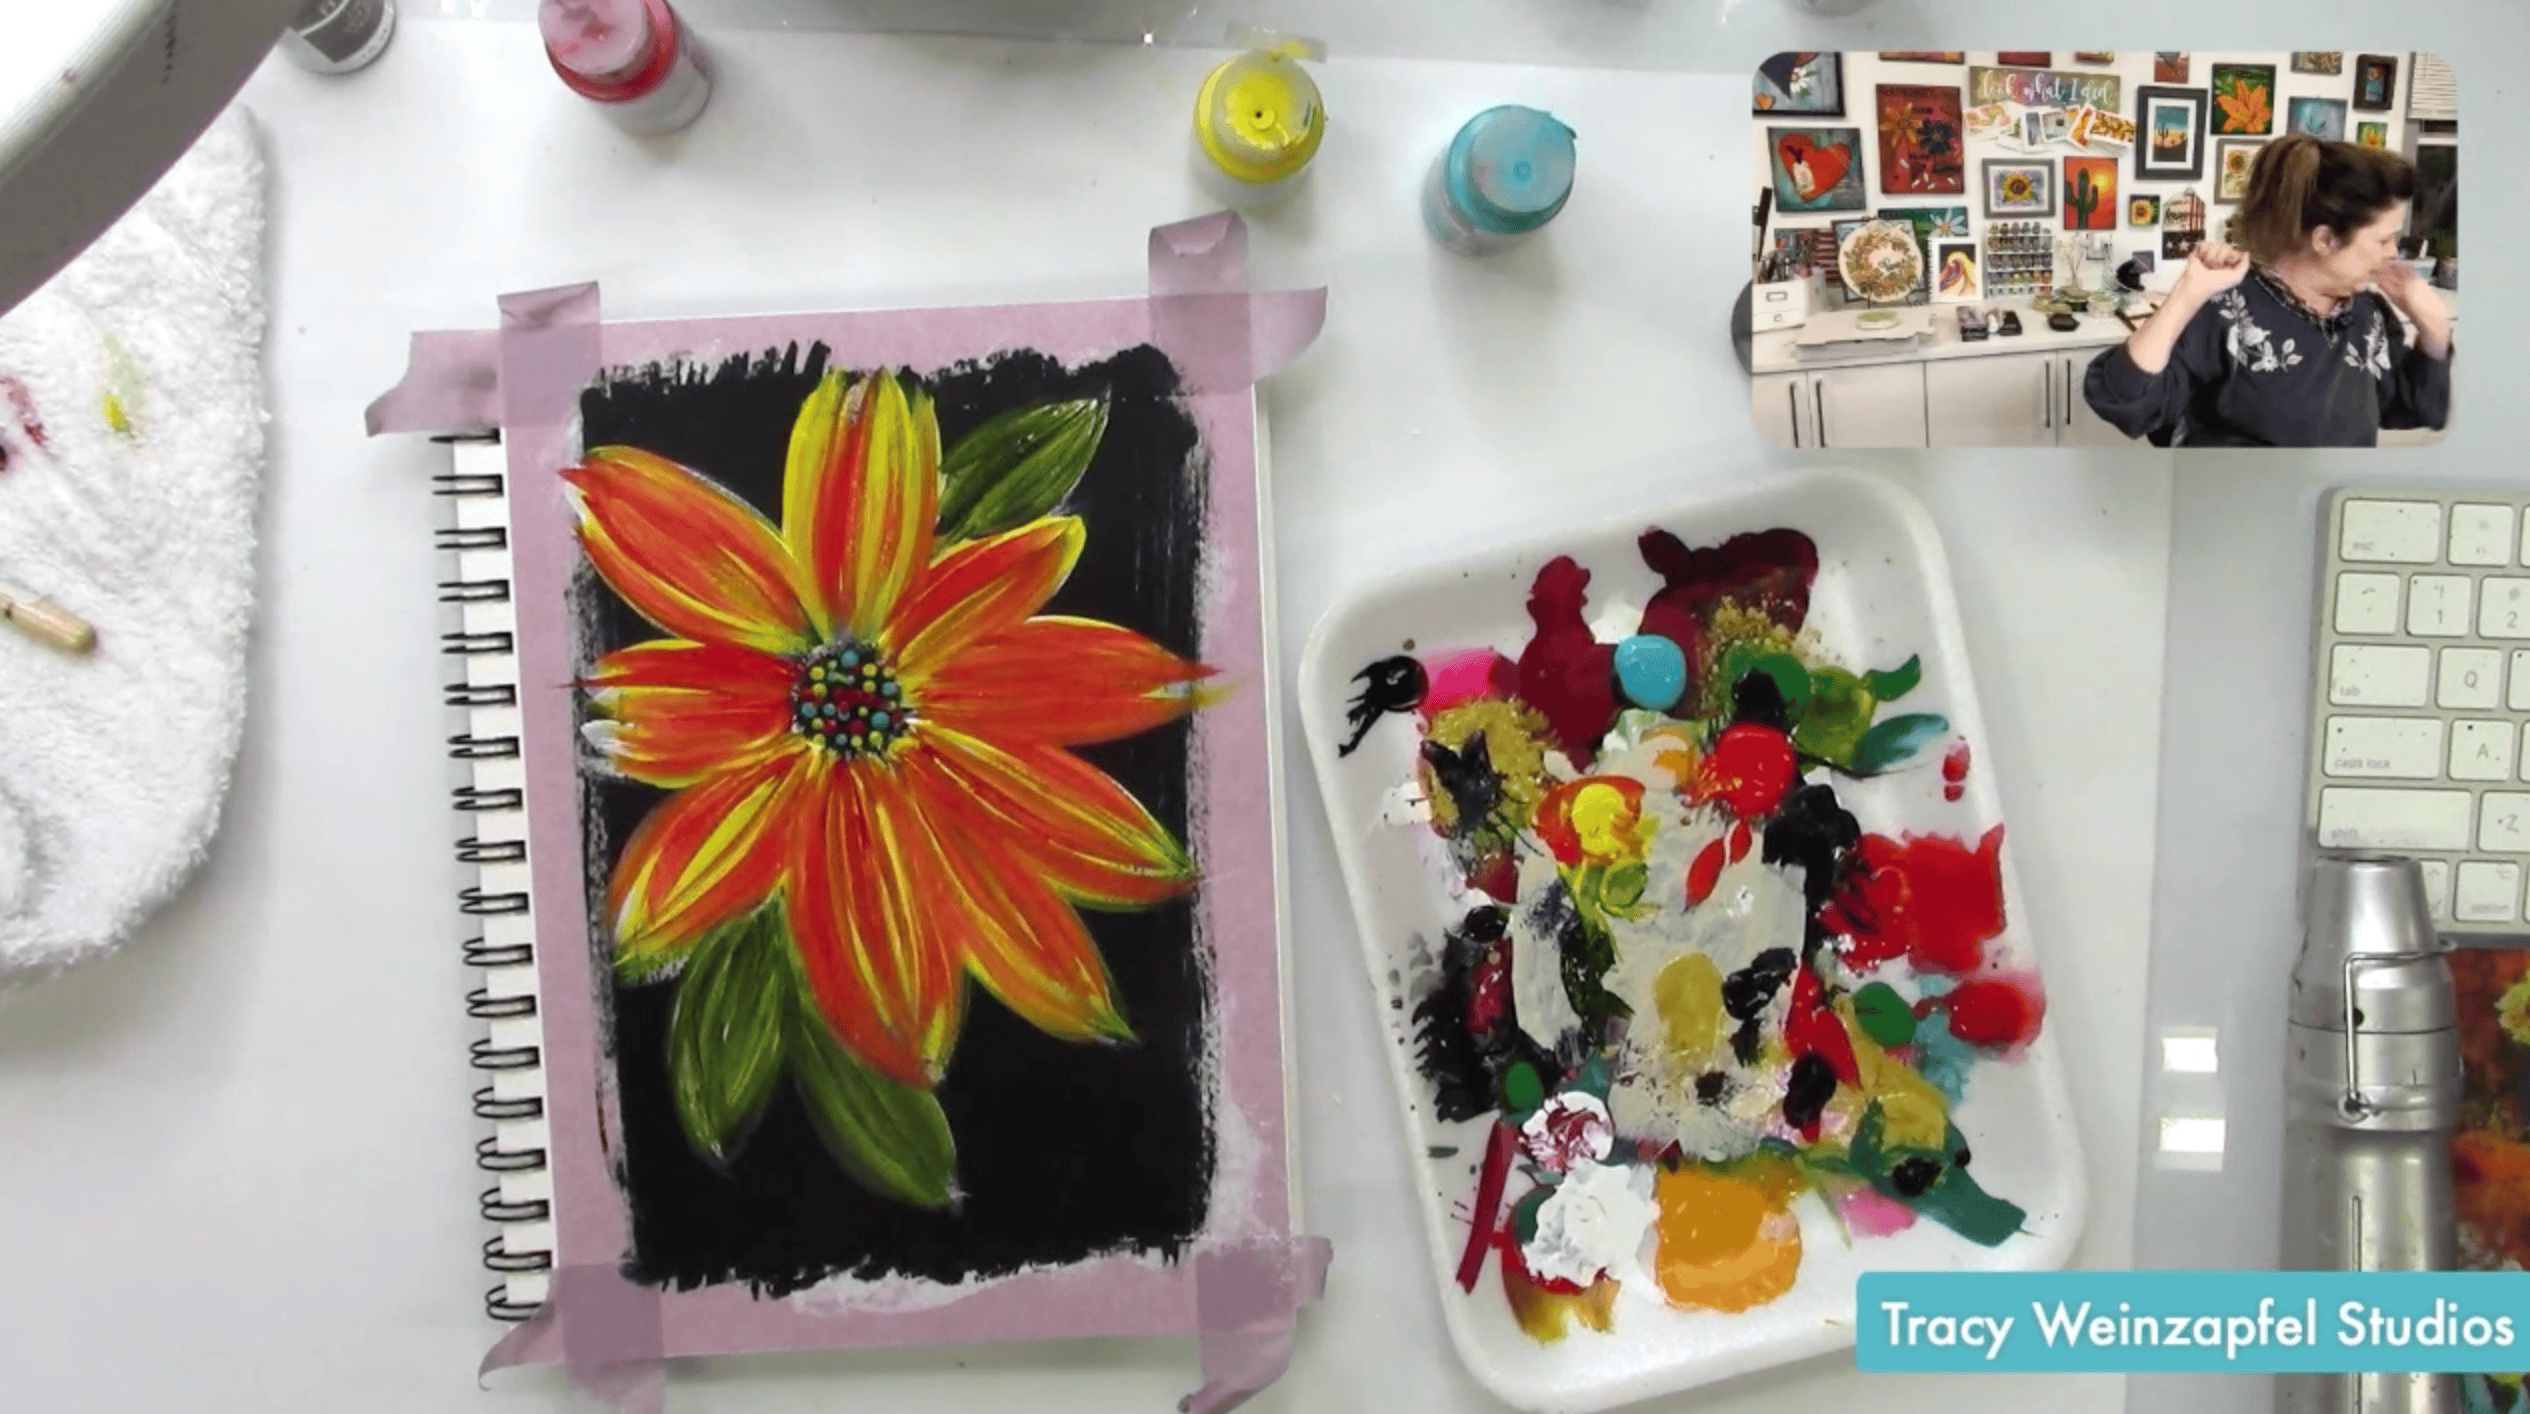
Using a round brush and white gesso, loosely begin forming your flower directly over the black background. Don’t worry about making every petal the same. Use a flick of the wrist to create petals in different sizes and shapes, allowing some of that black background to remain visible between them. You can also add a few loose leaf shapes around the bottom of the flower.
The gesso serves an important purpose here. You could paint acrylics directly over the black, but the white underneath allows the colors added later to remain much brighter and bolder.

Once you’ve established the flower shape, begin bringing in your color. Start with Cadmium Red Hue and Primary Yellow, working loosely over the gessoed petals. Let the colors overlap and blend in places rather than trying to keep everything perfectly separated. Where the red and yellow meet, you’ll naturally create some orange tones, which adds another layer of color and movement to the flower. Pasted text Keep some lighter areas visible and allow bits of the white gesso and black background to peek through.
Bring Sap Green into the leaves around the bottom of the flower. Again, don’t worry about completely covering the layers underneath. Use loose strokes and allow the green to interact with the black and white already on the page. You can also let some of the petals overlap the leaves so the flower feels dimensional rather than like a collection of separate shapes. Pasted text
Return to the center of the flower with black paint to redefine the dark area. Using a foam detailer or another small tool, begin adding thicker dots and marks around the center in different colors.
Once the painted layers are dry, use a black Aquarellable pencil to loosely define the petals and flower center.
Trace around some edges, add sketchy interior lines, and emphasize the direction of the petals. You don’t need to outline every single edge perfectly. Varying the marks will help maintain that expressive, hand-drawn quality. You can even use your finger to soften or smudge some of the pencil marks.
One important note: Aquarellable pencil is water-soluble. A water-based brush-on varnish applied directly over it can reactivate the pencil and wipe or smear your marks. I planned to protect this layer with workable fixative before adding the final satin finish.
Now for the unexpected color that really makes this flower come alive! Using Cobalt Teal Hue and a liner brush, add loose turquoise lines throughout the petals. Let your liner brush travel in the direction of the petals, adding marks from different directions instead of trying to make them perfectly uniform. Add touches of teal around the center as well. Against the oranges, reds, yellows, and black, this little pop of turquoise creates beautiful contrast.

For one final detail, lightly add Aquamarine Extreme Sheen with a fan brush. Tap it above your page to create a splatter effect. You can also add a few more dots to the flower center.
Allow the painting to dry completely. Because the piece contains Aquarellable pencil, spray it with a workable fixative in a well-ventilated area before applying the final brush-on finish. This protects those water-soluble marks from moving when the sealer is added.
Once the workable fixative is completely dry, use a clean, soft brush to carefully apply a satin finish over the artwork. The satin sealer deepens the dark background and brings all those bright layers of paint and texture back to life. Work gently so you don’t disturb any of the details underneath. Once everything is dry, sign your artwork, and you’re finished!
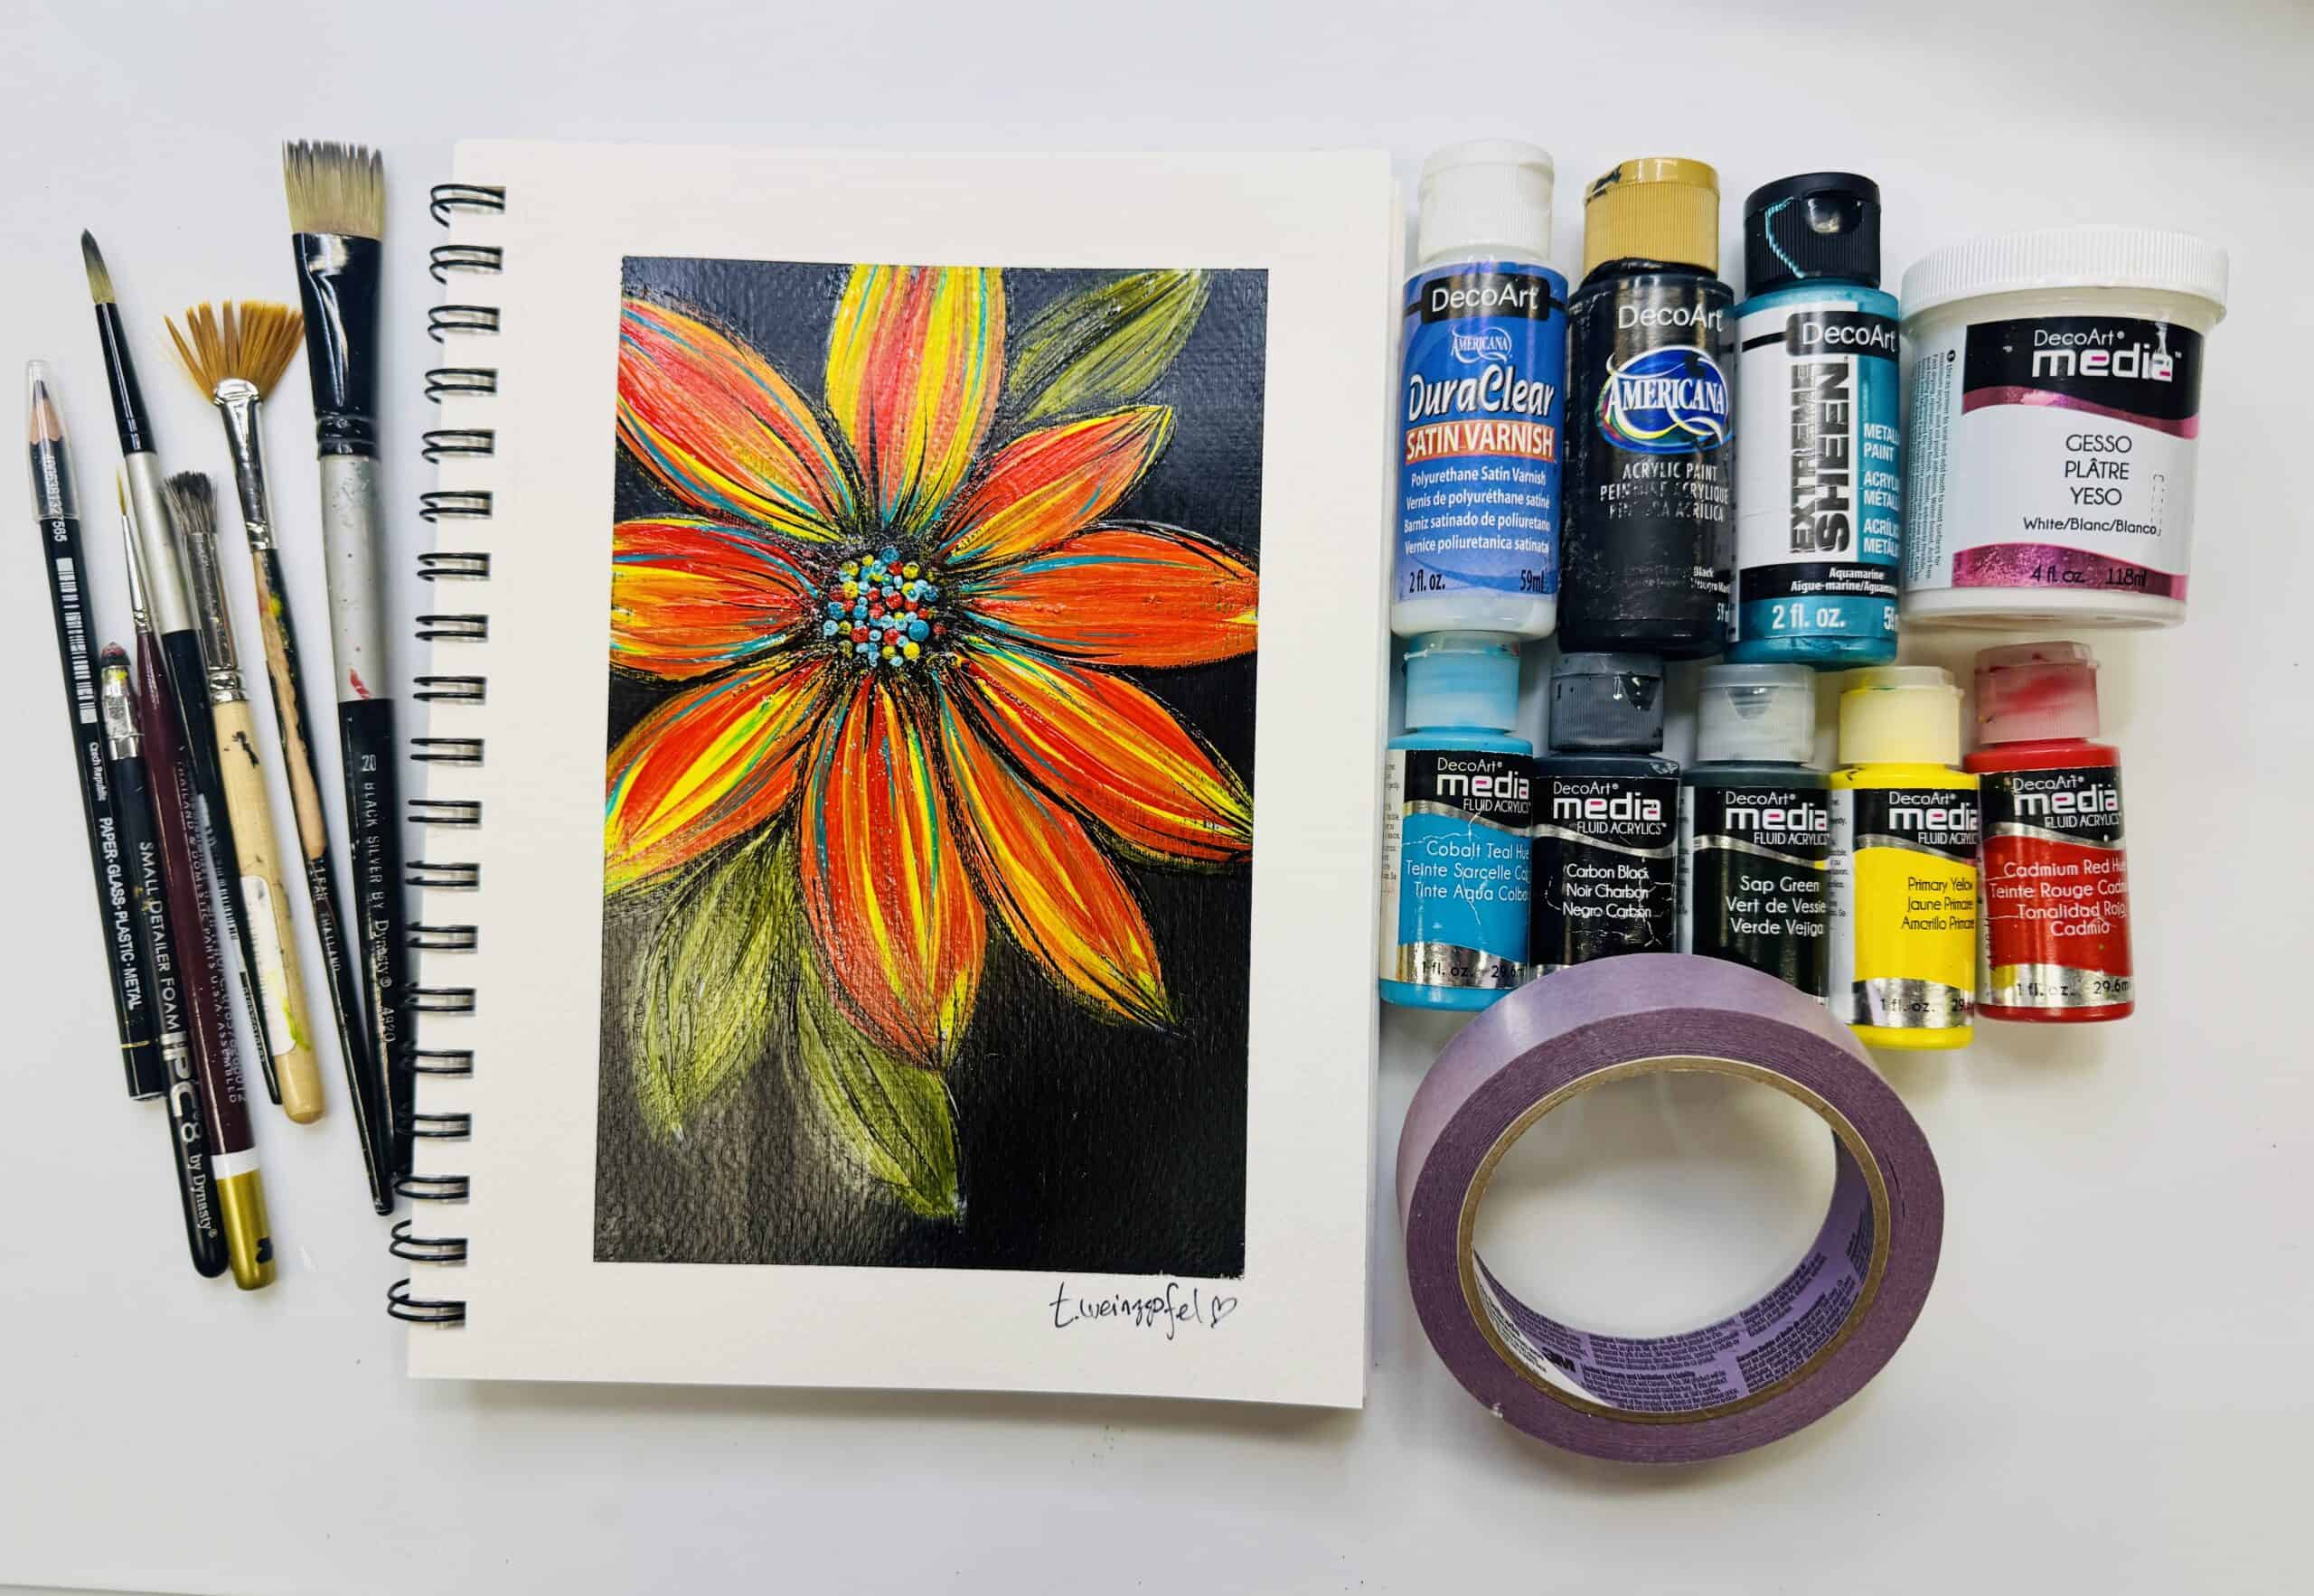
One of the best things about this project is that there really isn’t a formula you need to follow. Change the flower shape. Try different colors. Add more leaves. Leave out the shimmer. Use purple instead of red or hot pink instead of orange. Make your marks bigger, messier, or more graphic!
Watch the replay below!
Thank you for joining in on the creative fun. Join us LIVE every Wednesday at 5:30 pm PST on Facebook at Tracy Weinzapfel Studios.
Join the waitlist for Your Artful Journey! This is my exclusive creative membership where you can explore the world of art journaling! Join a community of support and inspiration with interactive art sessions full of tips and tricks, conversation, Q & As, and most of all, FUN!
Supply List:
- Fabriano 7 X 10 Watercolor Journal
- Painter’s Tape
- Decoart Gesso (White)
- Aquarellable Pencil
- Paint: Decoart Media – Carbon Black, Primary Yellow, Cadmium Red Hue, Sap Green and Cobalt Teal Hue. Americana Lamp Black and Extreme Sheen Aquamarine
- Brushes – Tracy Weinzapfel Brush Set 1
- Dynasty Stencil Brush
- Dynasty Micron Detail Brush X Long 10/0 or 15/0
- Micron Fine Liner Brush
Check out Tracy’s Art Journal Starter Kit!
Tracy’s Resources Page and visit Tracy’s Shop