
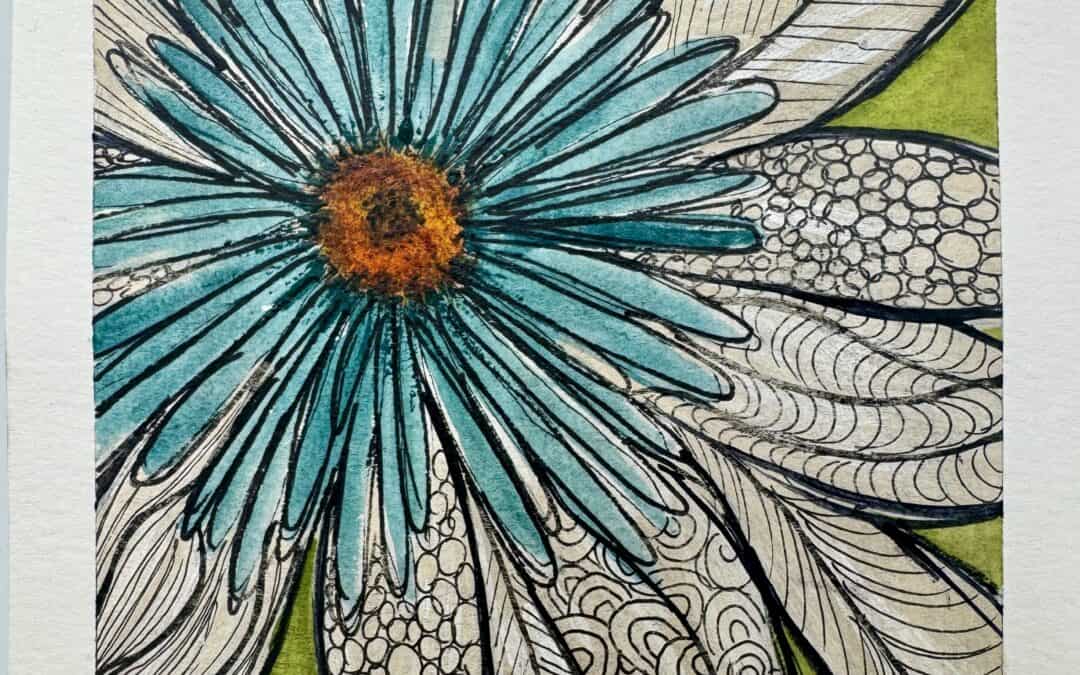
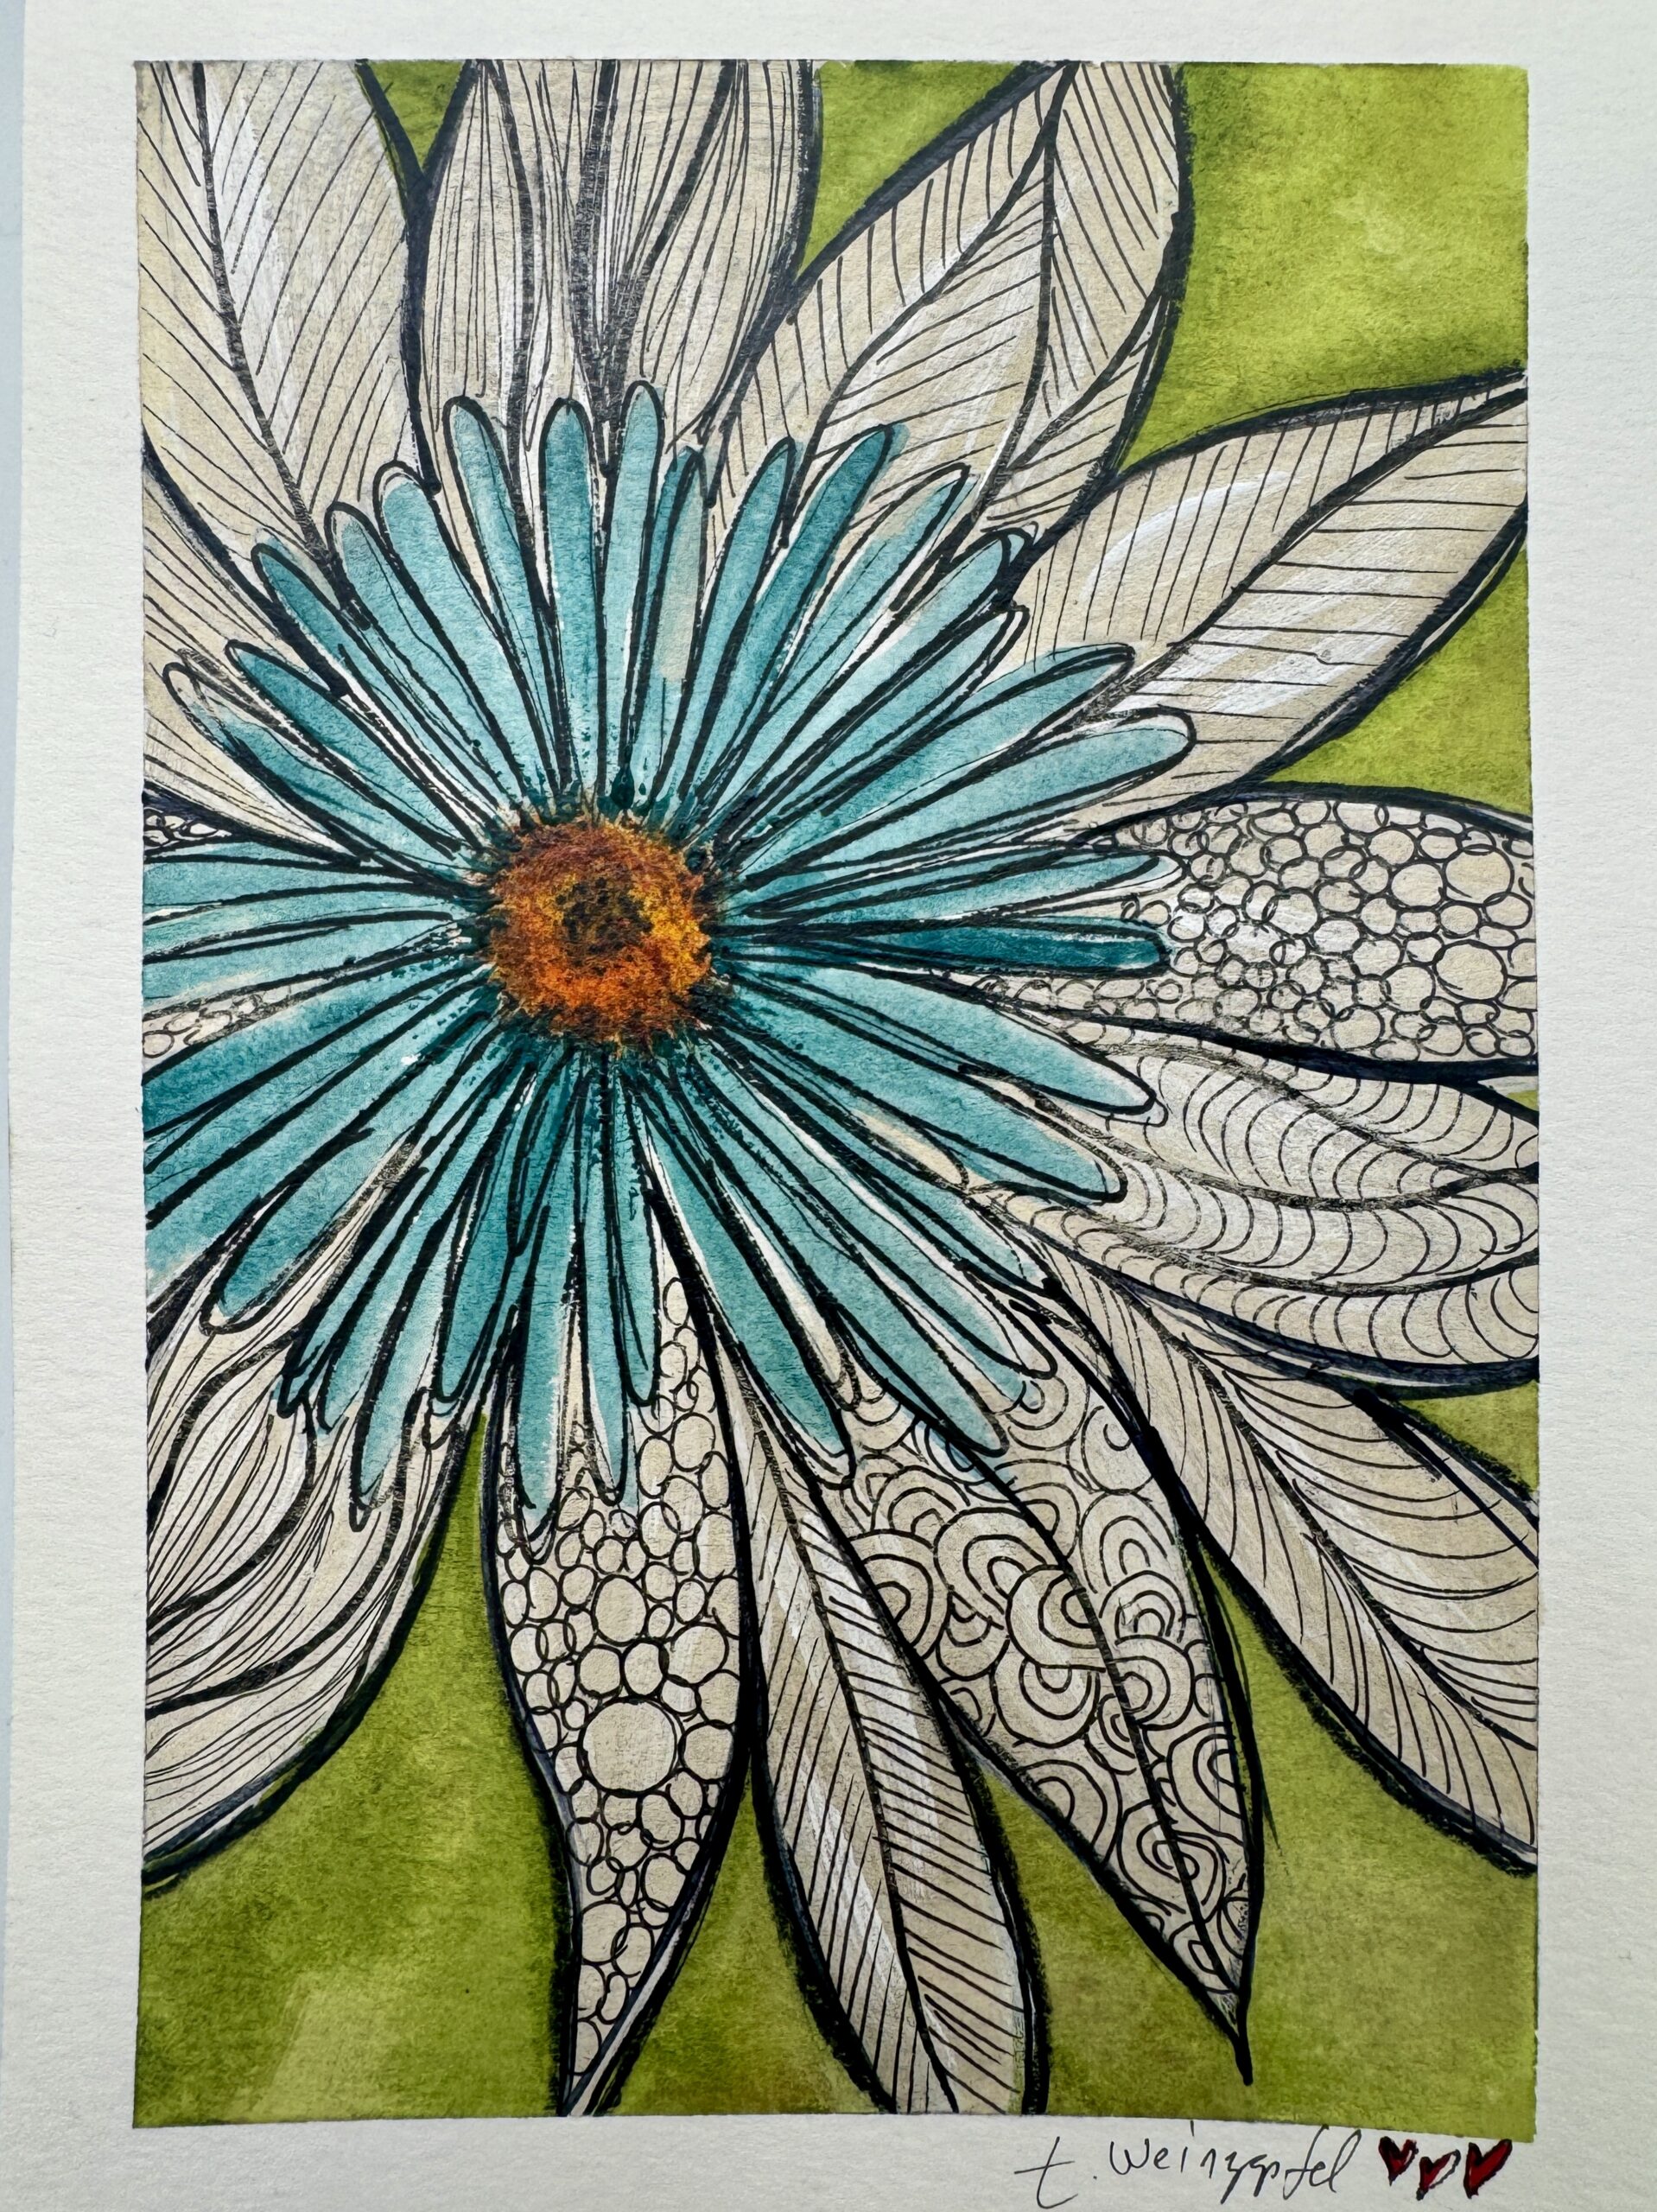
Sometimes the best art journal pages happen when you start with an idea…and then completely change your mind along the way! For this mixed media flower, I started by drawing simple circles and thinking about creating a “flower within a flower.” From there, I just kept building…adding oversized petals, watercolor, acrylic paint, loose linework, patterns, and lots of unexpected details. The finished piece is colorful, a little wild, and packed with texture and pattern.
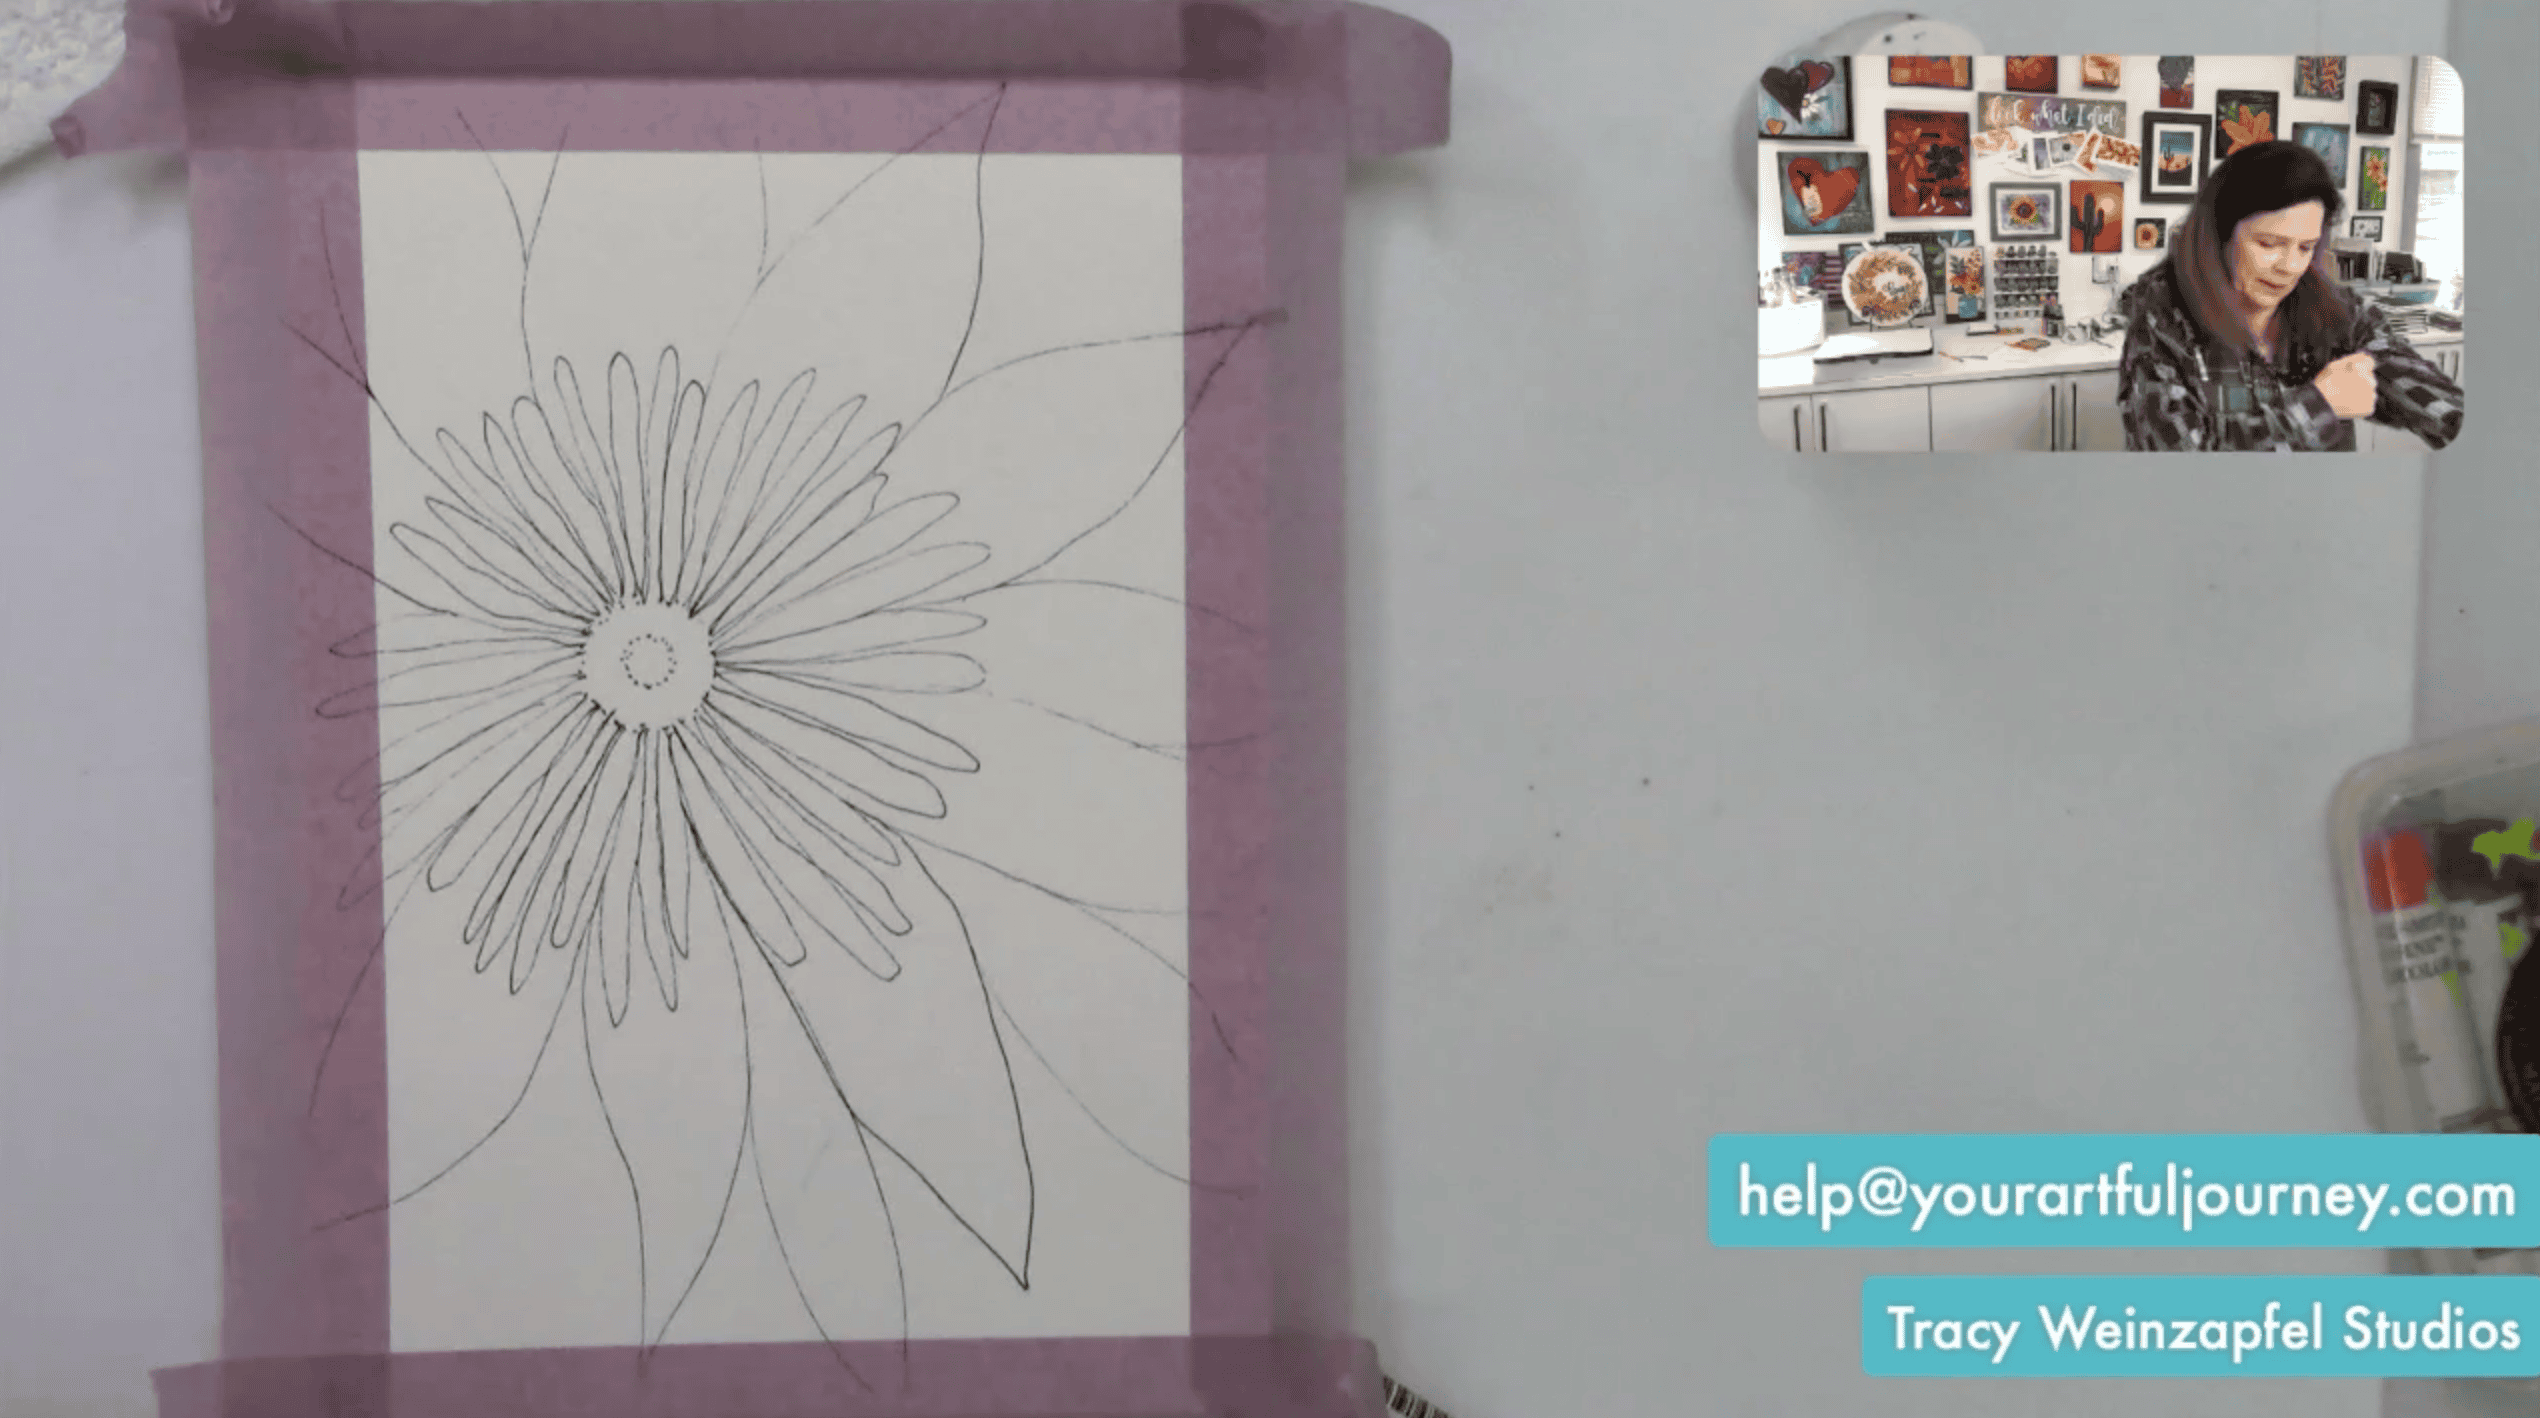
Prep your art journal page by taping off the edges with painter’s tape. I started this page with an Ultra Fine Sharpie and drew a couple of simple circles. Nothing fancy and definitely nothing perfect.
One trick I use when I want my drawing to feel looser is to hold my pen farther back. When I hold it close to the tip, I tend to have much more control and my lines become tighter. Moving my hand farther back naturally creates those imperfect, expressive lines I love. From those circles, I started developing the idea of a flower within a flower.
Next, begin adding petals around your center. Don’t worry about making each petal match. Change the lengths, widths, and directions. Let some overlap and allow others to disappear right off the edge of the page.
This is one of those projects where you don’t need to know exactly where you’re going before you begin.
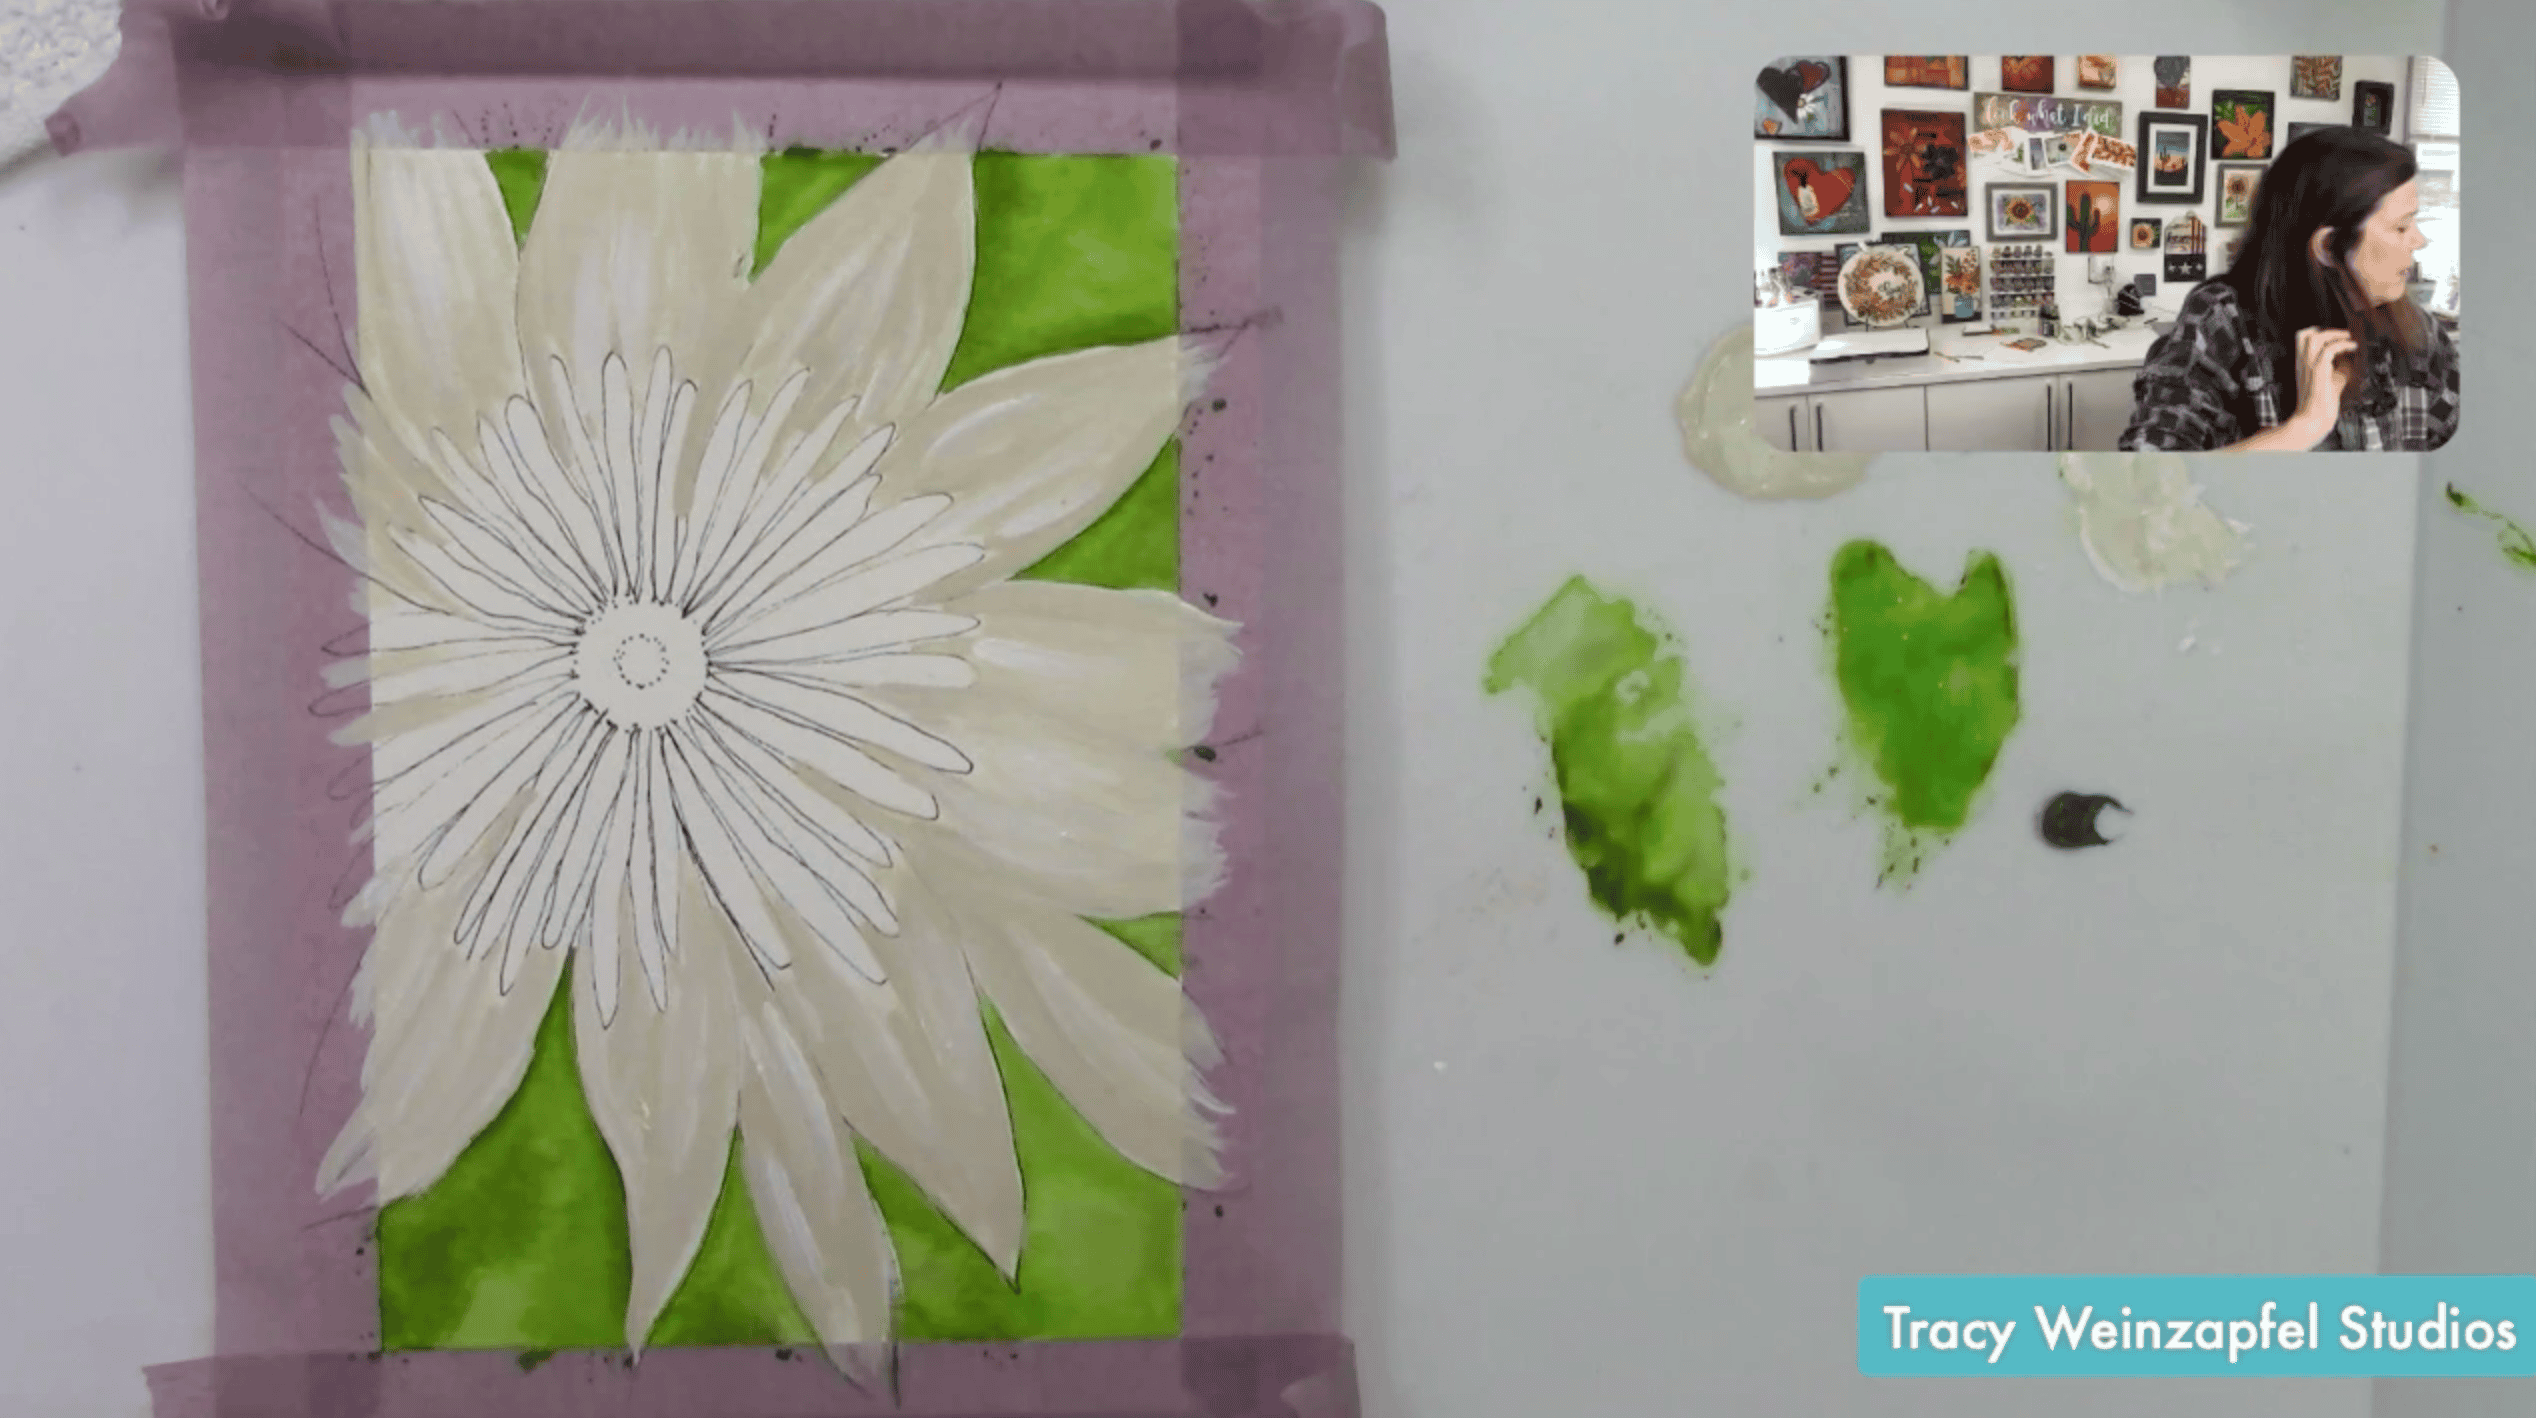
Once I had my drawing in place, I brought in Titan Buff acrylic paint. I wanted some of the flower to remain more neutral so the colorful center would really stand out.
Mix a little white acrylic into the Titan Buff as you work. I moved back and forth between the two colors, creating subtle variations rather than one completely flat shade.
Don’t worry about staying perfectly inside your original lines. We’re going to keep building on top of them anyway.
For the background, I reached for my watercolor sticks. These are essentially concentrated watercolor in stick form, so the colors are wonderfully rich and vibrant. You can pick the color directly up from the stick with a wet brush or use another surface as a temporary palette. I chose several beautiful greens and filled the spaces surrounding the flower.
Let the greens vary. Some areas can be brighter and more yellow-green while others can be deeper and more earthy. Those variations give the background so much more life.
Now for that gorgeous pop of color! I decided the inner flower needed to be teal watercolor. Paint the long petals radiating from the center, allowing the color to move and vary naturally. And remember: you do not need to color perfectly inside the lines. In fact, I encourage you not to! Let some areas become darker and more saturated while leaving others lighter. Those differences are what make watercolor so beautiful.
The center needed a little warmth to contrast with all that teal and green. I layered in Quin Gold along with a small amount of Payne’s Gray, using a stencil brush to create a textured, almost stippled effect. Instead of trying to make the center smooth and perfect, build it up with little marks and variations in color. This gives the flower that wonderfully messy, dimensional center you see in the finished piece.
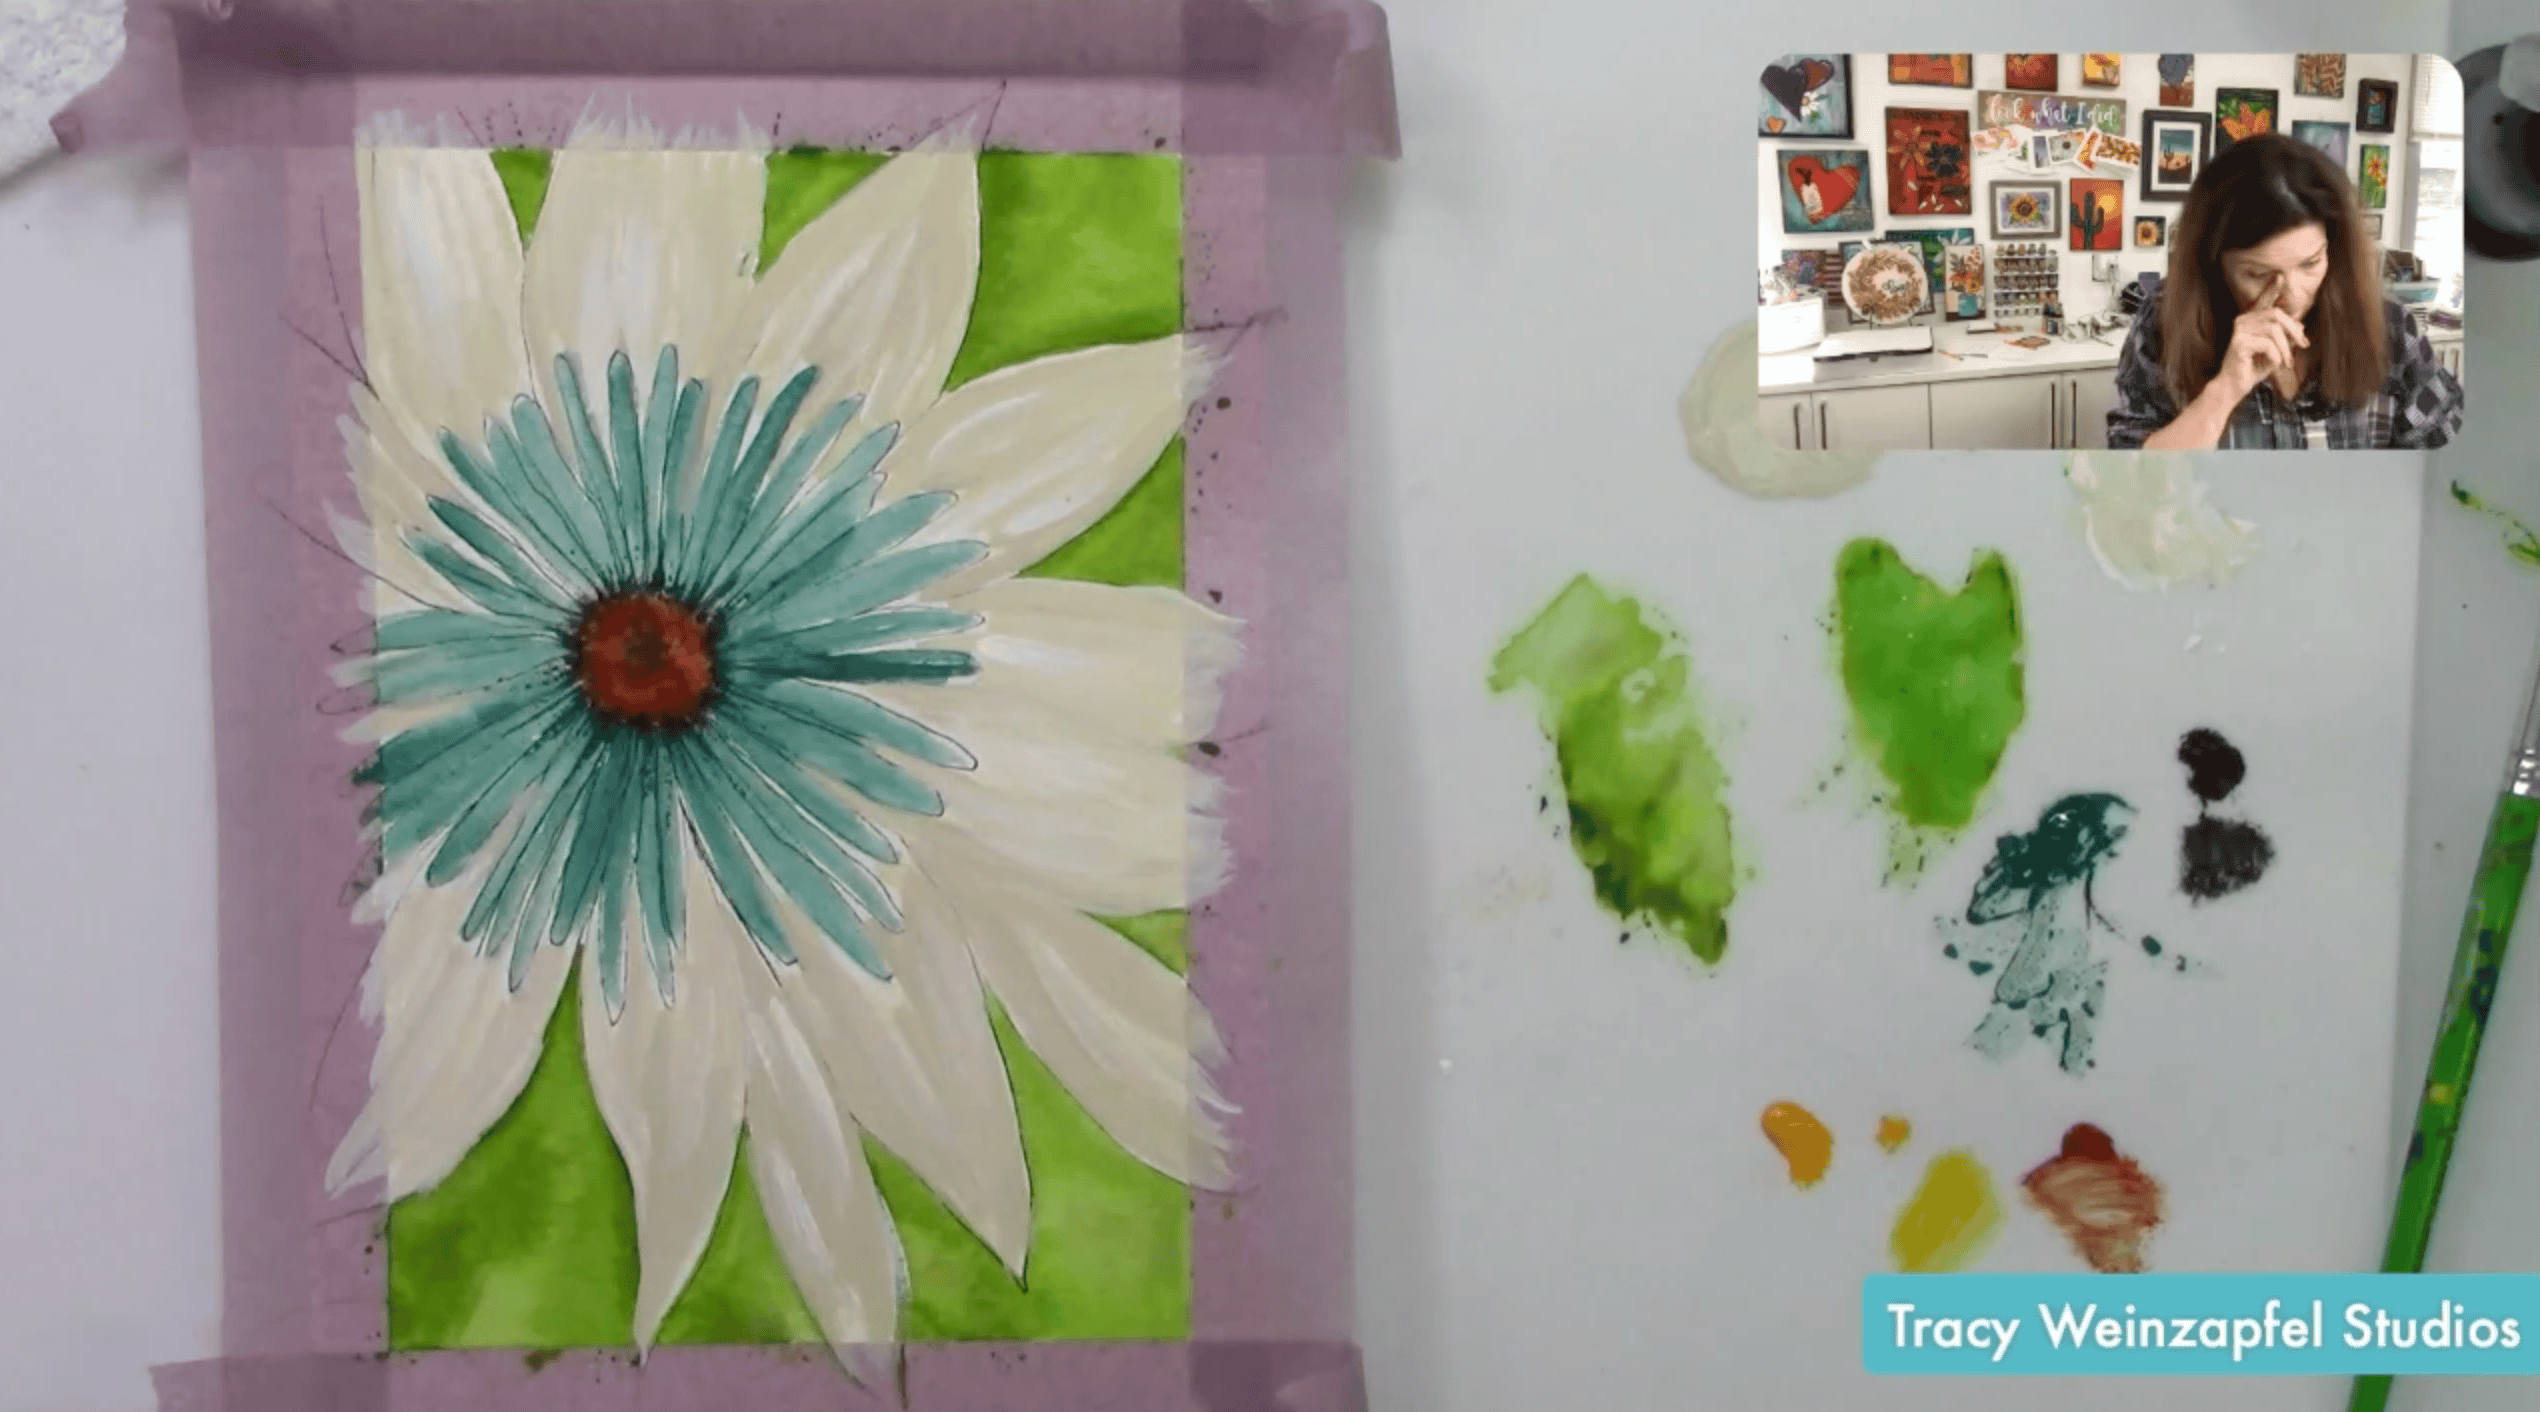
As paint and watercolor cover portions of your original drawing, some lines are naturally going to disappear. Go back in and create new ones.
This page isn’t about preserving the original sketch. It’s about responding to each new layer. As I worked, I reminded everyone not to worry about losing the lines because I could simply create new ones. Use your black pen or liner brush to reinforce petals, add definition, and create more movement.
Here’s where this page really took on a personality of its own. I decided to make those large neutral petals a little wild!
Using a fine black pen, fill individual petals with different hand-drawn patterns. Try:
- Long parallel lines
- Curved contour lines
- Tiny circles and bubbles
- Loose spirals
- Repeating arches
- Leaf-like veins
- Scribbles and imperfect marks
Don’t overthink your patterns. Repeat some if you want, change others completely, and let yourself doodle.
Once everything is completely dry, seal the finished artwork with Dorland’s Wax. Because some of the pencil and drawing materials can smear, I applied the wax carefully and worked gently across the surface. When wiping, I moved outward so any slight smearing would travel in the direction I wanted. In this case, I actually liked that it made the finished piece feel a little grungier. Make sure the wax is thoroughly rubbed into the surface.
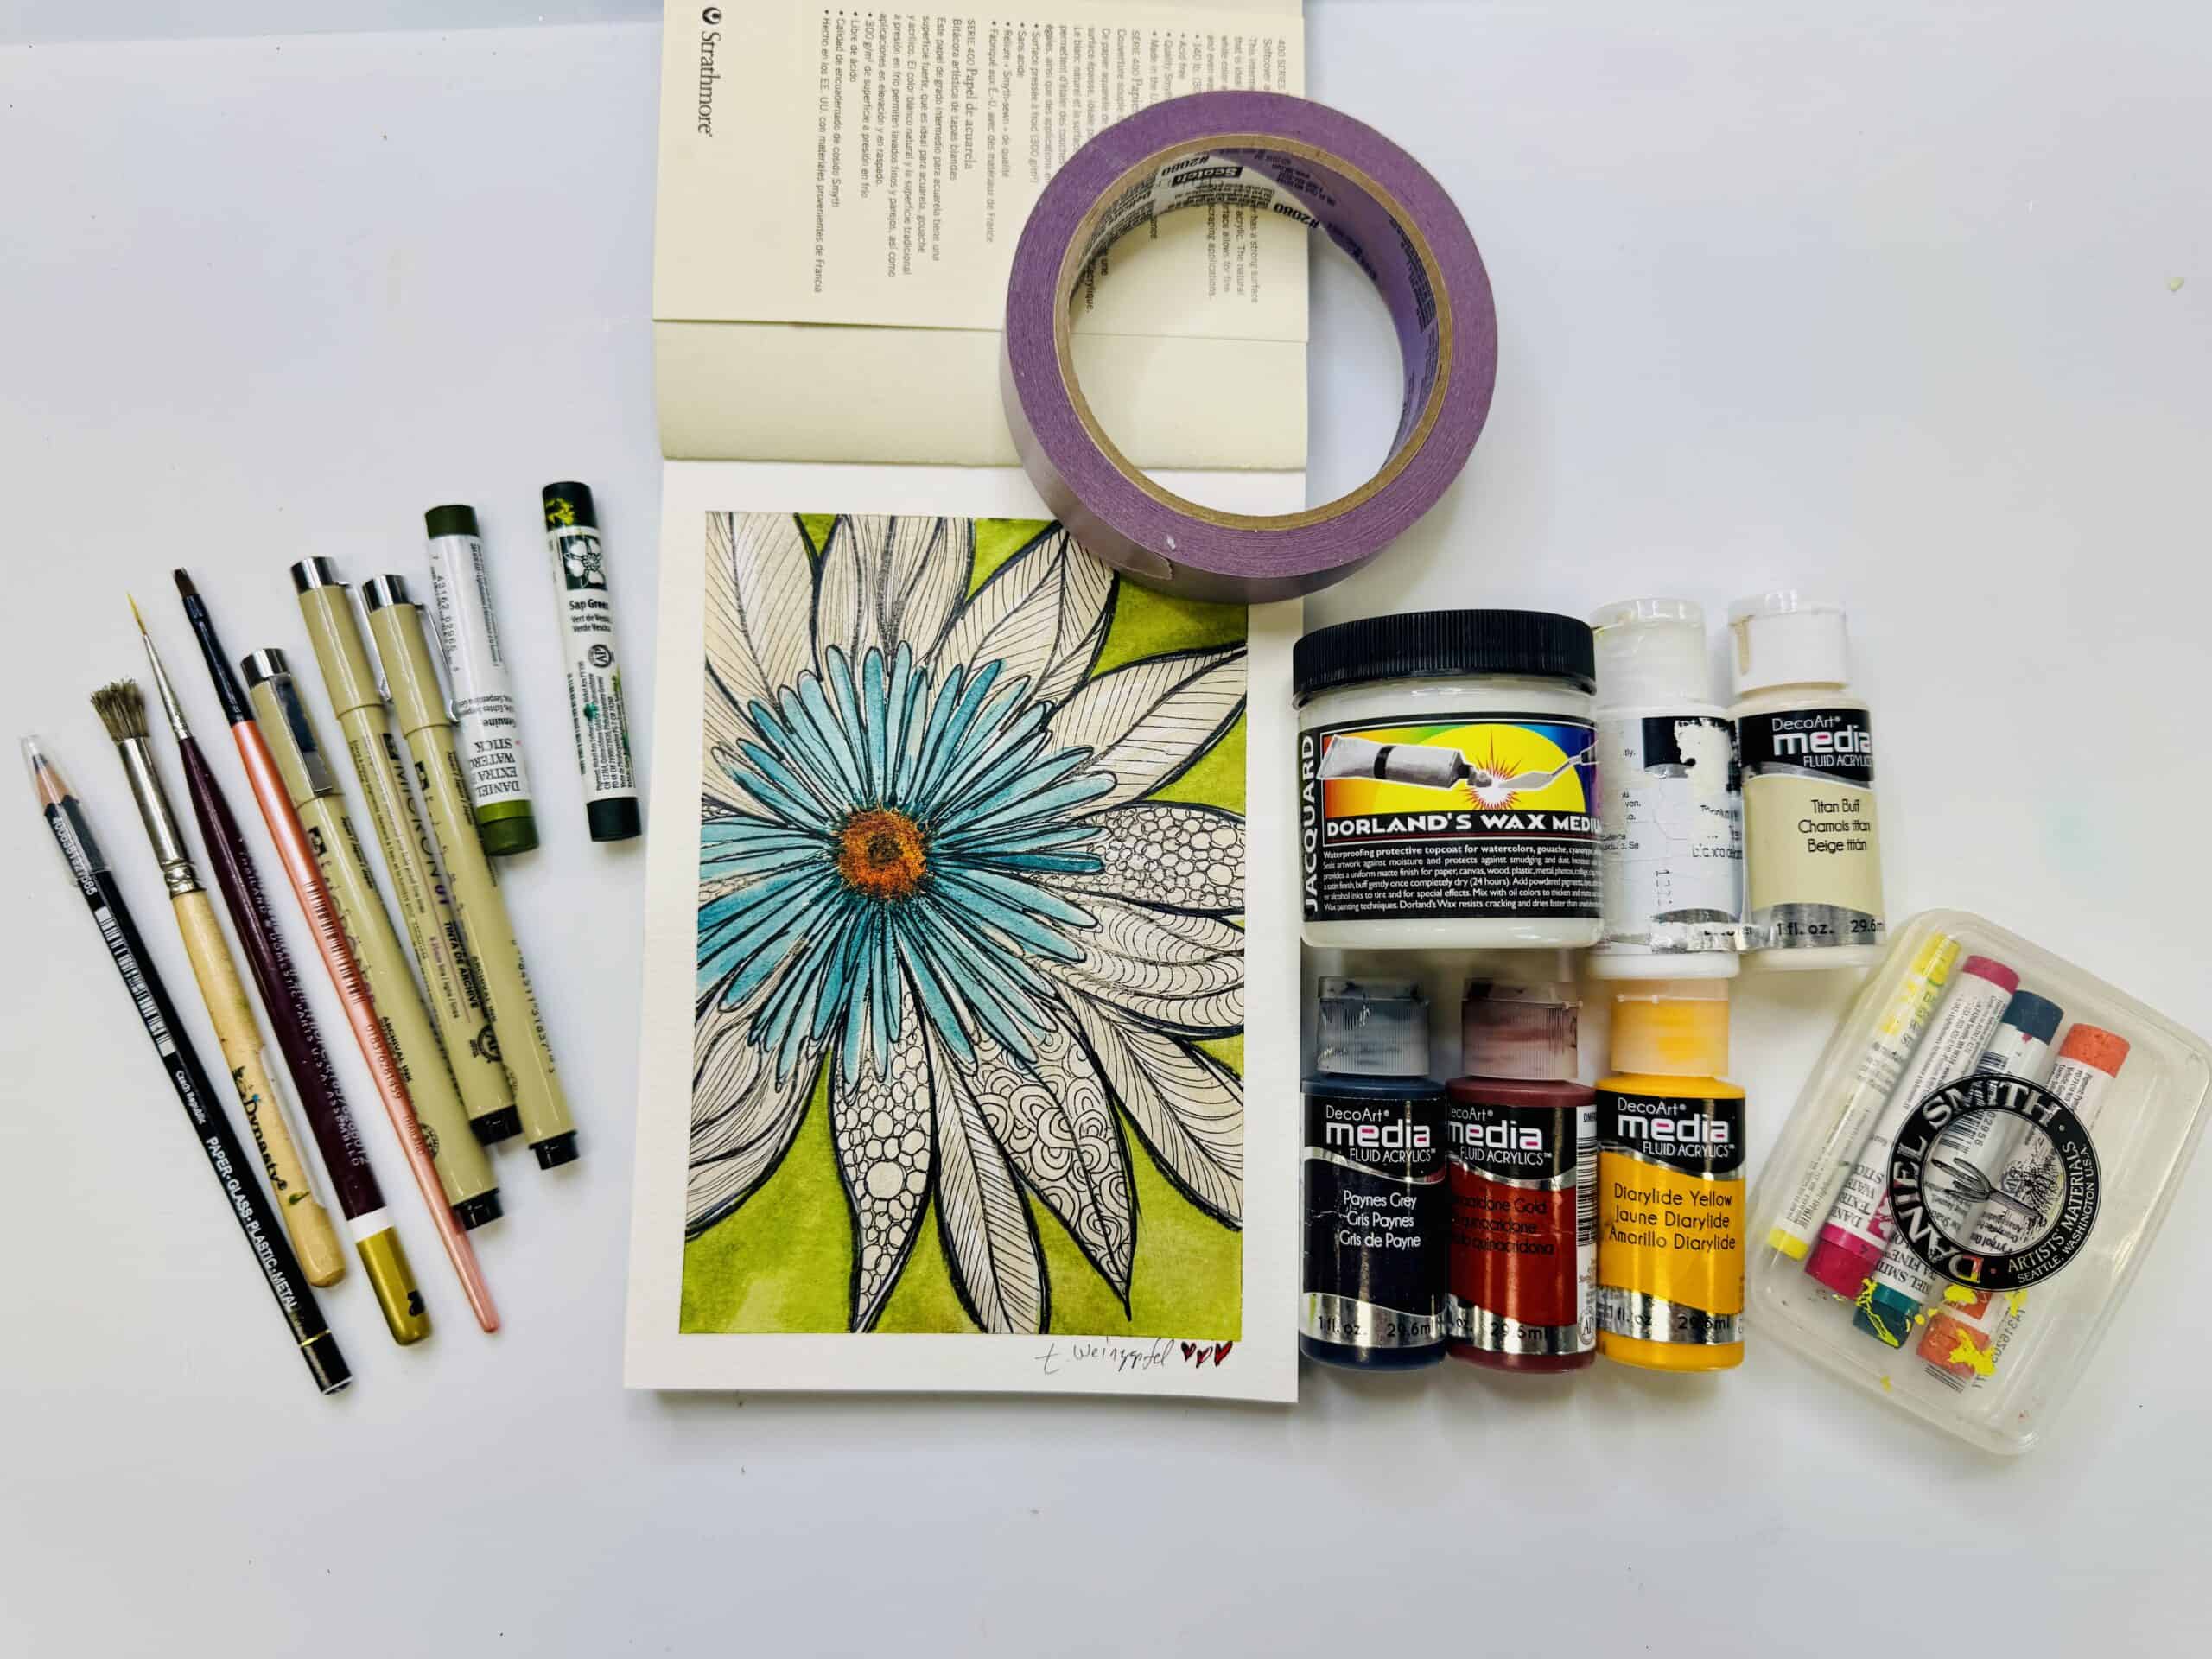
What started as a simple idea turned into a flower packed inside a flower packed inside another flower, and that’s exactly what made this project so much fun.
Your art journal is a safe place to experiment. Use the supplies you’ve been saving. Color outside the lines. Make the petals different. Add the weird pattern. Change your mind halfway through. You don’t have to know exactly where your artwork is going to enjoy getting there!
Watch the replay below!
Thank you for joining in on the creative fun. Join us LIVE every Wednesday at 5:30 pm PST on Facebook at Tracy Weinzapfel Studios.
Join the waitlist for Your Artful Journey! This is my exclusive creative membership where you can explore the world of art journaling! Join a community of support and inspiration with interactive art sessions full of tips and tricks, conversation, Q & As, and most of all, FUN!
Supply List:
- Fabriano 7 X 10 Watercolor Journal
- Painter’s Tape
- Ultra Fine Sharpie or similar permanent black pen
- Watercolor sticks
- Dorland’s Wax
- Paint: Decoart Media – Titan Buff, Quin Gold, Pyrrole Red, Payne’s Gray, Teal, and White
- Brushes – Tracy Weinzapfel Brush Set 1
- Dynasty Stencil Brush
- Dynasty Micron Detail Brush X Long 10/0 or 15/0
- Micron Fine Liner Brush
Check out Tracy’s Art Journal Starter Kit!
Tracy’s Resources Page and visit Tracy’s Shop