
Creating beautiful watercolor flowers in your art journal is easier than you think! In this basic watercolor art tutorial, I’ll share my typical process for painting vibrant flowers with just a few simple supplies. Whether you’re new to art journaling or looking for a fun and relaxing project, this step-by-step guide is the perfect place to start.
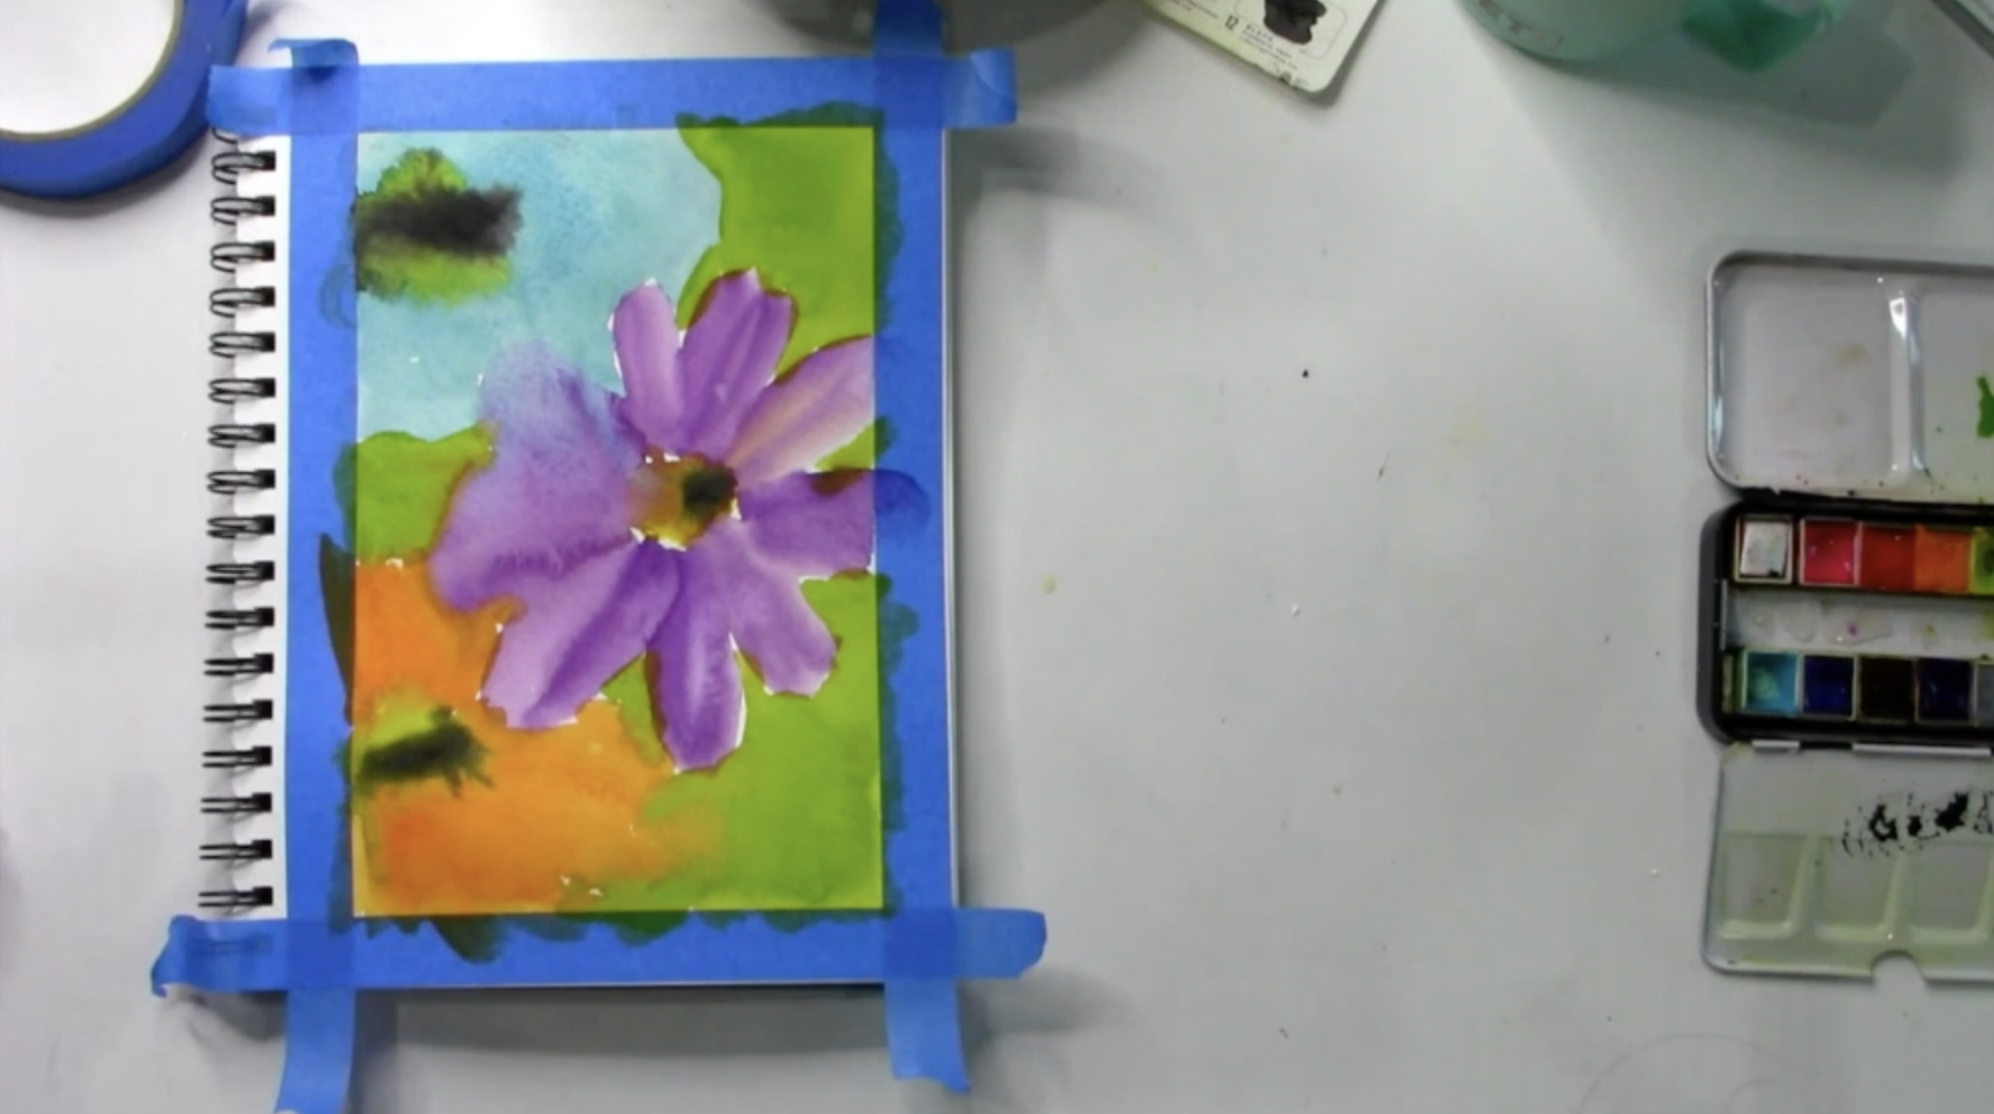
Prep your art journal by taping off the edges with Painter’s Tape. Then, mist down your watercolor palette with water.
Start adding color in the shape of flowers to your art journal page. I am creating a purple, blue, and orange flower. I’ll also add drops of black in each flower center and paint the background with a bright green. Dry with a heat tool.
Next, take an ultra-fine Sharpie or permanent pen and start outlining and adding details to your flowers. I’ll also sketch some leaves in the green area of my background.
Use a darker shade of green from your watercolor palette and fill in all of the negative space in your background to make the leaves pop. Dry with a heat tool.
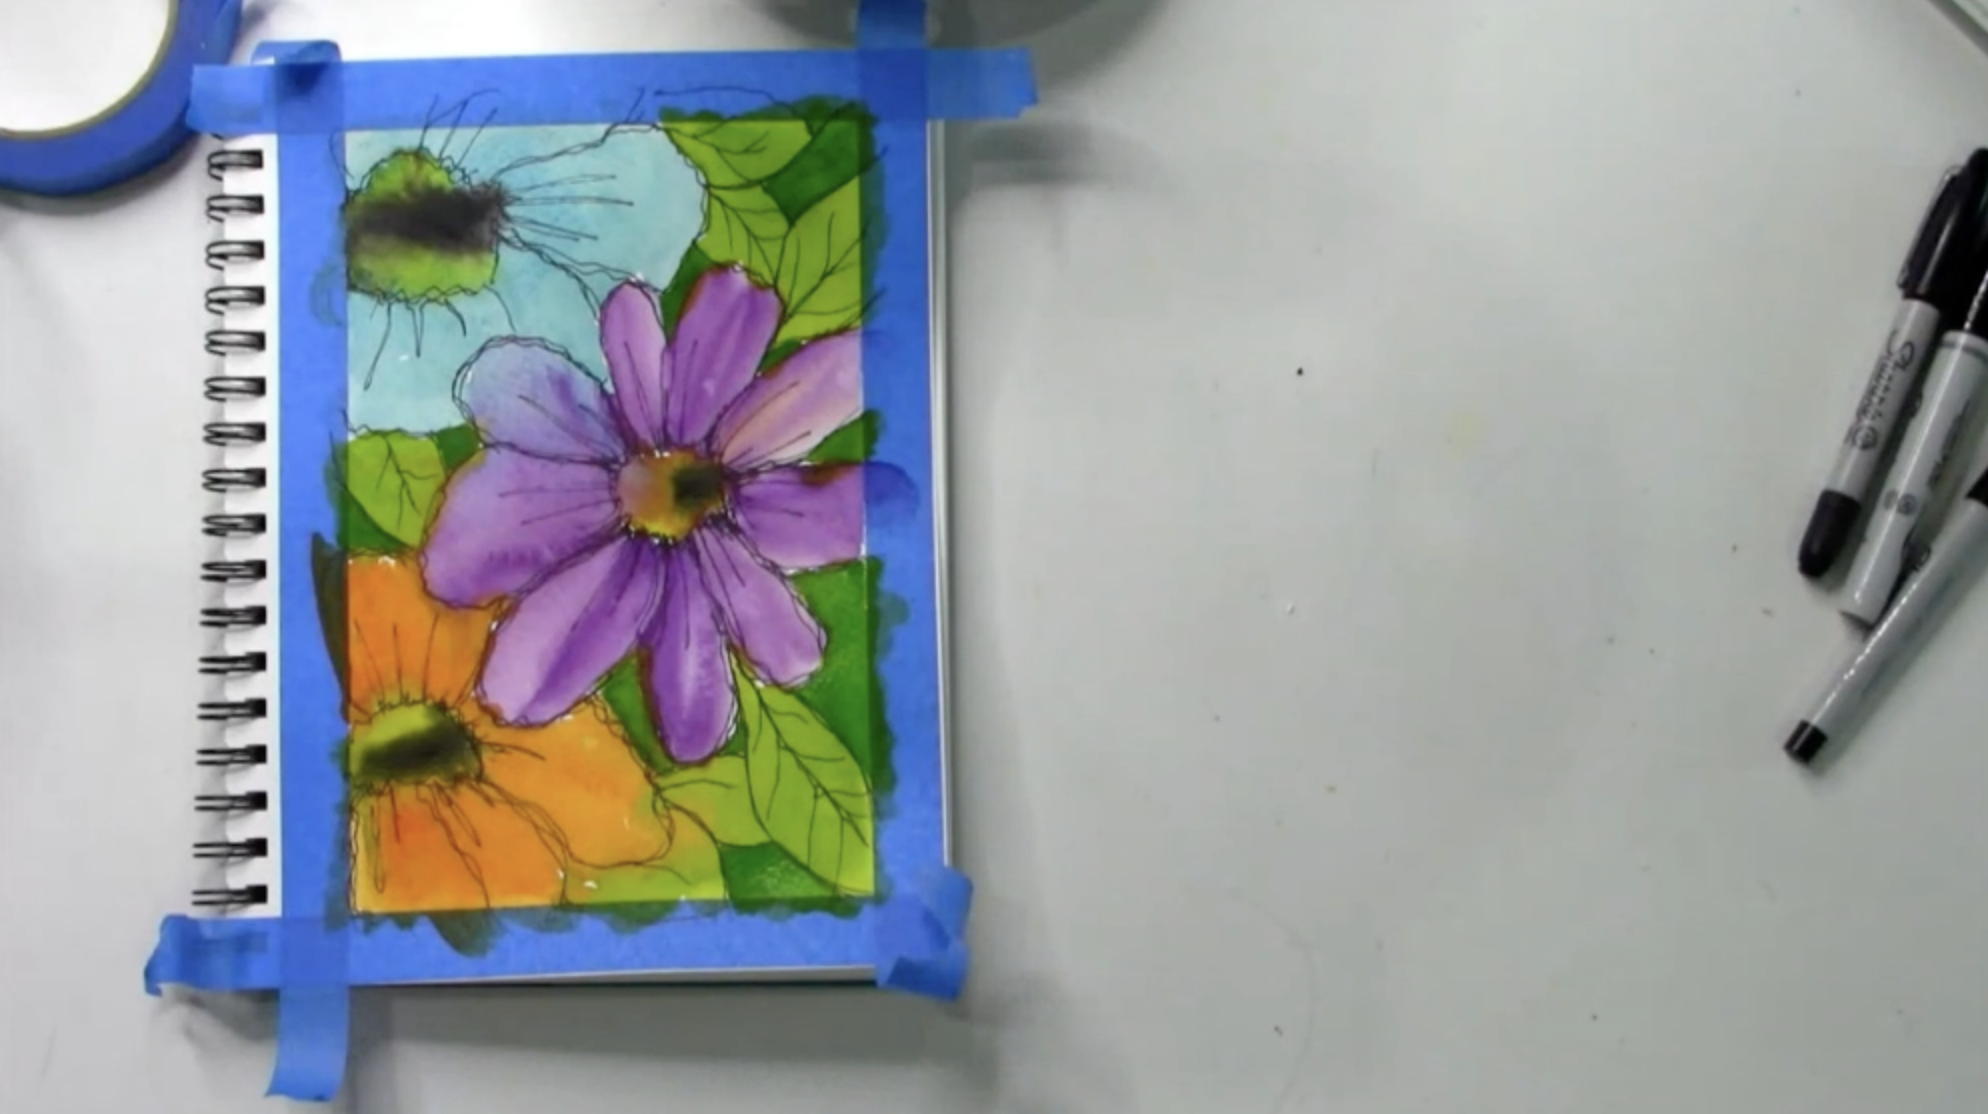
Then, I’ll take a thicker Sharpie marker and add in more details lines to my flowers and leaves.
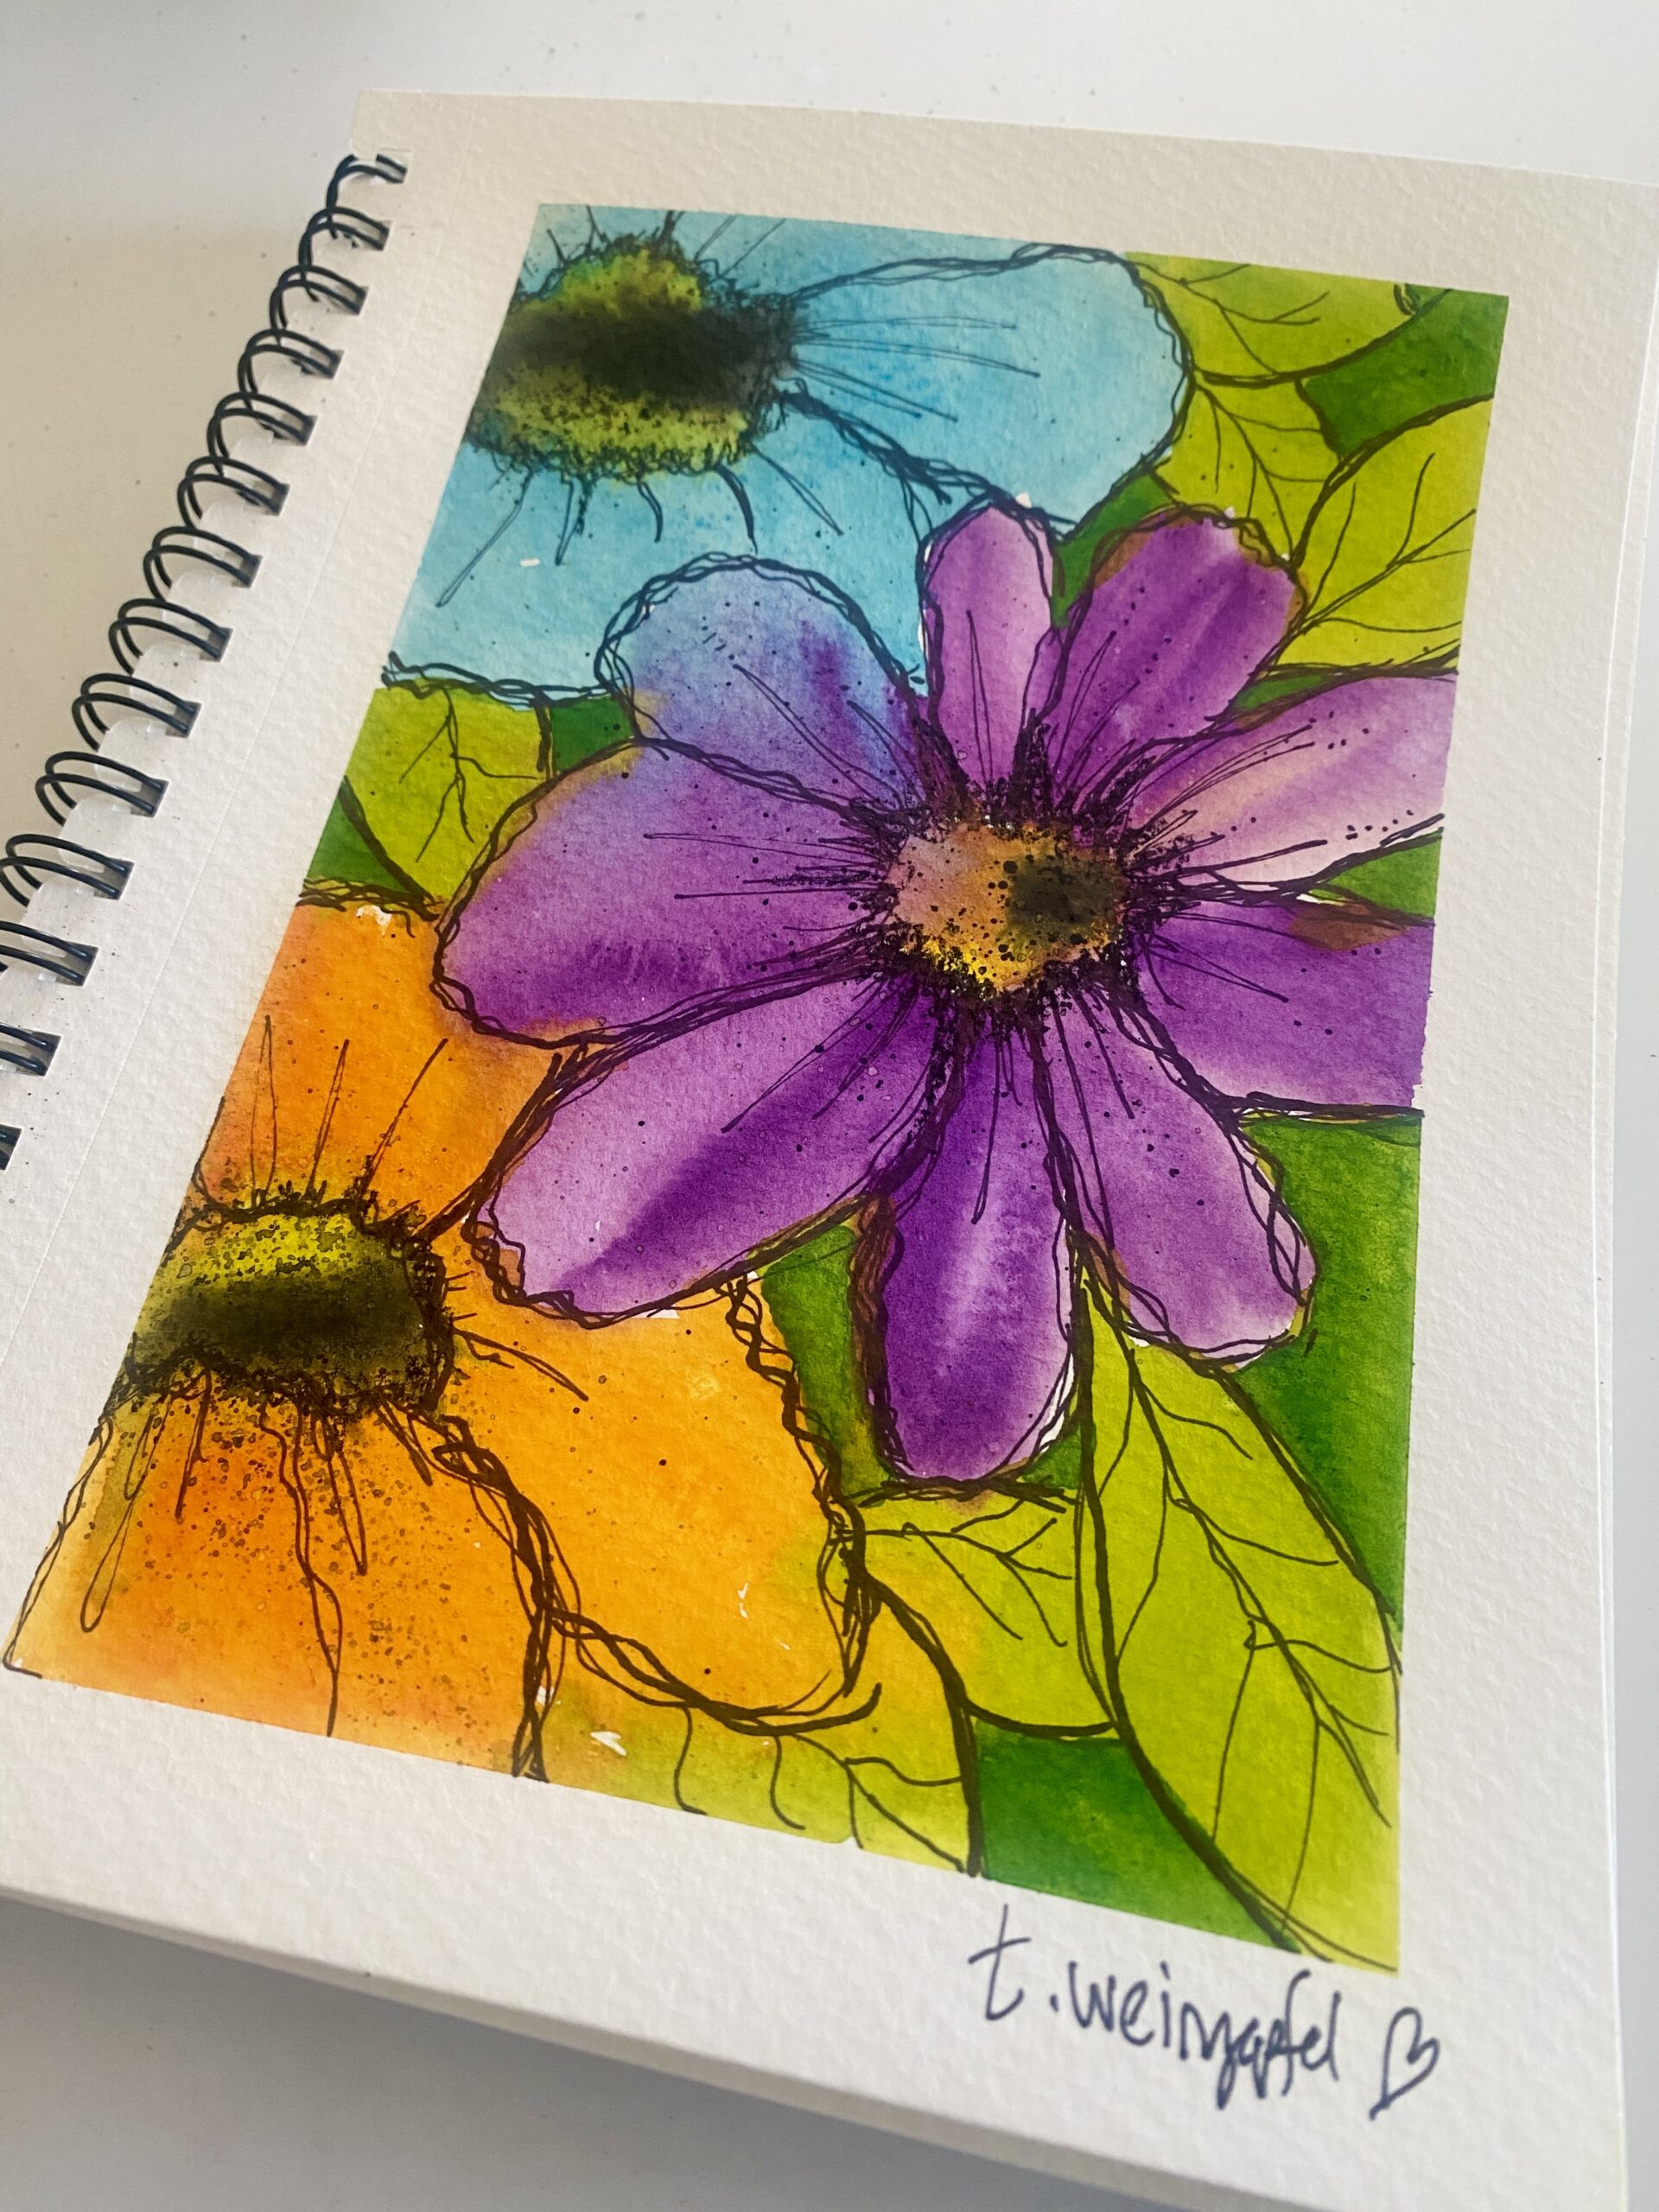
Take a fan brush, dip it in black watercolor paint, and tap your brush above your art journal page to create a splatter effect on your flower centers. Dry with a heat tool.
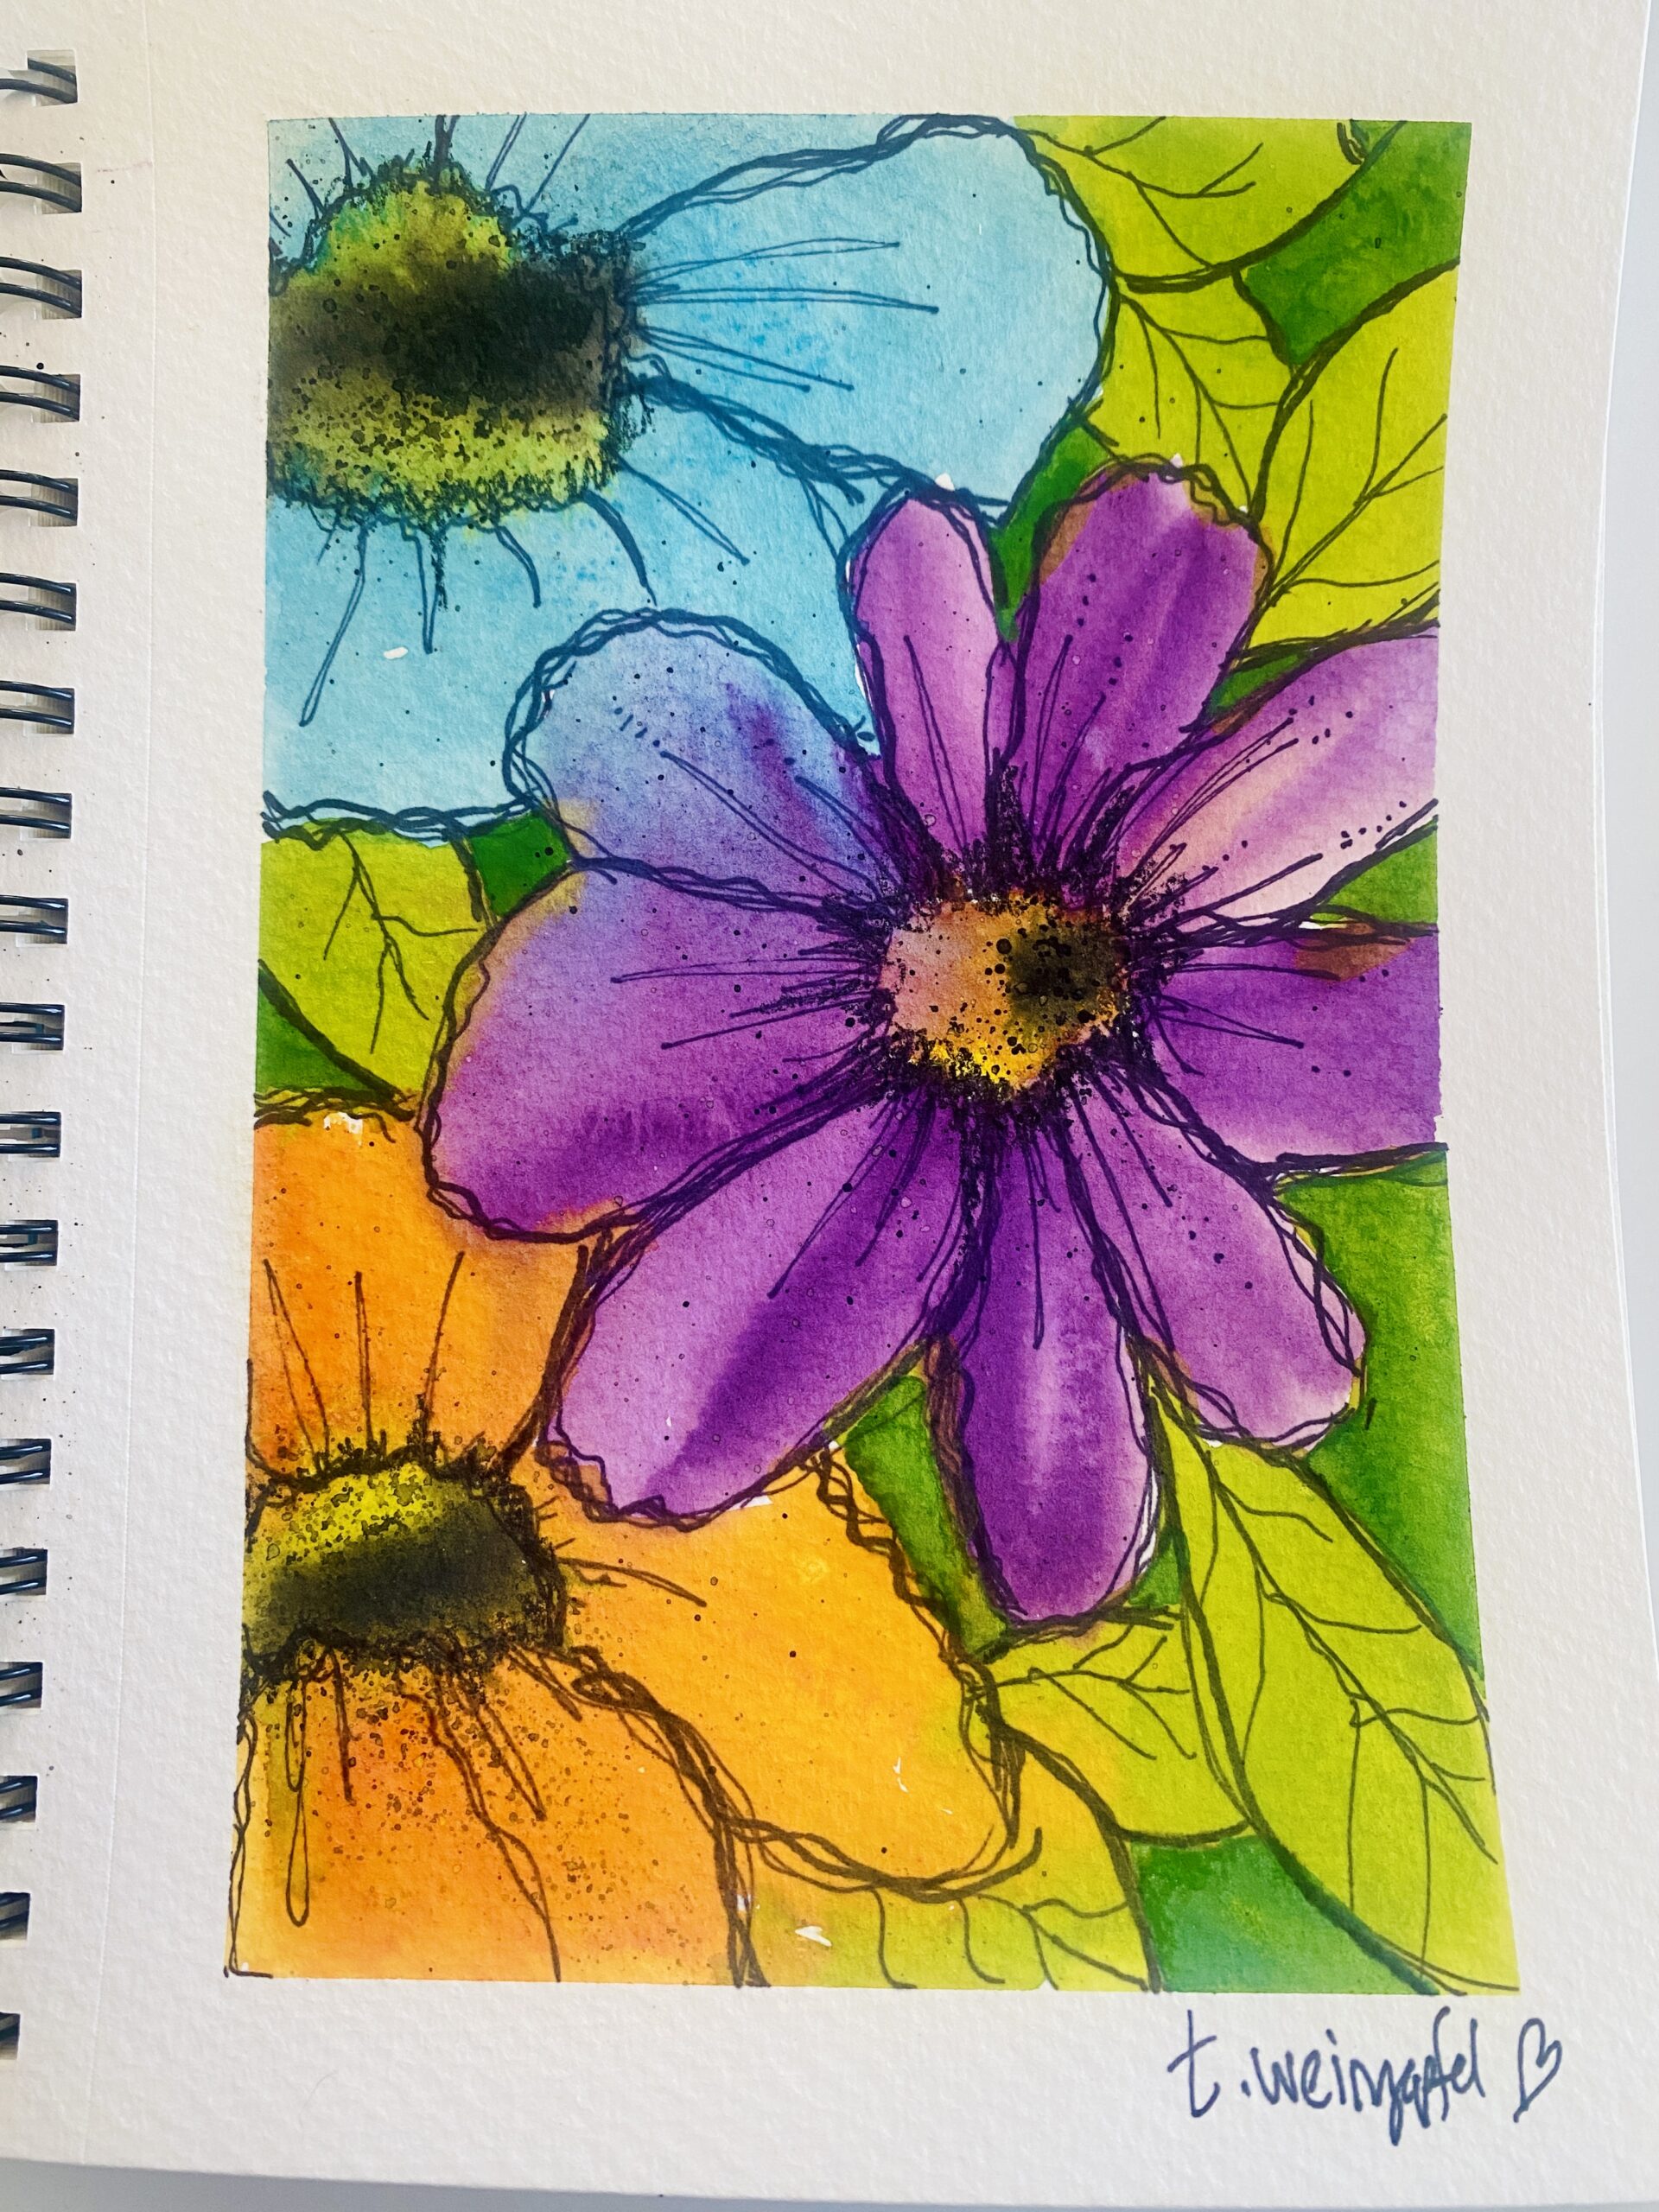
Remove the painter’s tape and enjoy!
Watch the replay below!
Thank you for joining in on the creative fun. Join us LIVE every Wednesday at 5:30 pm PST on Facebook at Tracy Weinzapfel Studios.
Join the waitlist for Your Artful Journey! This is my exclusive creative membership where you can explore the world of art journaling! Join a community of support and inspiration with interactive art sessions full of tips and tricks, conversation, Q & As, and most of all, FUN!
Supply List:
- 7 X 10 Watercolor Journal
- Painter’s Tape
- Watercolors: Prima Classics
- Brushes: Dynasty
- Sharpie Markers
Tracy’s Resources Page and visit Tracy’s Shop