Painting a wooden tag with watercolor is a fun way to create a personalized, artistic piece (and is perfect for the upcoming gift-giving season!) After prepping your tag, you’ll add layers of vibrant colors for flowers, sketch details with liner pens, and seal it for a polished finish. It’s simple, creative, and uniquely yours!
Start off by taping the back of your wooden tag with painter’s tape to keep it clean. Then, prep your wooden tag with a coat of Daniel Smith Watercolor Ground. Let this cure overnight.
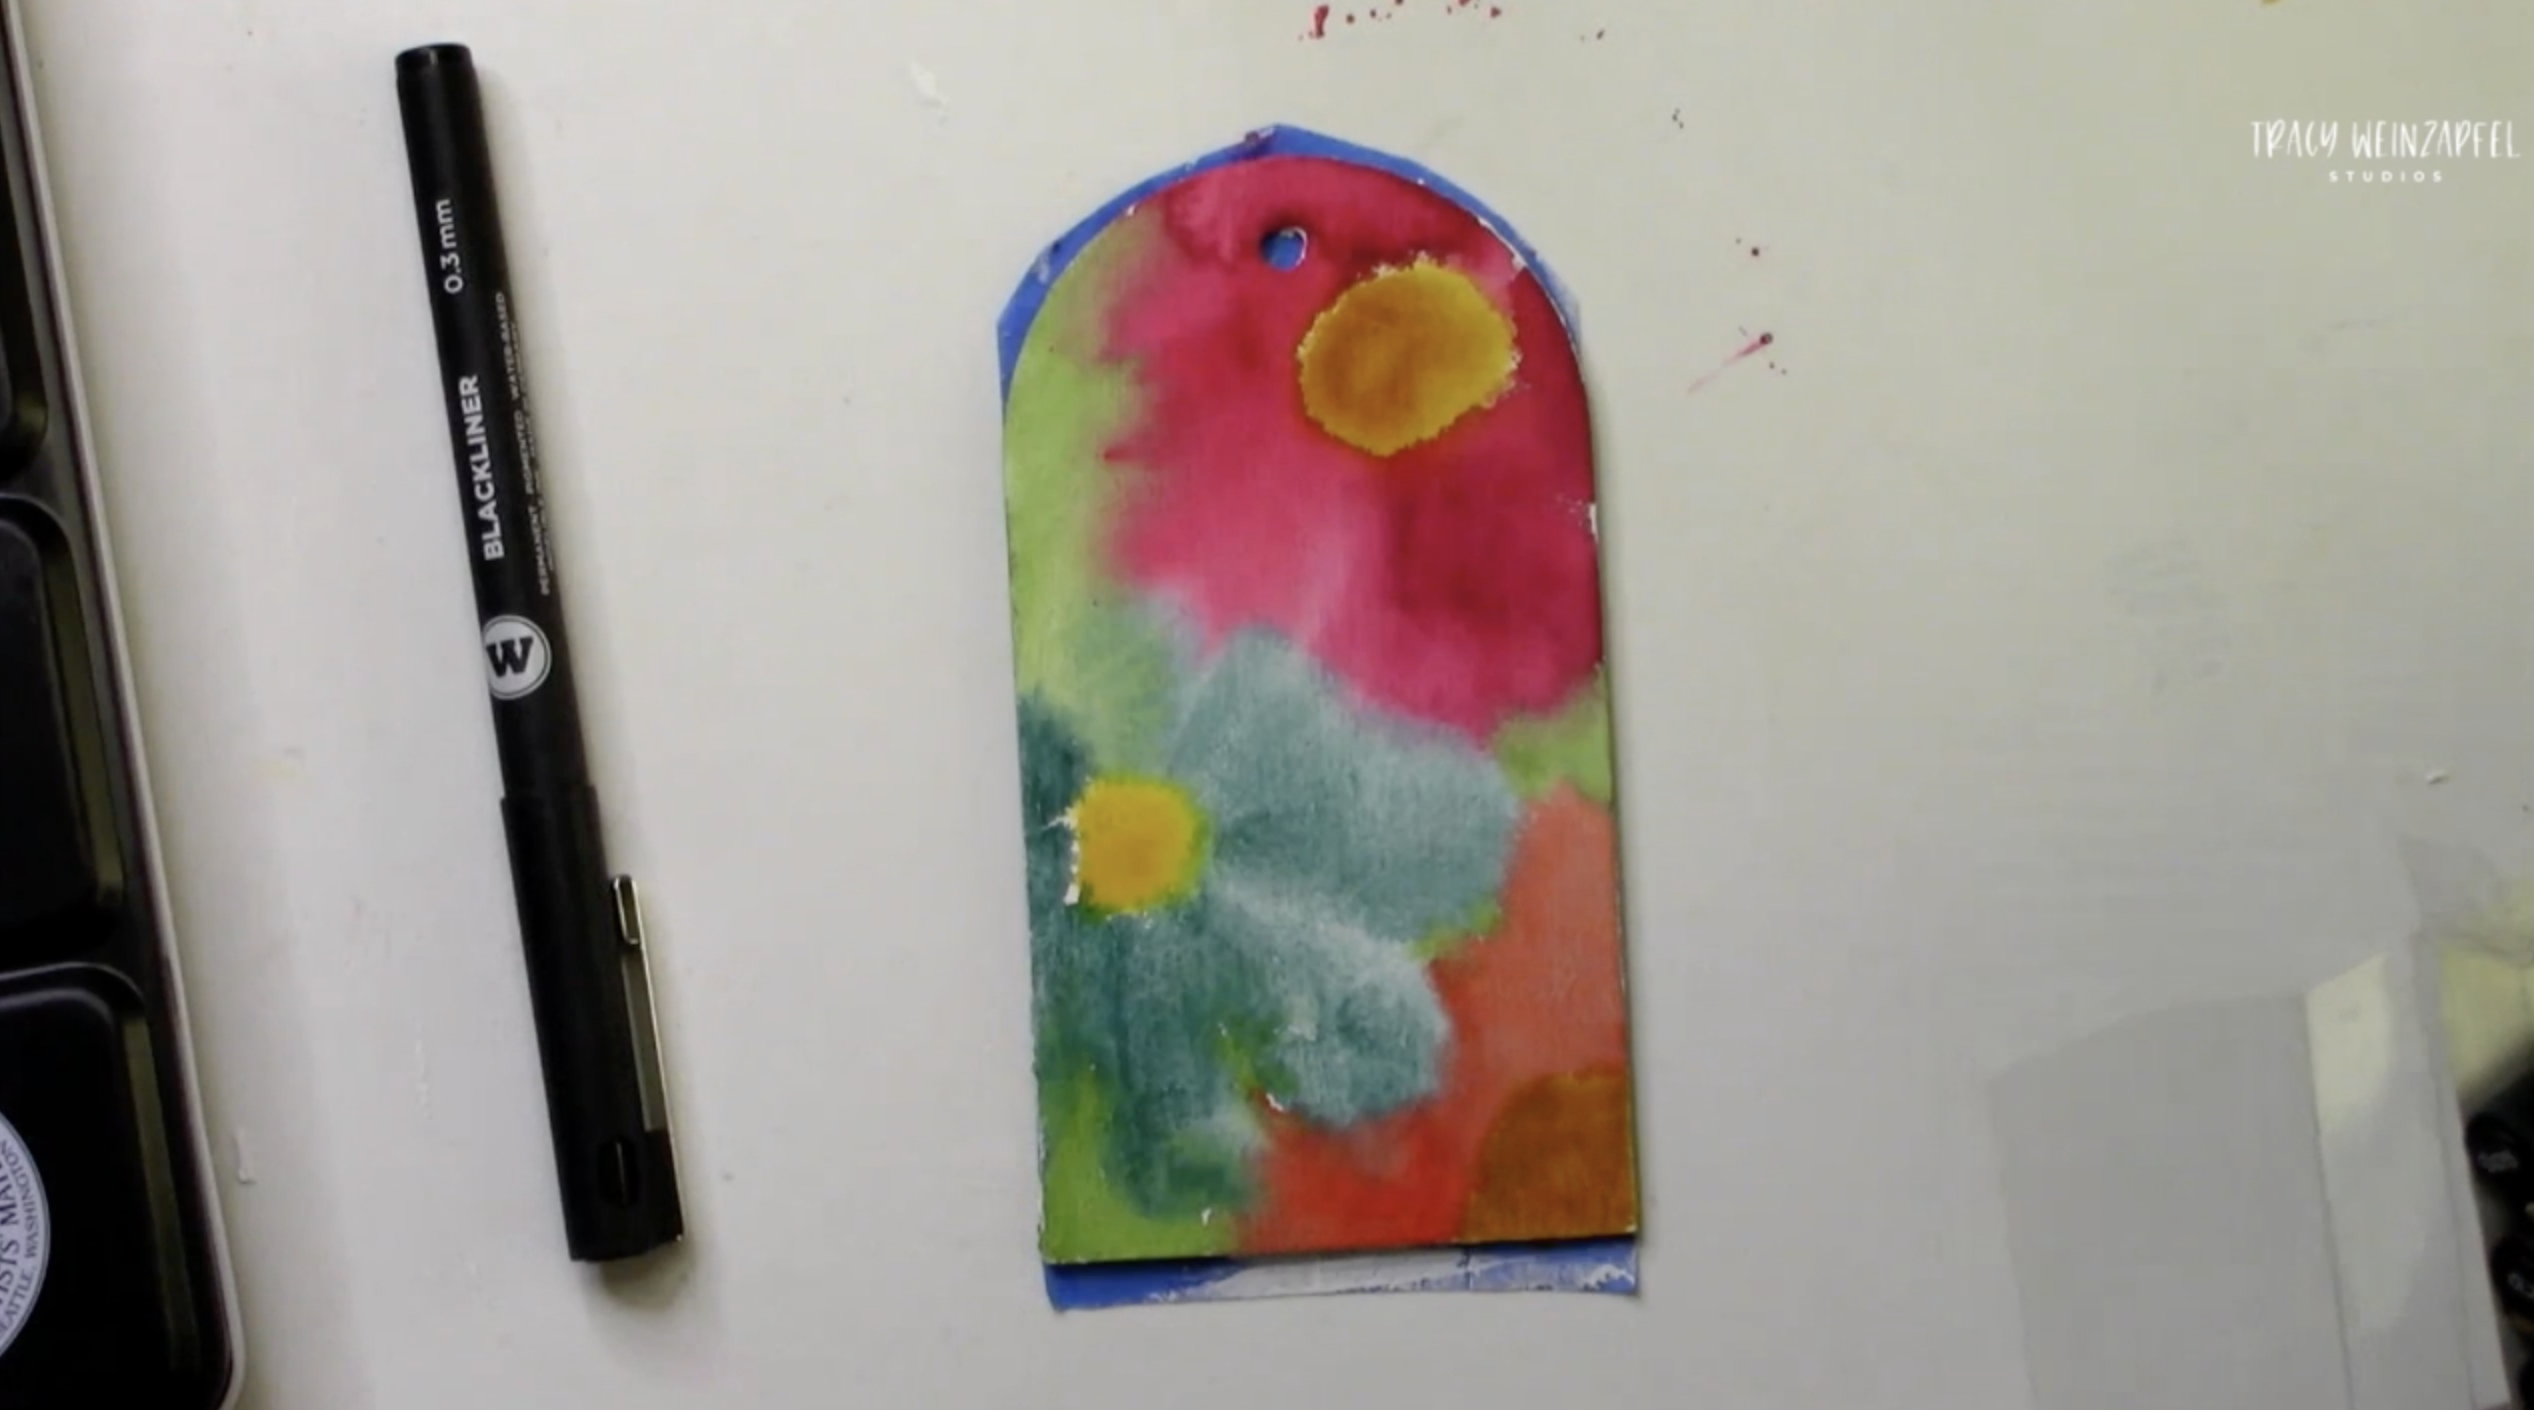
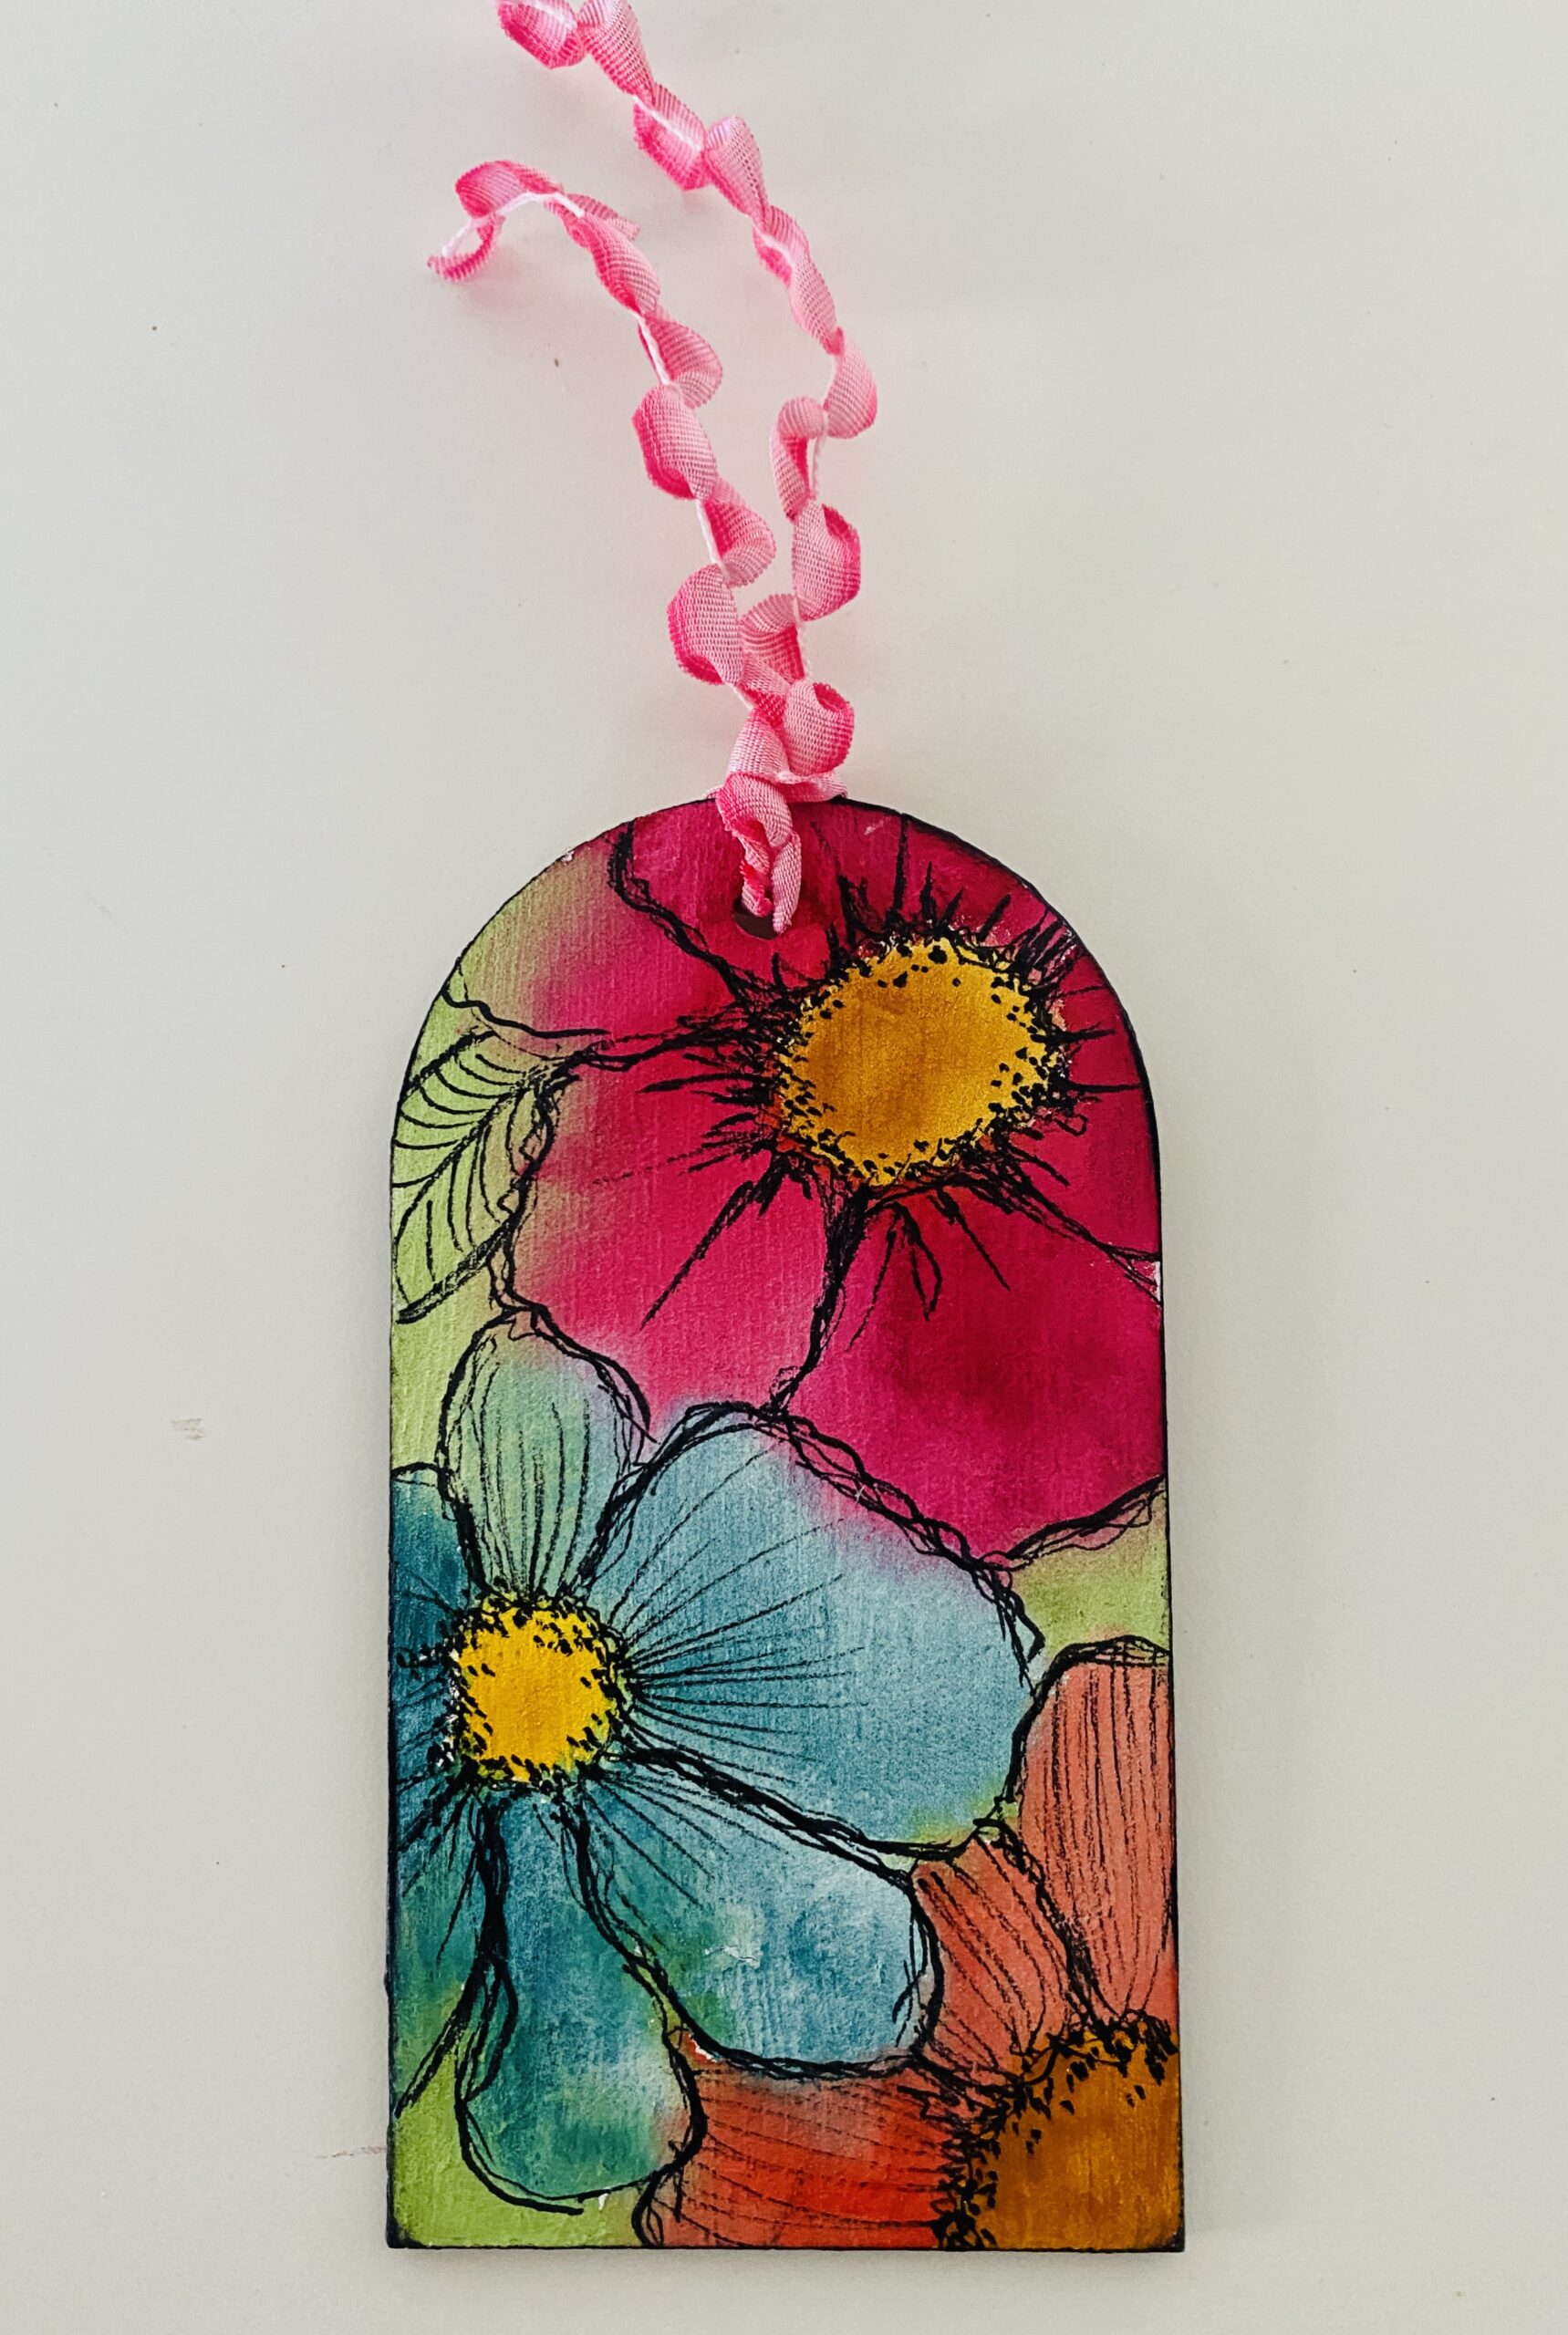
Mist your watercolor palette with water to activate the paints, and do the same with your wooden tag to prepare the surface. Start by painting the flower centers in yellow and orange, then add colorful petals in shades like pink, blue, and orange. Apply a light green color to the background to bring it all together. Use a heat tool to dry and set your artwork.
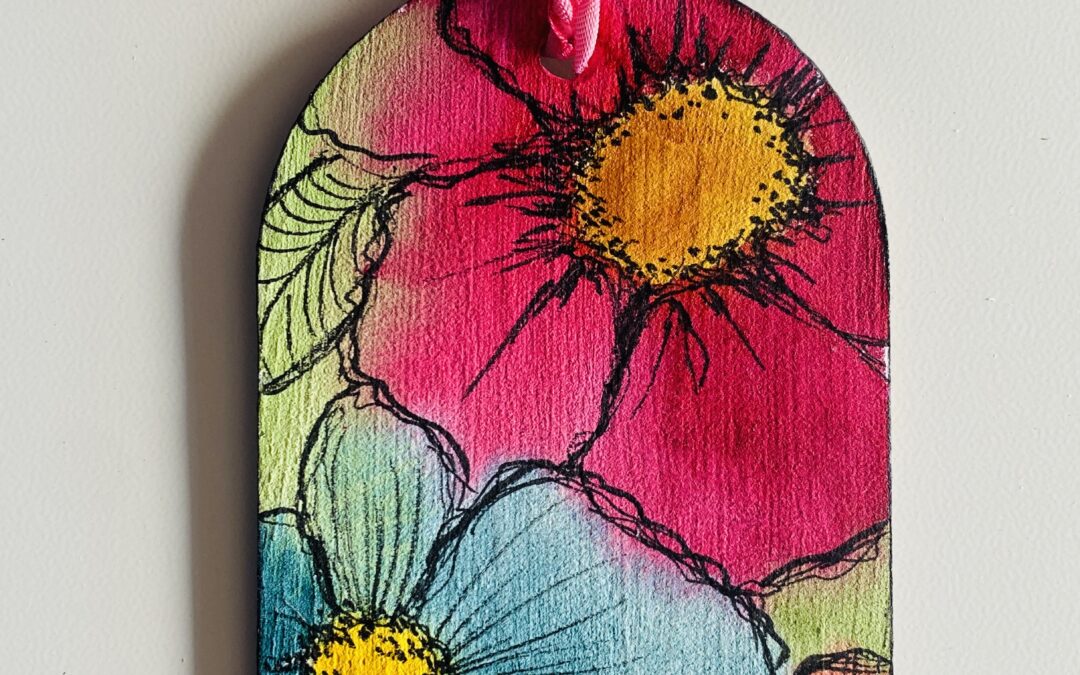
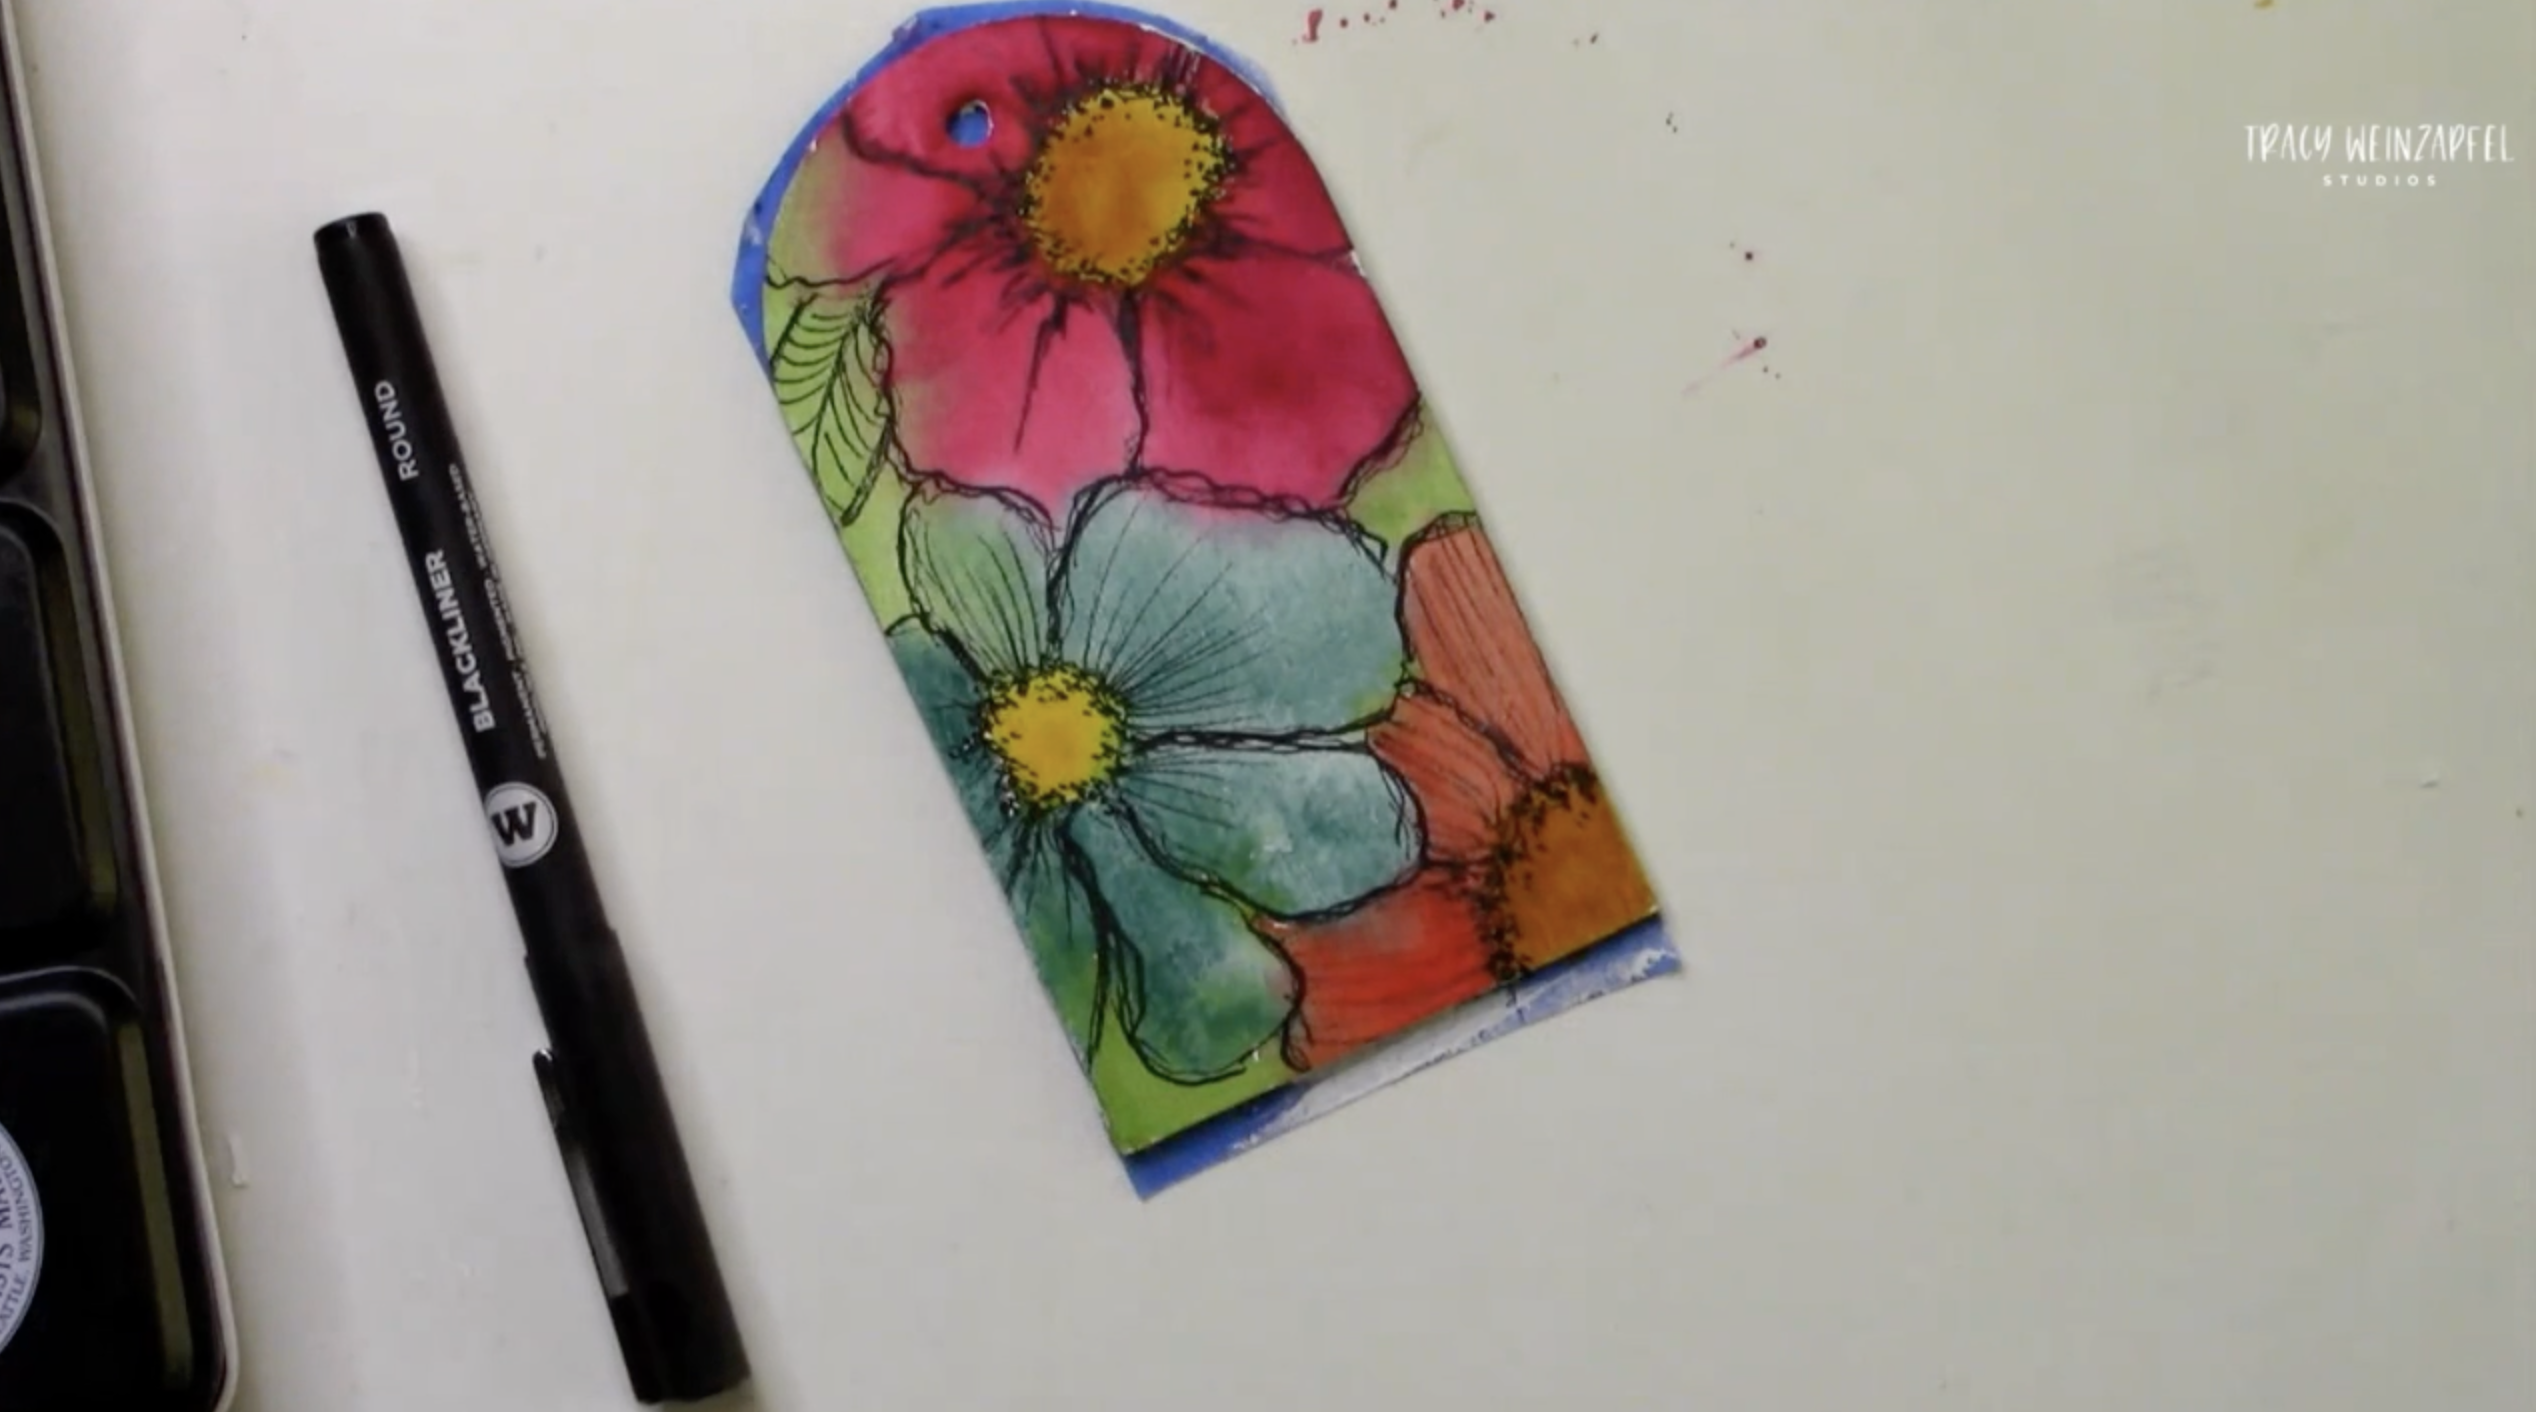
Next, grab a set of Molotow Blackliner Pens to sketch out your flowers – outlining the flower petals, adding texture to the flower centers and petals, and doodling a few leaves in the background.
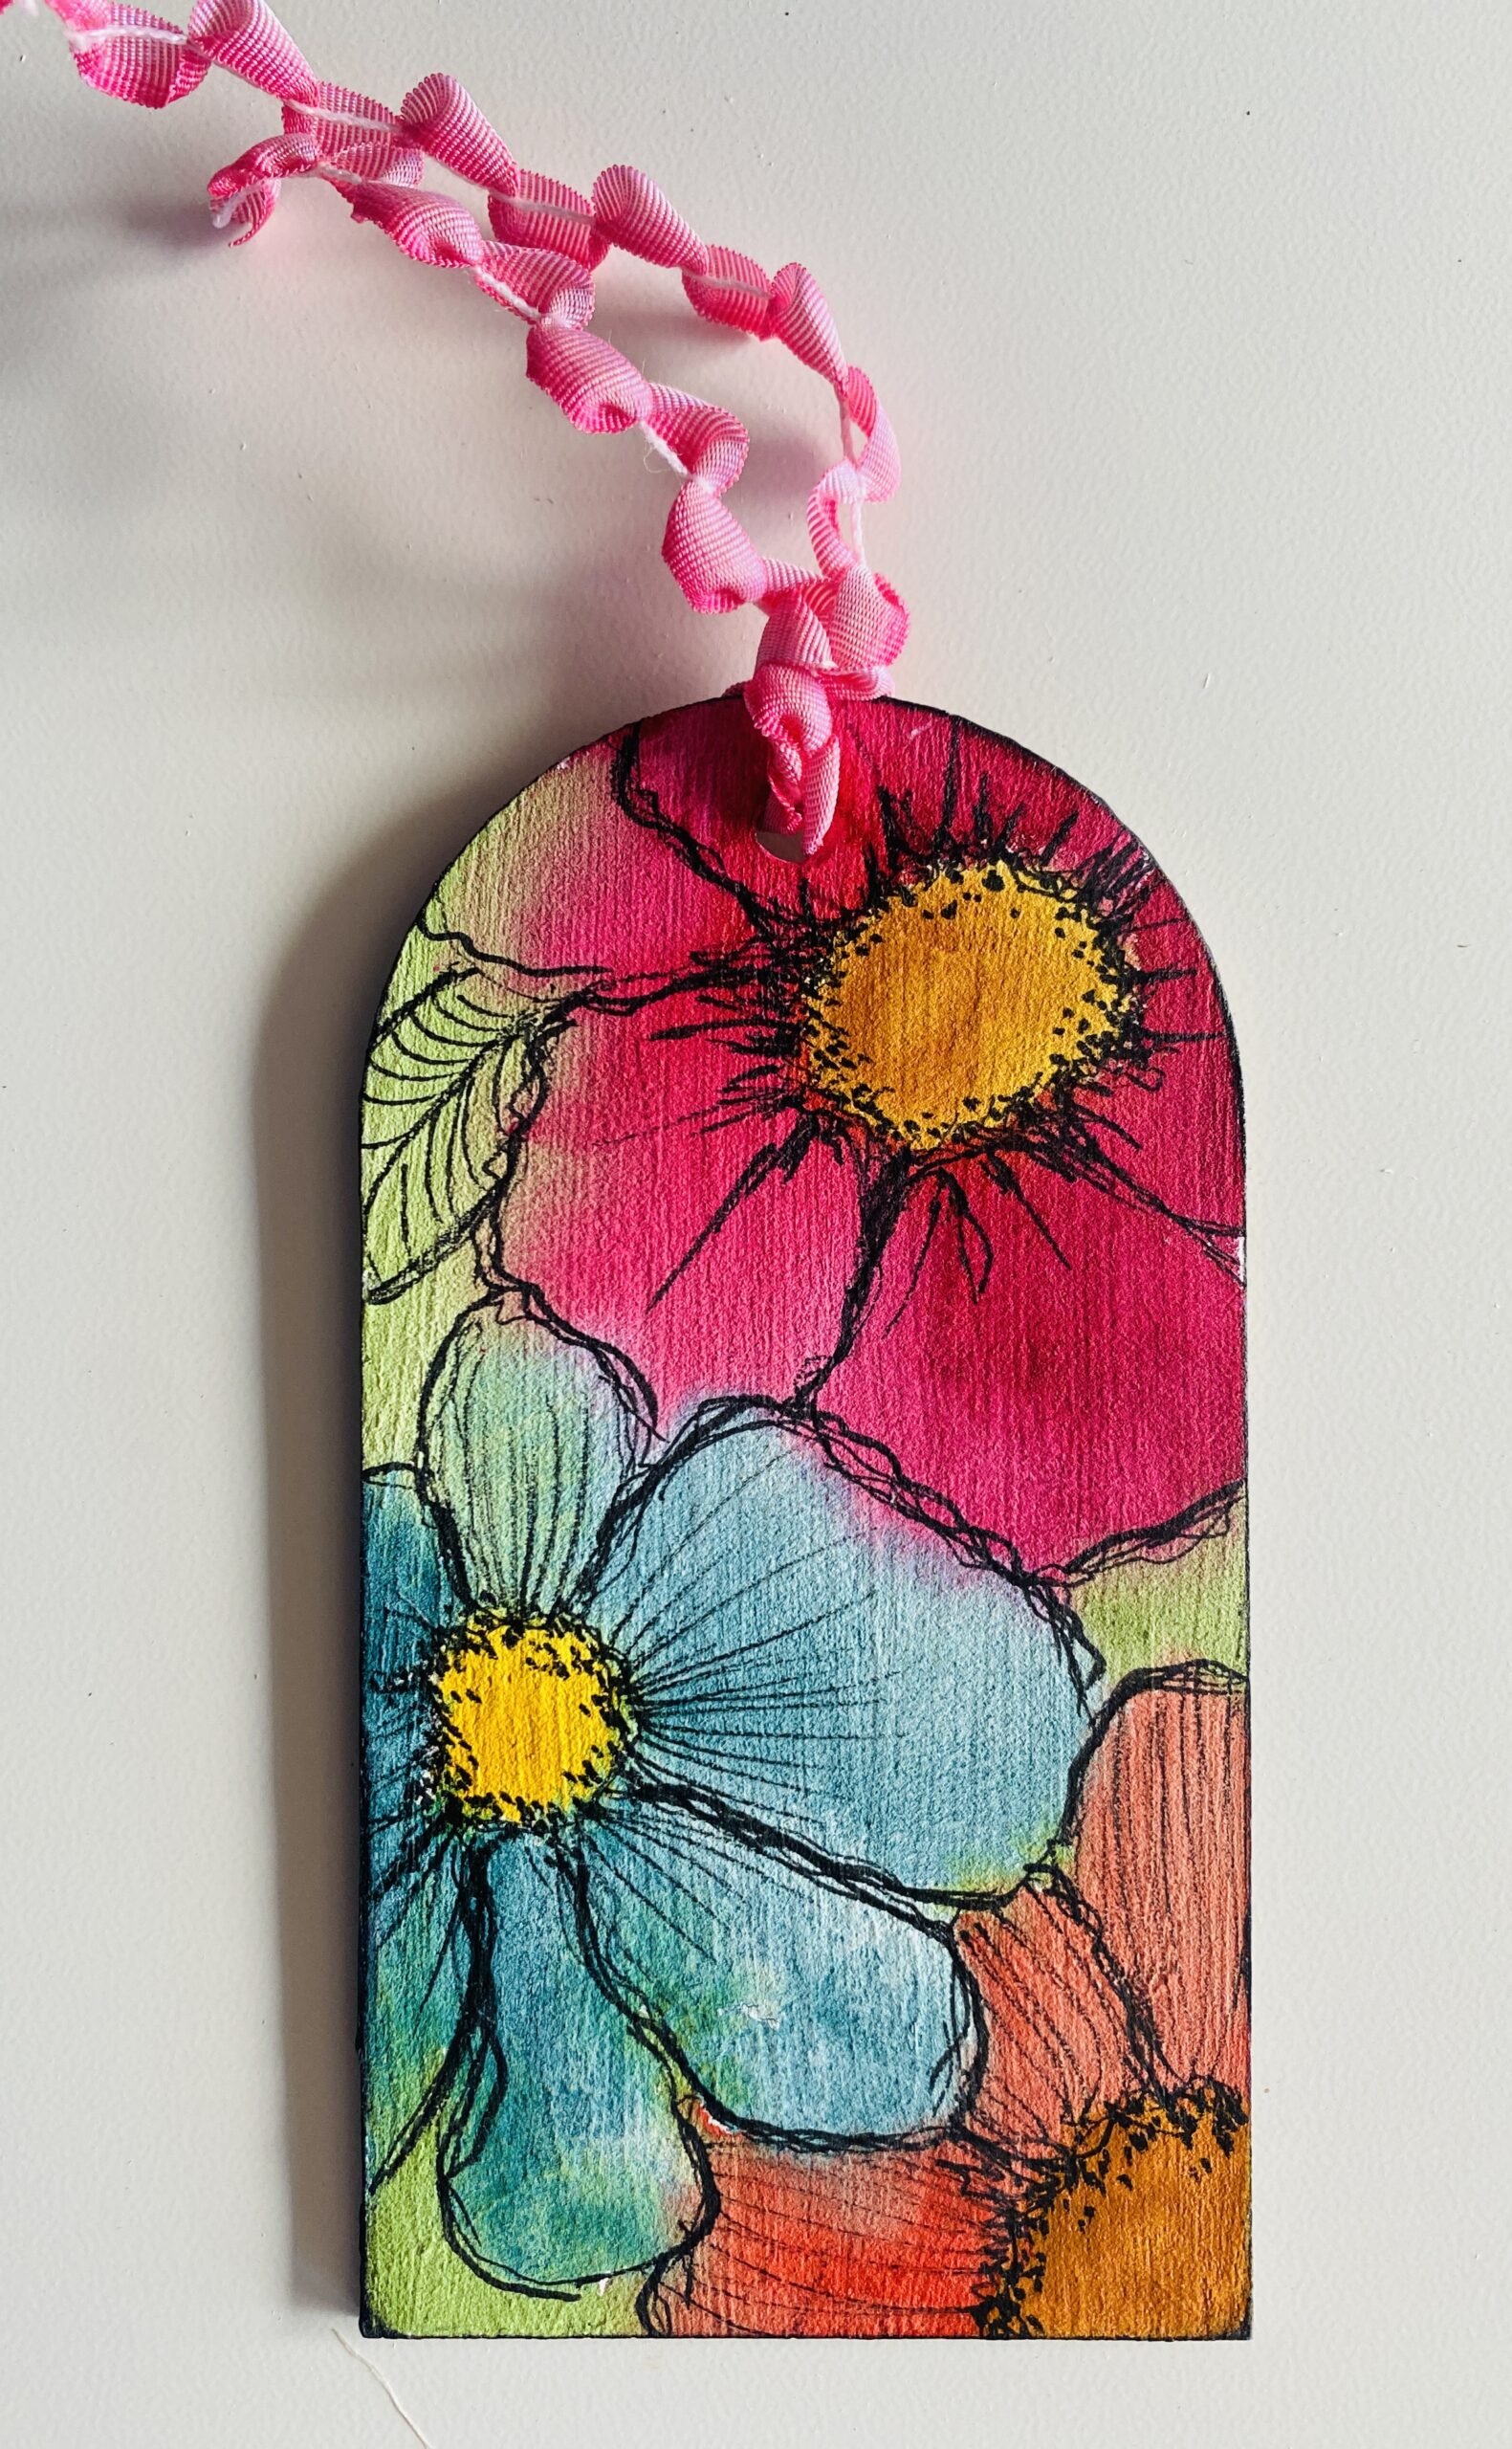
Finally, I’ll use a Ranger Archival (Black) ink pad to add colors to the edges. Remove the painter’s tape and spray your tag with DecoArt Media Satin Varnish or Spray Varnish to seal it.
Watch the replay below!
Thank you for joining in on the creative fun. Join us LIVE every Wednesday at 5:30 pm PST on Facebook at Tracy Weinzapfel Studios.
Join the waitlist for Your Artful Journey! This is my exclusive creative membership where you can explore the world of art journaling! Join a community of support and inspiration with interactive art sessions full of tips and tricks, conversation, Q & As, and most of all, FUN!
Supply List:
- Birch Wood Tags
- Daniel Smith Watercolor Ground
- Watercolors – Daniel Smith
- Pens Molotow Blackliner Pens
- Ink: Ranger Archival (Black)
- DecoArt Media Satin Varnish or Spray Varnish
- Dynasty Brushes
Tracy’s Resources Page and visit Tracy’s Shop