
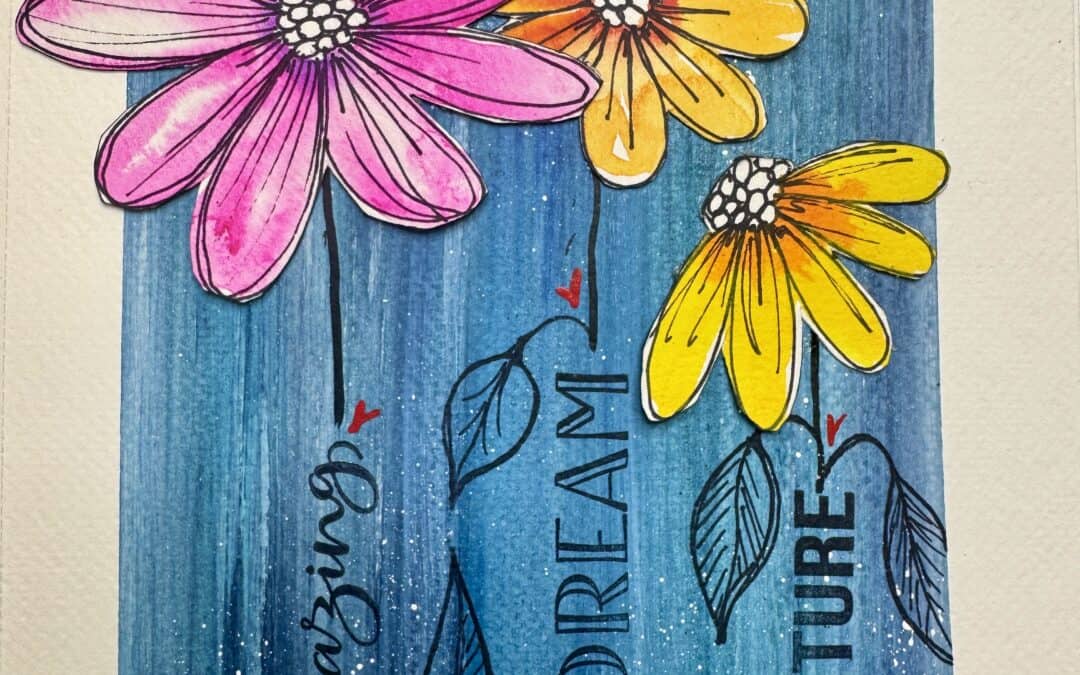
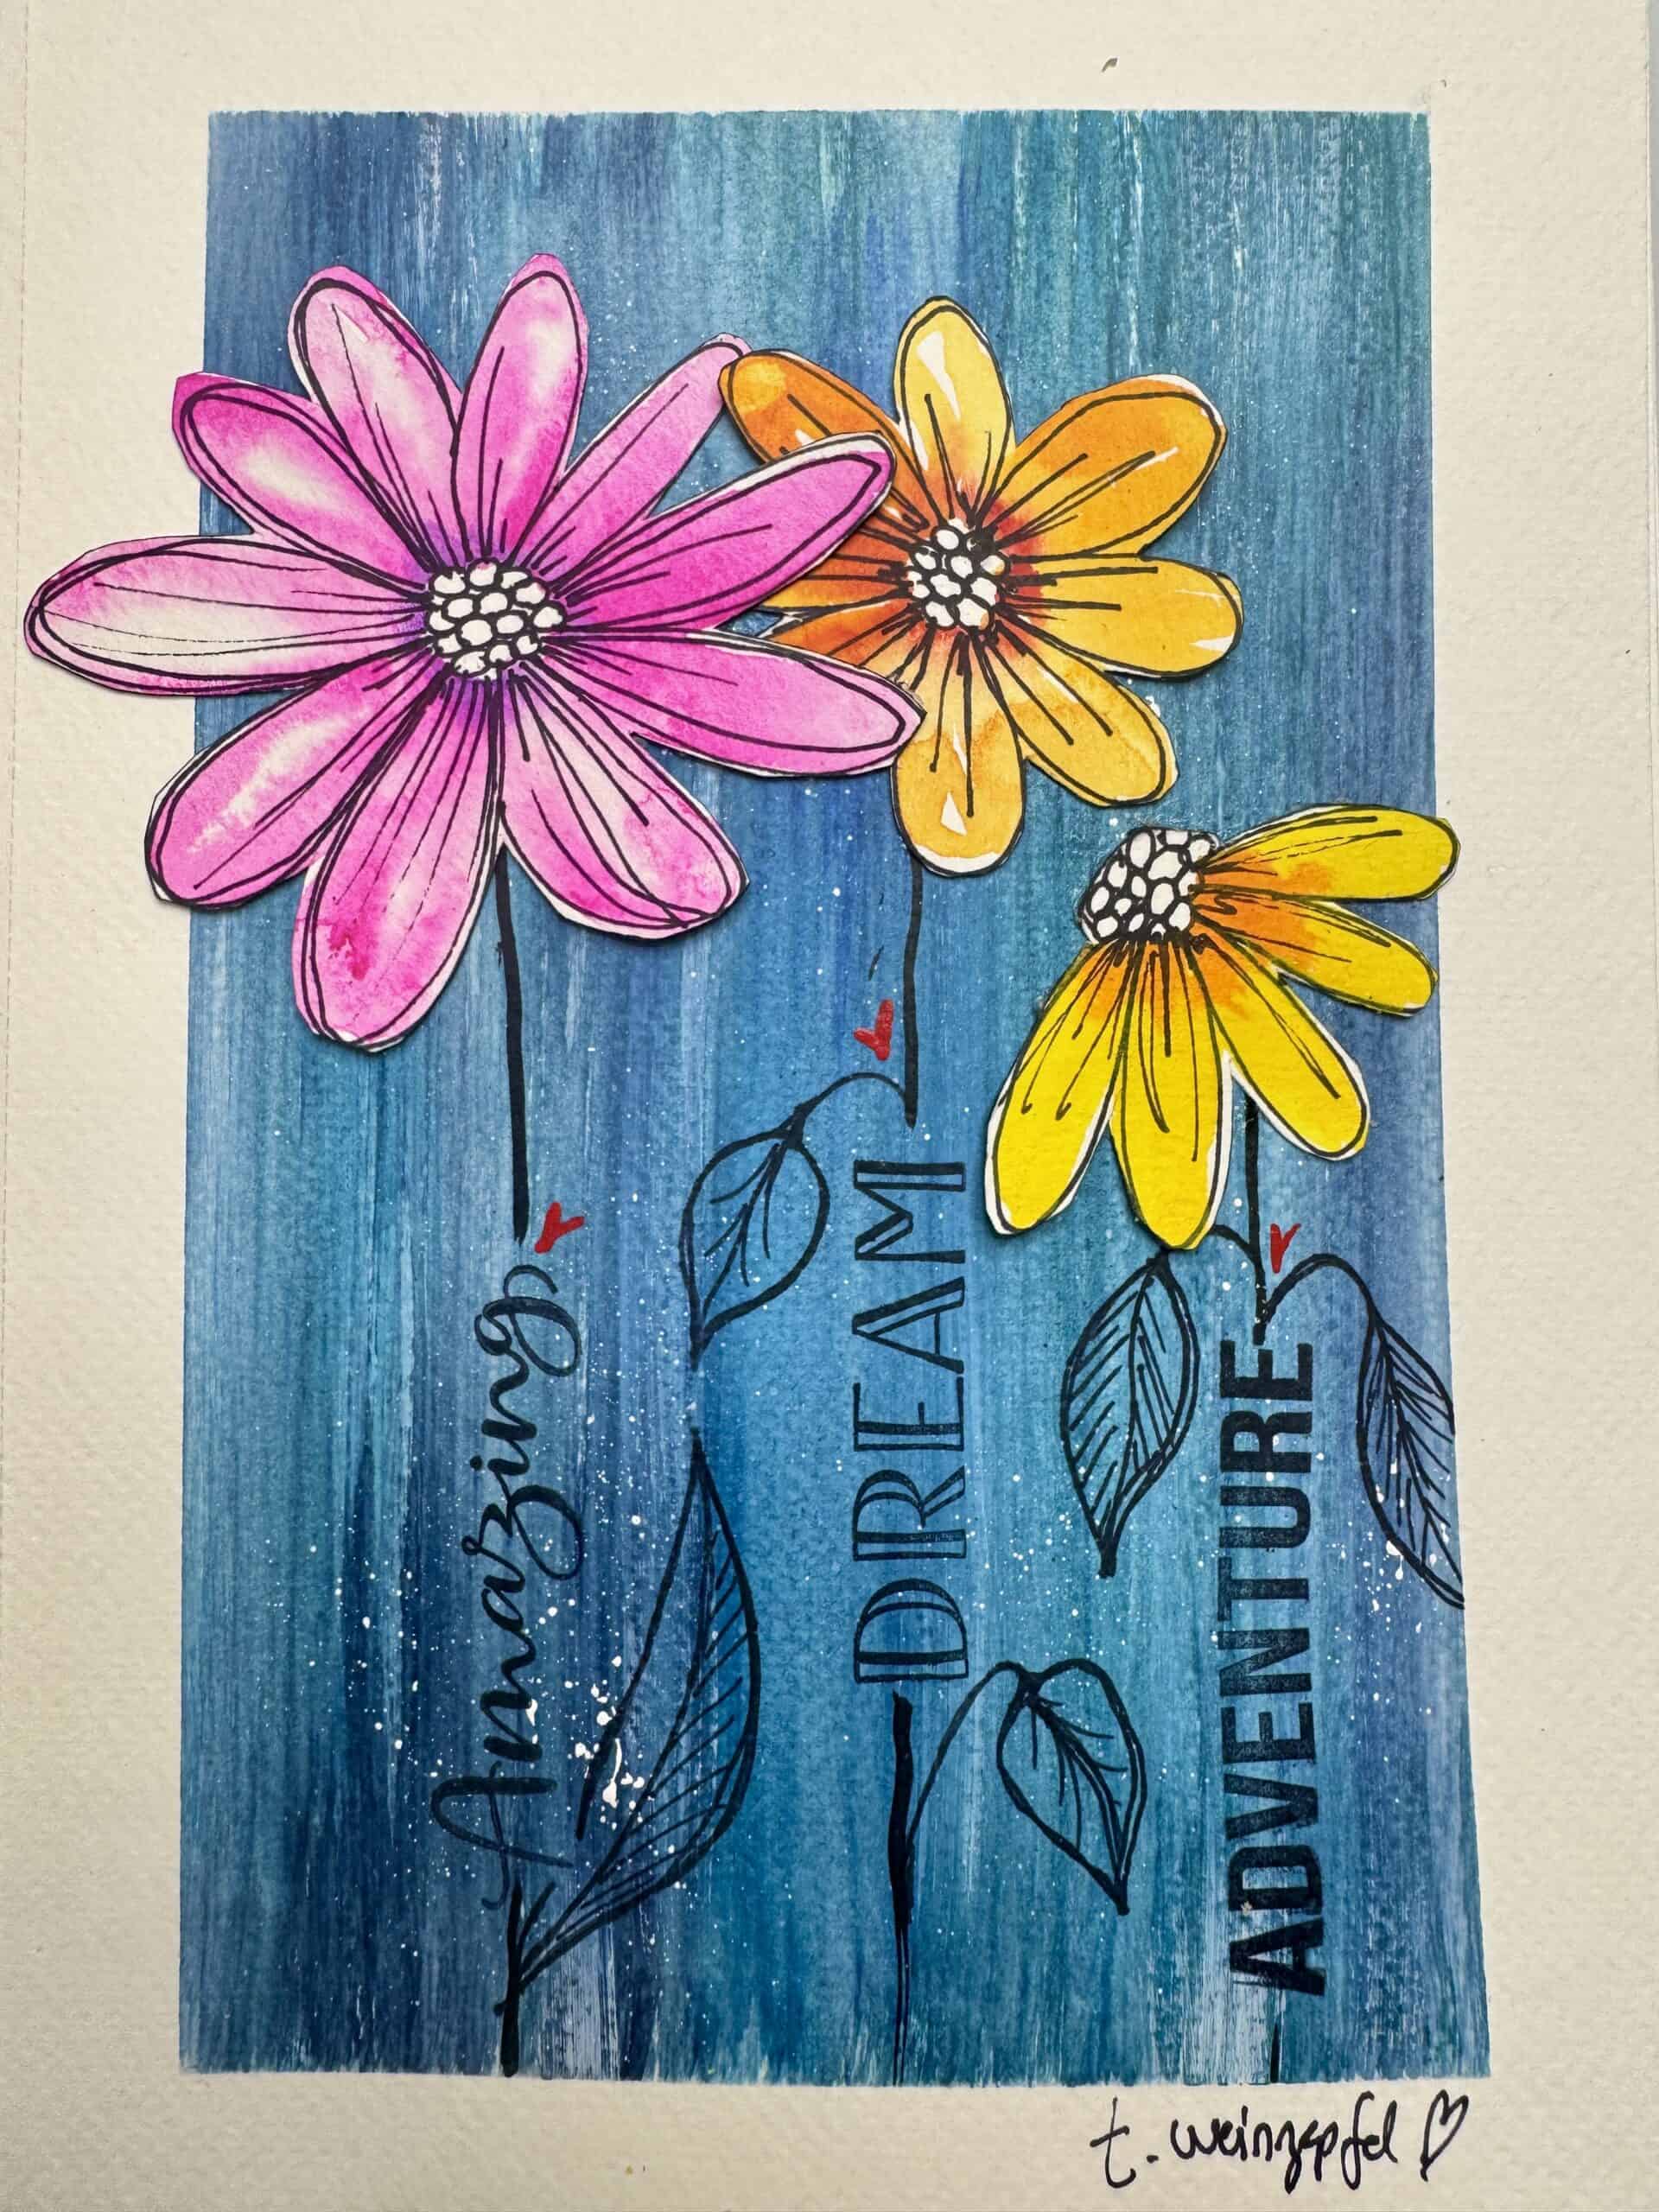
This colorful art journal project combines a layered blue watercolor background with hand-painted flowers, stamped words, sketchy leaves, and dimensional paper elements. The result is bright, playful, and full of movement, with flowers that lift off the page instead of sitting completely flat. This is a great mixed media project for experimenting with watercolor, acrylic paint, stamping, loose drawing, and collage techniques!
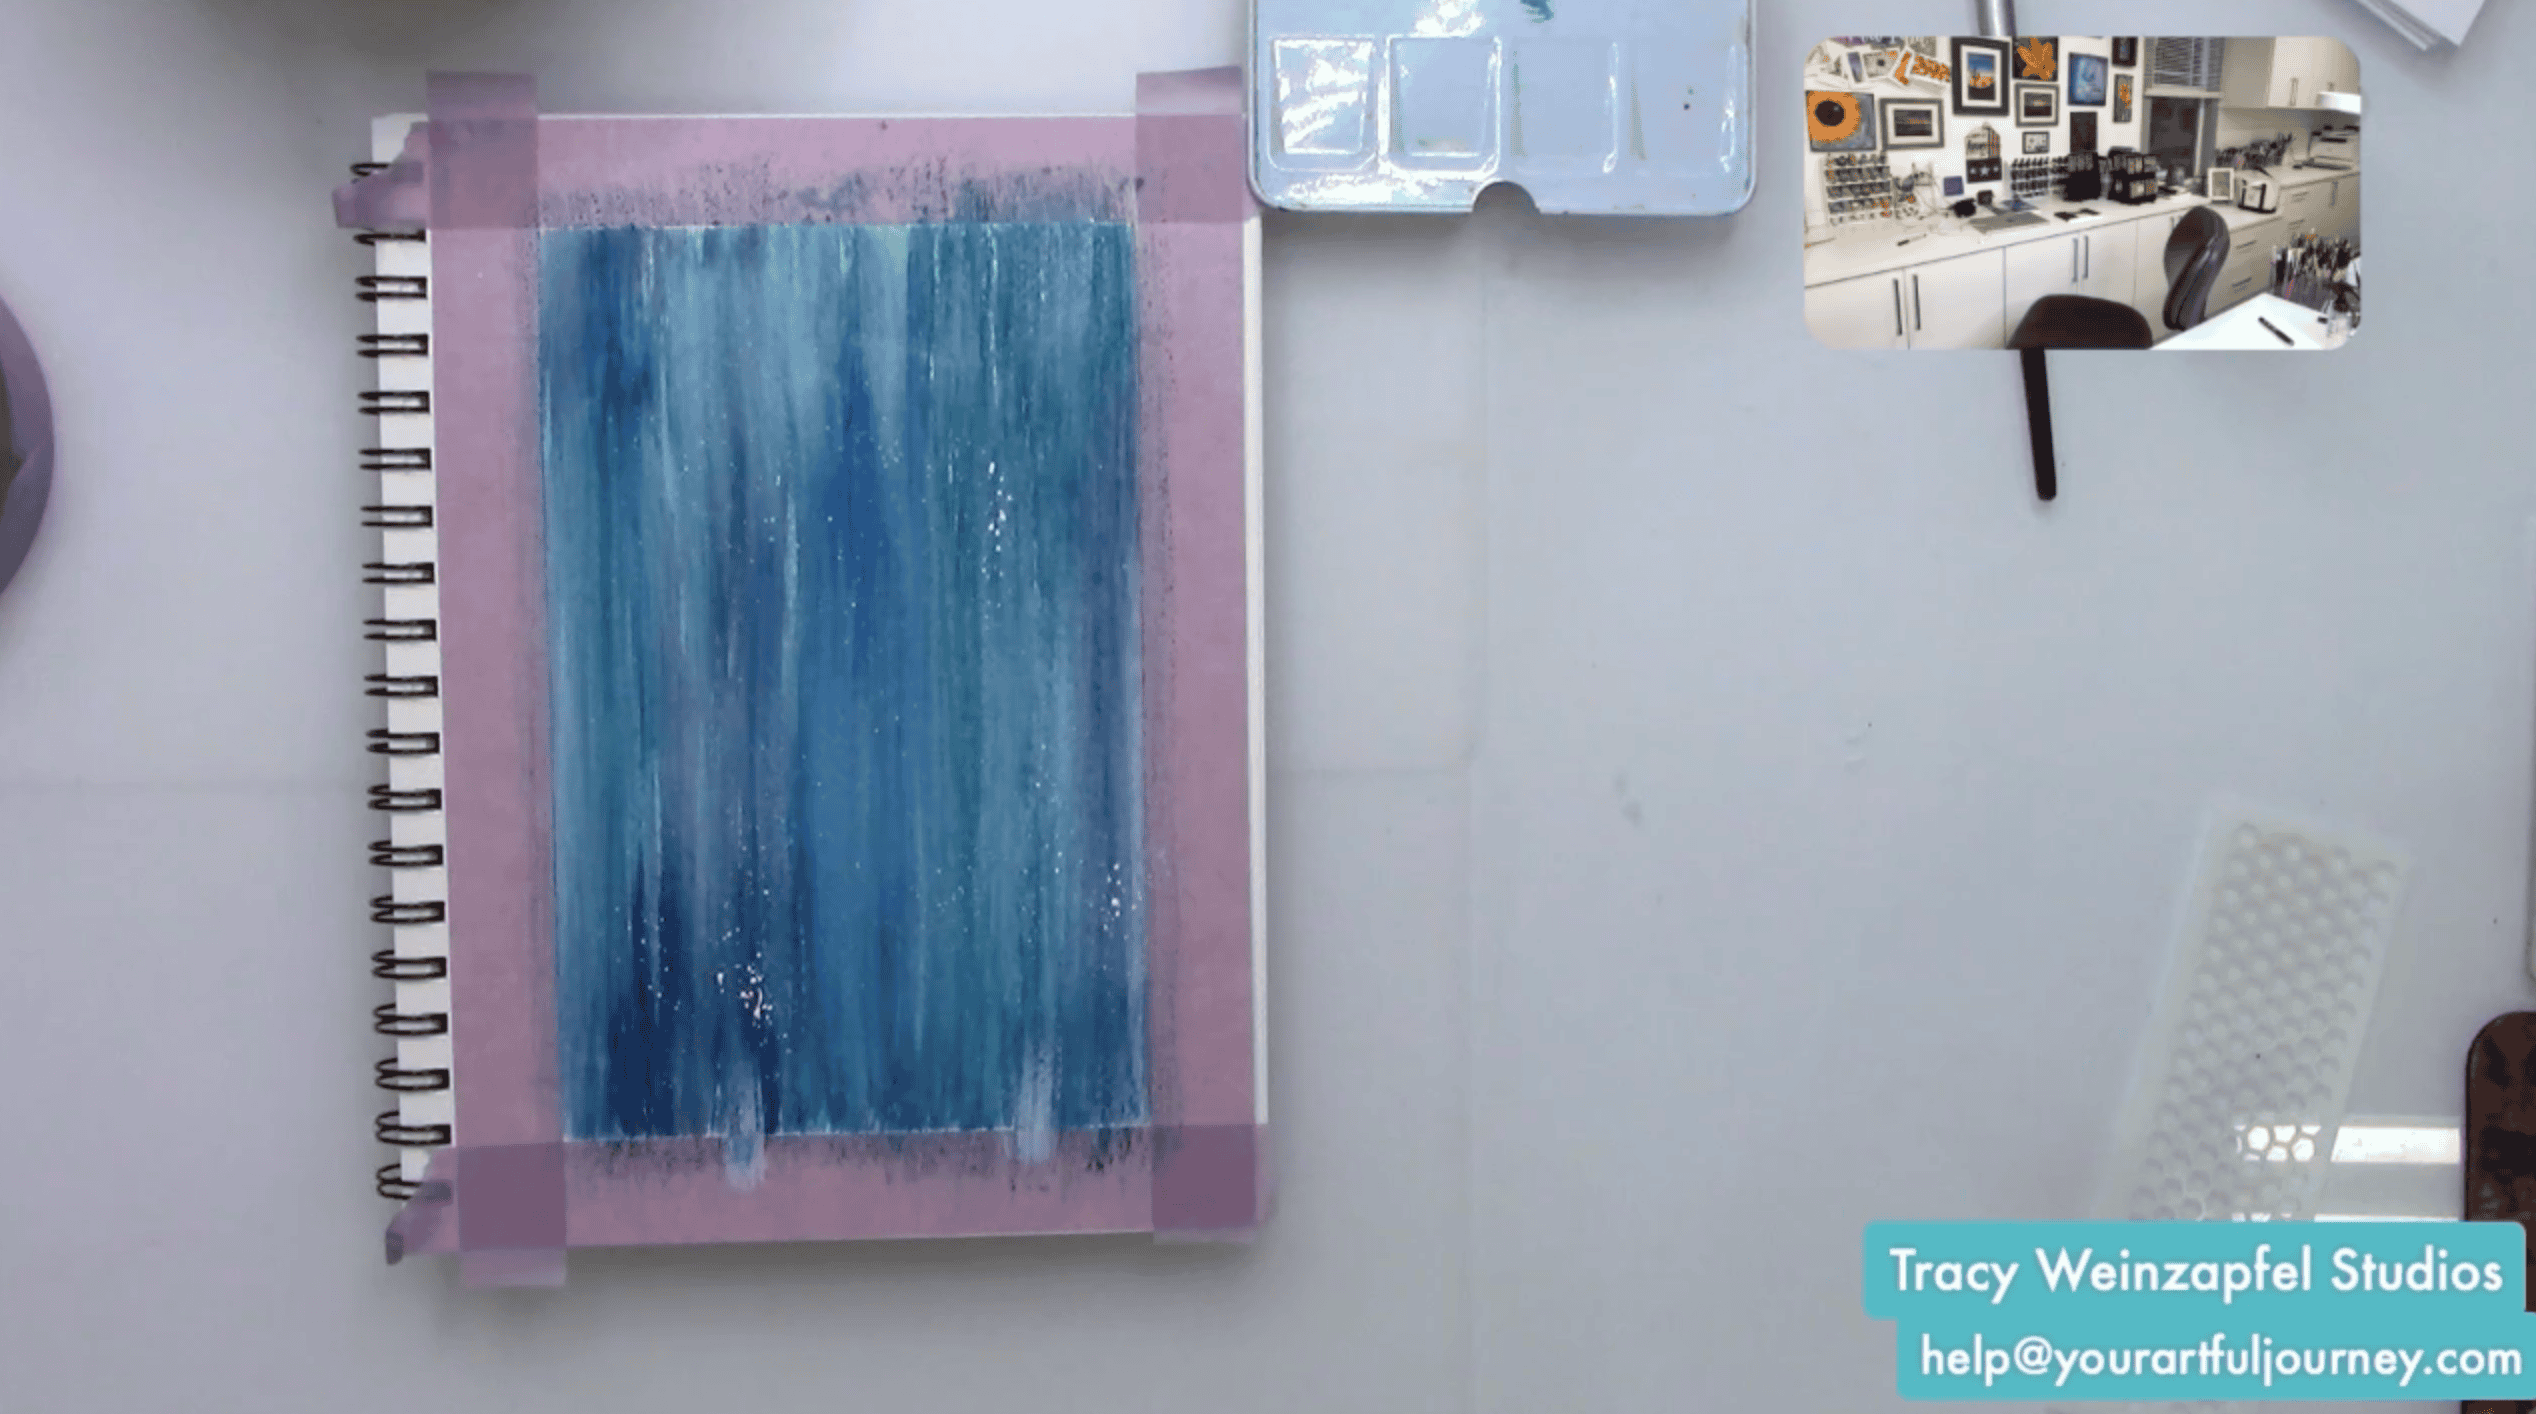
Begin by securing the journal page with painter’s tape. Press firmly along the edges so watercolor does not seep underneath. Taping the page creates a clean border and helps hold the paper flat while you add water, paint, and collage elements. Mist your watercolor palette with water to activate the colors.
Wet a flat watercolor brush and begin brushing blue and teal watercolor vertically across the page. Move the brush up and down to create visible streaks rather than a perfectly smooth wash. Layer darker and lighter blues together so the background has depth and movement.
Add more water wherever you want softer transitions and leave some lighter streaks showing through. The goal is to create a rich blue backdrop that almost resembles layered acrylic paint while still retaining the transparency and texture of watercolor.
Once the watercolor background is mostly dry, load a fan brush with a small amount of white acrylic paint. Tap your fan brush above the page to create a splatter effect in the background. Dry the background.
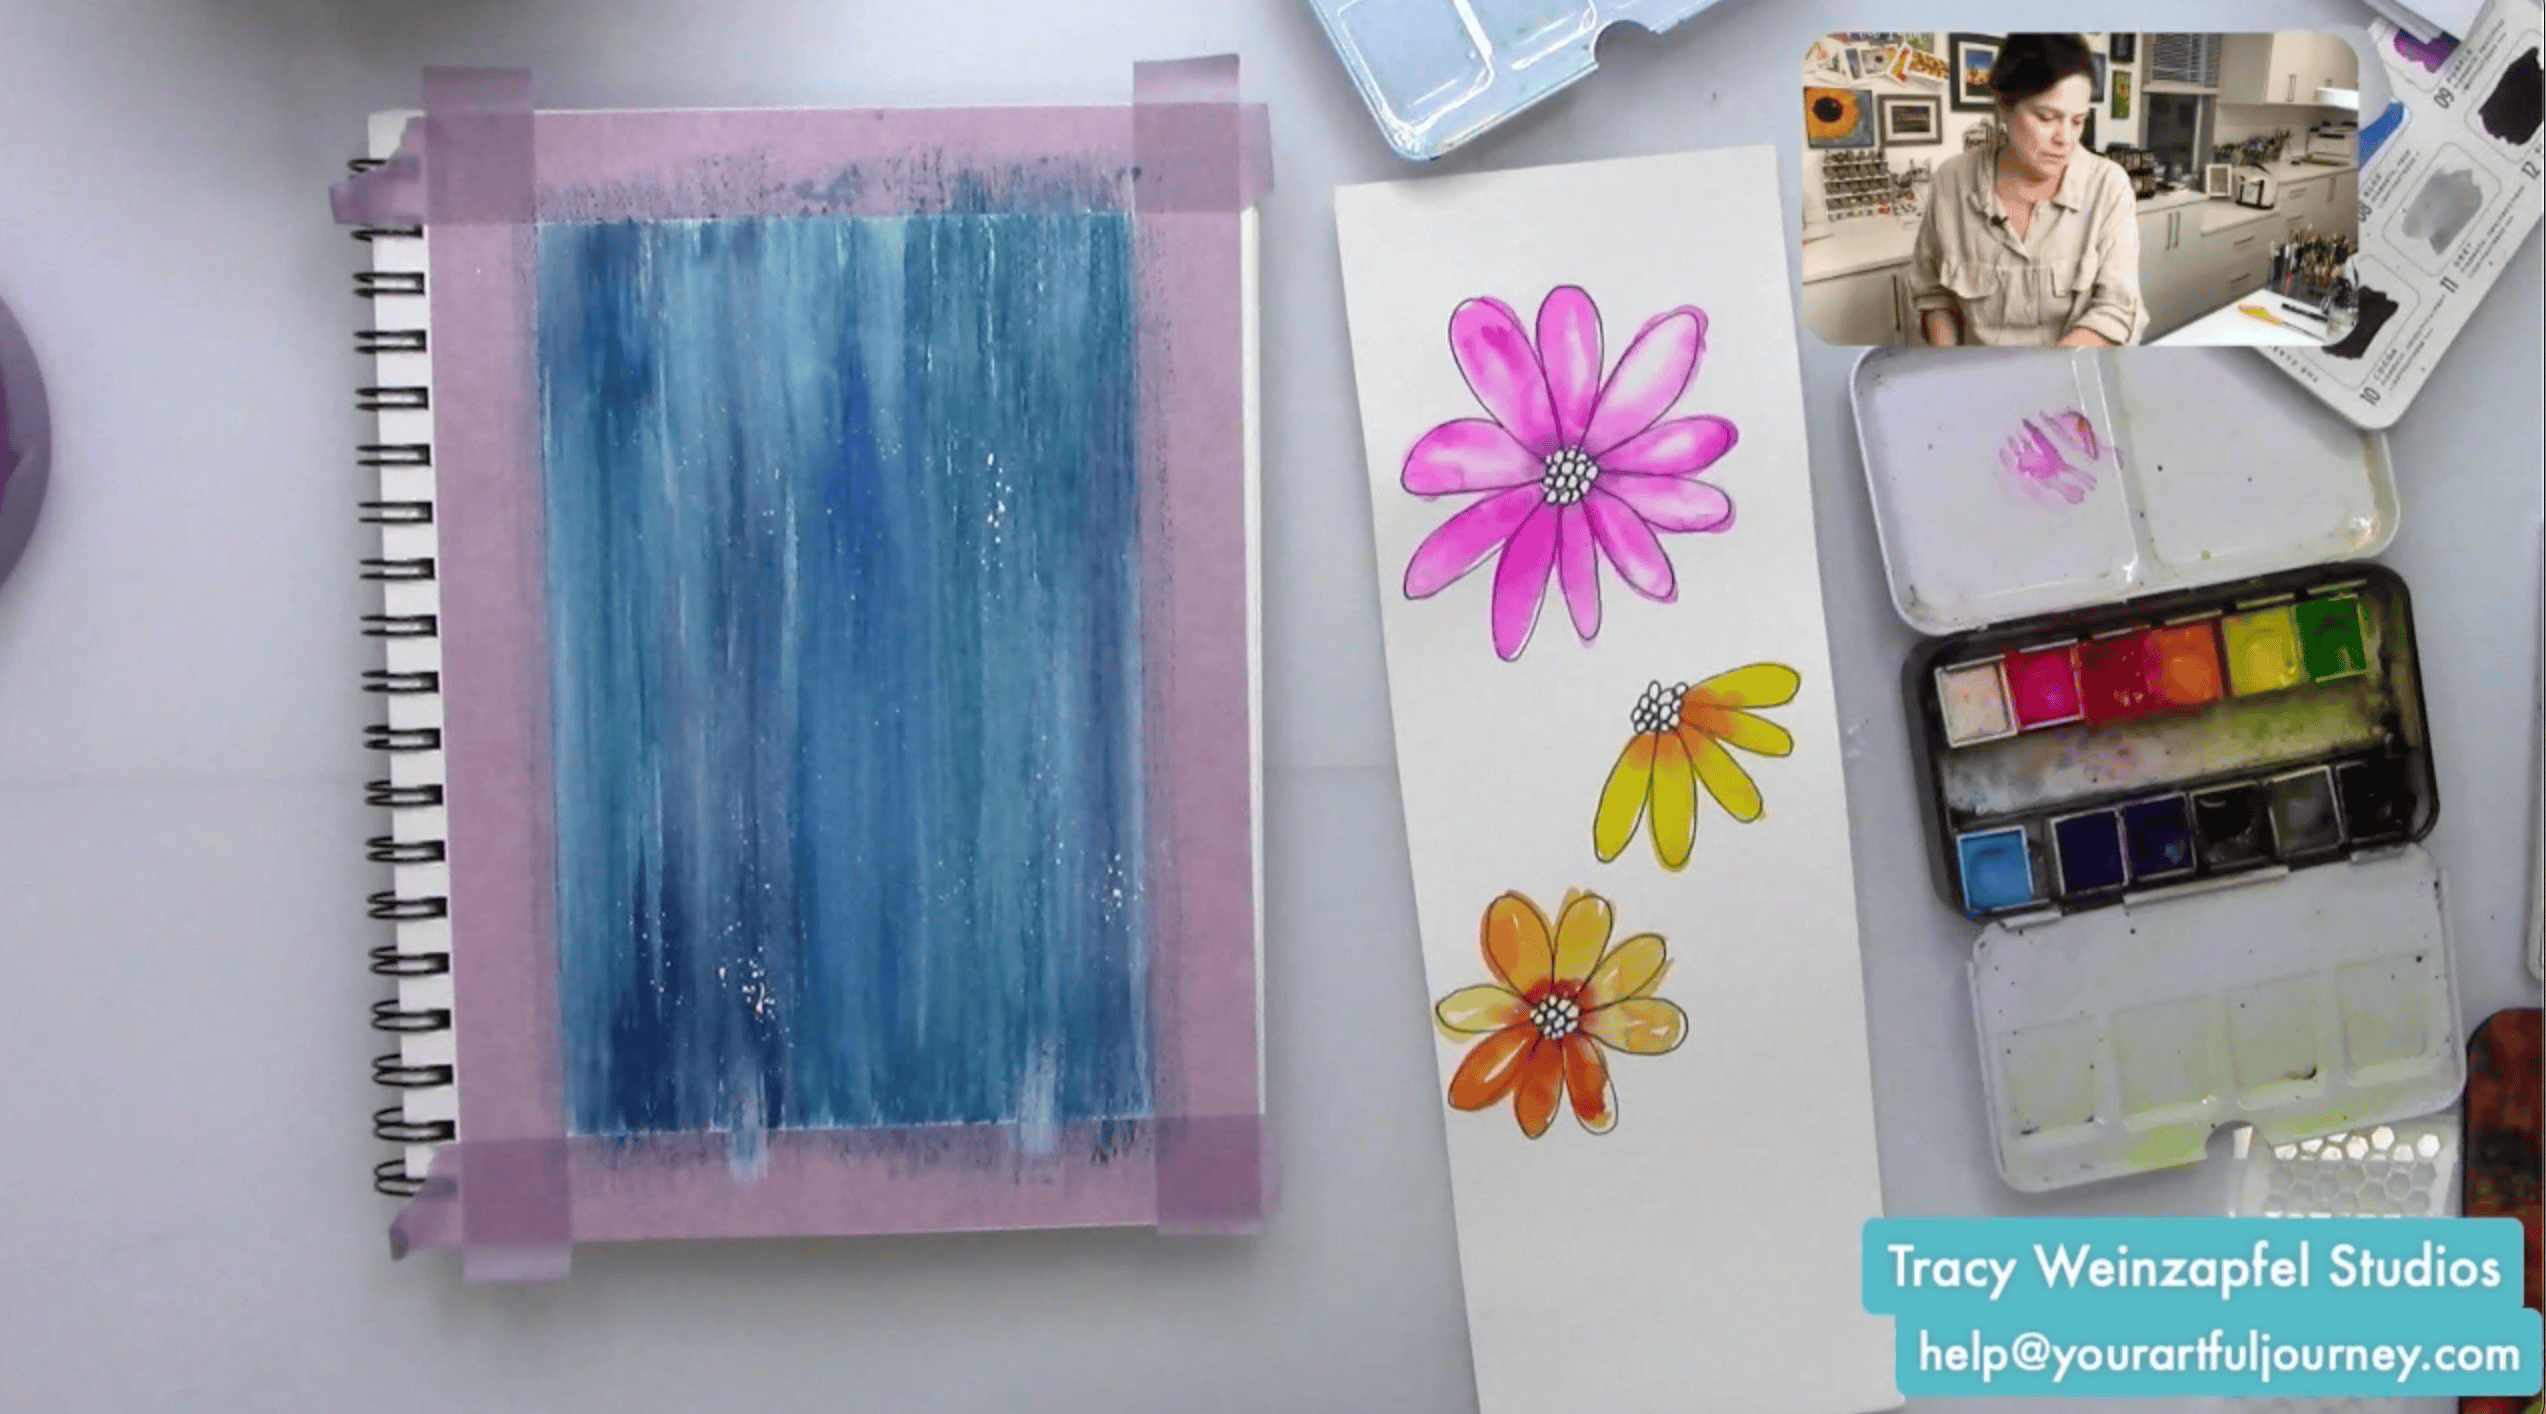
On a separate piece of watercolor paper, use a black Sharpie or waterproof pen to draw several loose flowers. Create different sizes and shapes so each flower feels unique. One can be large and full, another smaller and rounded, and the third can have fewer petals.
Do not worry about drawing perfect flowers. The loose linework is part of the charm, and the flowers will become more defined once the watercolor and dark edging are added.
Pre-wet one flower at a time with clean water, then drop in bright watercolor. Use pinks and purples for the largest flower, orange and yellow for another, and warm yellow tones for the smallest bloom.
Allow the colors to blend naturally while the paper is wet. Leave a little white space in the petals to create highlights and keep the flowers from feeling flat. You can also add small amounts of darker color near the centers or along the petal edges for dimension. Let the flowers dry completely before cutting.
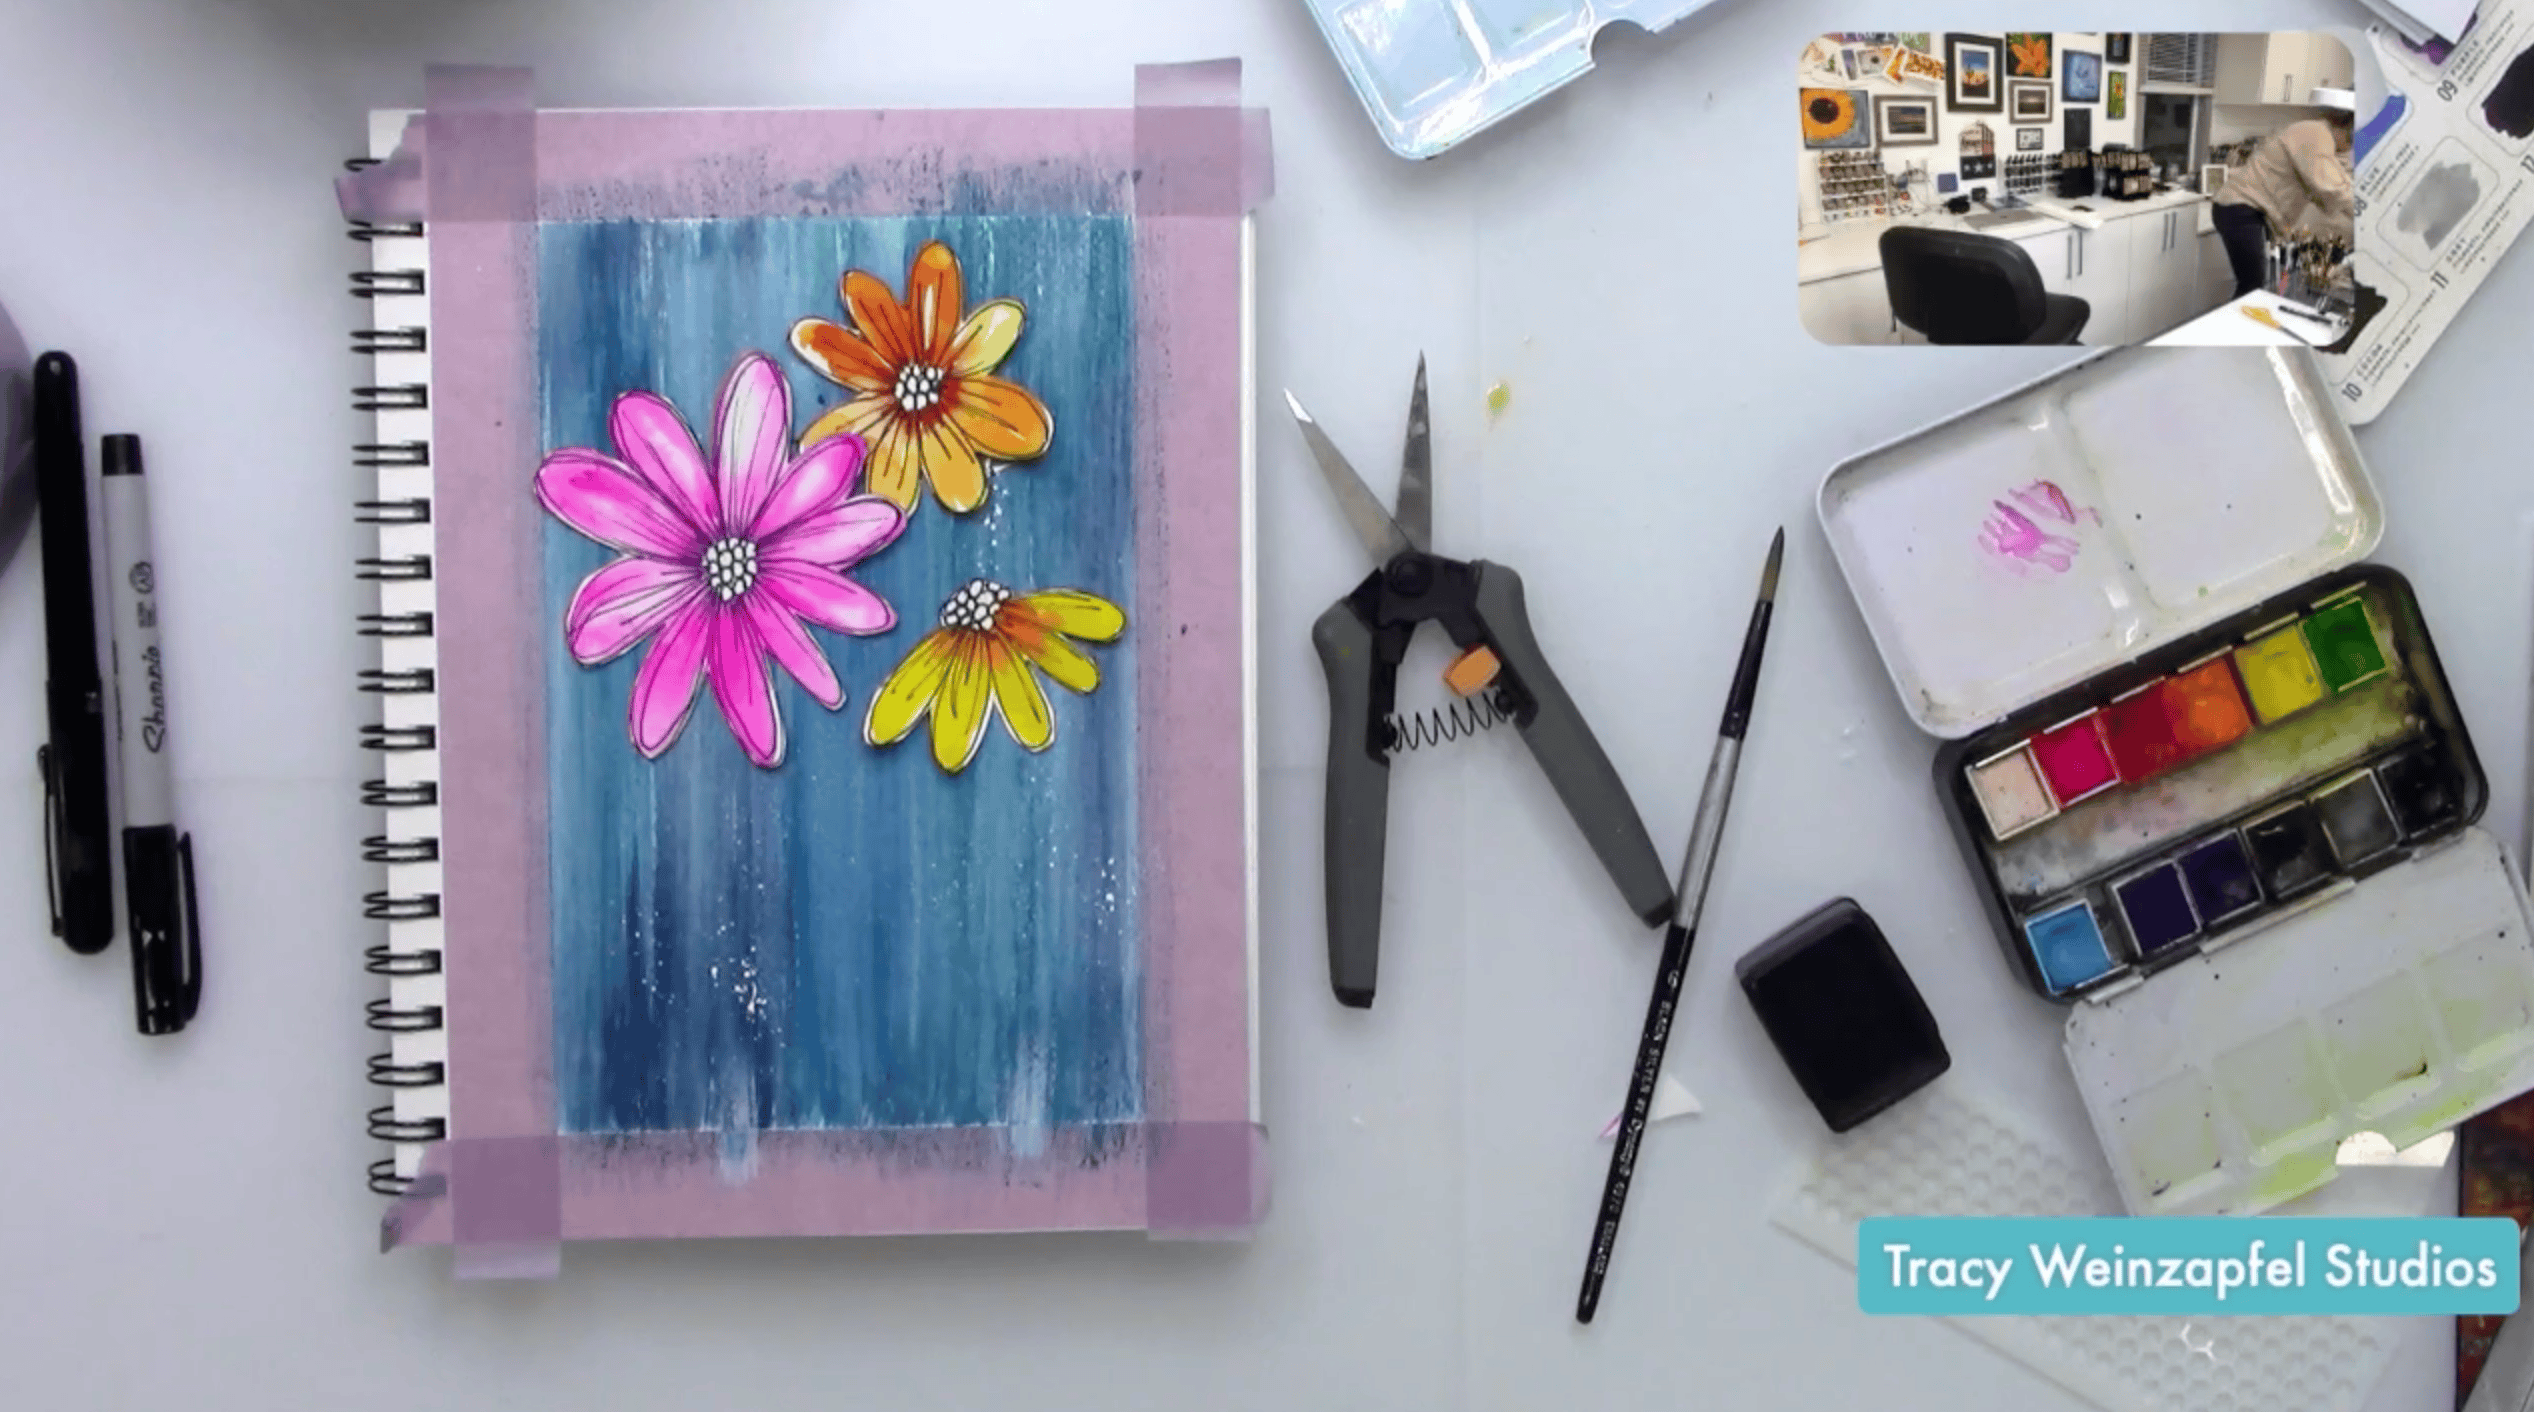
Use scissors to cut around each flower. You do not need to cut directly against every pen line. Leaving a narrow white border is perfectly fine and can actually help the flowers stand out against the dark blue background.
Run a black permanent marker around the cut edge of each flower. This hides any uneven cutting, cleans up the shapes, and creates a stronger outline.
Work slowly around each flower and allow a little of the white border to remain visible where you like it. The mix of black edging and white highlights gives the flowers a crisp, graphic look.
Arrange the flowers over the journal page before gluing anything down. Place the largest pink flower toward the upper left, the orange flower near the upper center or right, and the smaller yellow flower farther to the side.
Allow parts of the flowers to overlap and consider letting a petal extend beyond the painted background.
Use archival ink to stamp words vertically across the lower half of the page. Words such as Amazing, Dream, and Adventure become part of the flower stems and add meaning to the composition.
Do not worry if every word is perfectly straight. The slightly imperfect placement works well with the handmade look of the page.
Using a black pen or fine liner brush, draw stems connecting the flowers to the stamped words. Add loose leaves around the stems, using simple curved shapes with vein lines inside.
Let some stems run directly into or alongside the stamped words so the typography becomes part of the botanical design. You can also add a few extra leaves to fill any areas that feel empty.
Use Pyrrole Red acrylic paint and a small liner brush to add a few tiny hearts near the stems and stamped words. Keep them small and use only a few so they act as bright accents rather than focal points.
Because the background and flowers are painted with water-soluble watercolor, seal them before gluing the pieces together. Apply a thin layer of Dorland’s Wax Medium to the journal background and the fronts of the flowers.
Rub the wax gently over the surfaces with a paper towel or soft cloth. Avoid sealing the backs of the flowers because the adhesive will bond more effectively to untreated paper. Allow the waxed surfaces to settle before assembling the page.
Apply Zip Dry adhesive to the back of each flower. Use enough glue to create a strong bond, especially near the center and around the main edges.
Press each flower into place and hold it for approximately 30 seconds while the adhesive begins to set. The petals do not need to lie completely flat. Allowing some edges to lift naturally gives the flowers even more dimension.
Carefully peel away the painter’s tape to reveal the crisp border. Pull the tape slowly and away from the painted area to reduce the chance of tearing the paper. Sign the finished page and let the adhesive dry completely before closing the journal.

This dimensional watercolor flower page is a fun way to combine several creative techniques in one project. The streaky blue background creates contrast, the cut watercolor flowers bring depth, and the stamped words turn the stems into meaningful reminders to dream, explore, and recognize the amazing moments around you.
Watch the replay below!
Thank you for joining in on the creative fun. Join us LIVE every Wednesday at 5:30 pm PST on Facebook at Tracy Weinzapfel Studios.
Join the waitlist for Your Artful Journey! This is my exclusive creative membership where you can explore the world of art journaling! Join a community of support and inspiration with interactive art sessions full of tips and tricks, conversation, Q & As, and most of all, FUN!
Supply List:
- Fabriano Watercolor Journal 7 X 10
- DecoArt Media Fluid Acrylics: Titanium White
- Watercolors; Currents and The Classics
- Sharpie
- Ink: Archival Ink (Black)
- Adhesive Zip Dry
- Pentel Ink
- Dorlands Wax Medium (clear wax medium)
- Paint brushes – Tracy Weinzapfel Brush Sets
- 10/0 Micron Liner Brush
- Painter’s Tape
Check out Tracy’s Art Journal Starter Kit!
Tracy’s Resources Page and visit Tracy’s Shop