In this loose floral watercolor tutorial, we’ll create vibrant blooms using nothing more than watercolor paint, water, and a willingness to trust the process. The flowers emerge naturally as the pigments spread, blend, and bloom across the page, creating soft petals, unexpected color combinations, and beautiful organic movement. This project is perfect for anyone who wants to loosen up, overcome creative block, and rediscover the joy of simply playing with paint!
Prep your art journal page by taping off the edges with painter’s tape. Mist your watercolor palette with water to activate the colors.
Begin by loading your brush with purple watercolor paint. Using loose, sweeping motions, paint simple petal shapes directly onto your paper. Don’t worry about making them perfect. This project is all about allowing the watercolor to move naturally and create beautiful organic shapes. While the petals are still wet, drop in a little pink and watch the colors blend together. Then add a touch of black watercolor to the center. The pigment will spread through the moisture already on the page, creating gorgeous depth and movement without much effort.
Continue creating additional flowers around your page using the same wet-on-wet technique. For the second flower, use yellows and warm tones to create contrast against the purple bloom. Allow the petals to overlap slightly if desired, but be mindful that wet watercolors will blend wherever they touch. Add a touch of black to each flower center while everything is still wet.
Once your flowers are established, begin adding loose leaves throughout the composition. Use greens, yellows, and even touches of orange to create variety. Rather than carefully drawing each leaf, let your brush move freely across the page. Some leaves may be more defined than others, and that’s perfectly okay. The goal is to create movement and energy while allowing the watercolor to do some of the work for you.

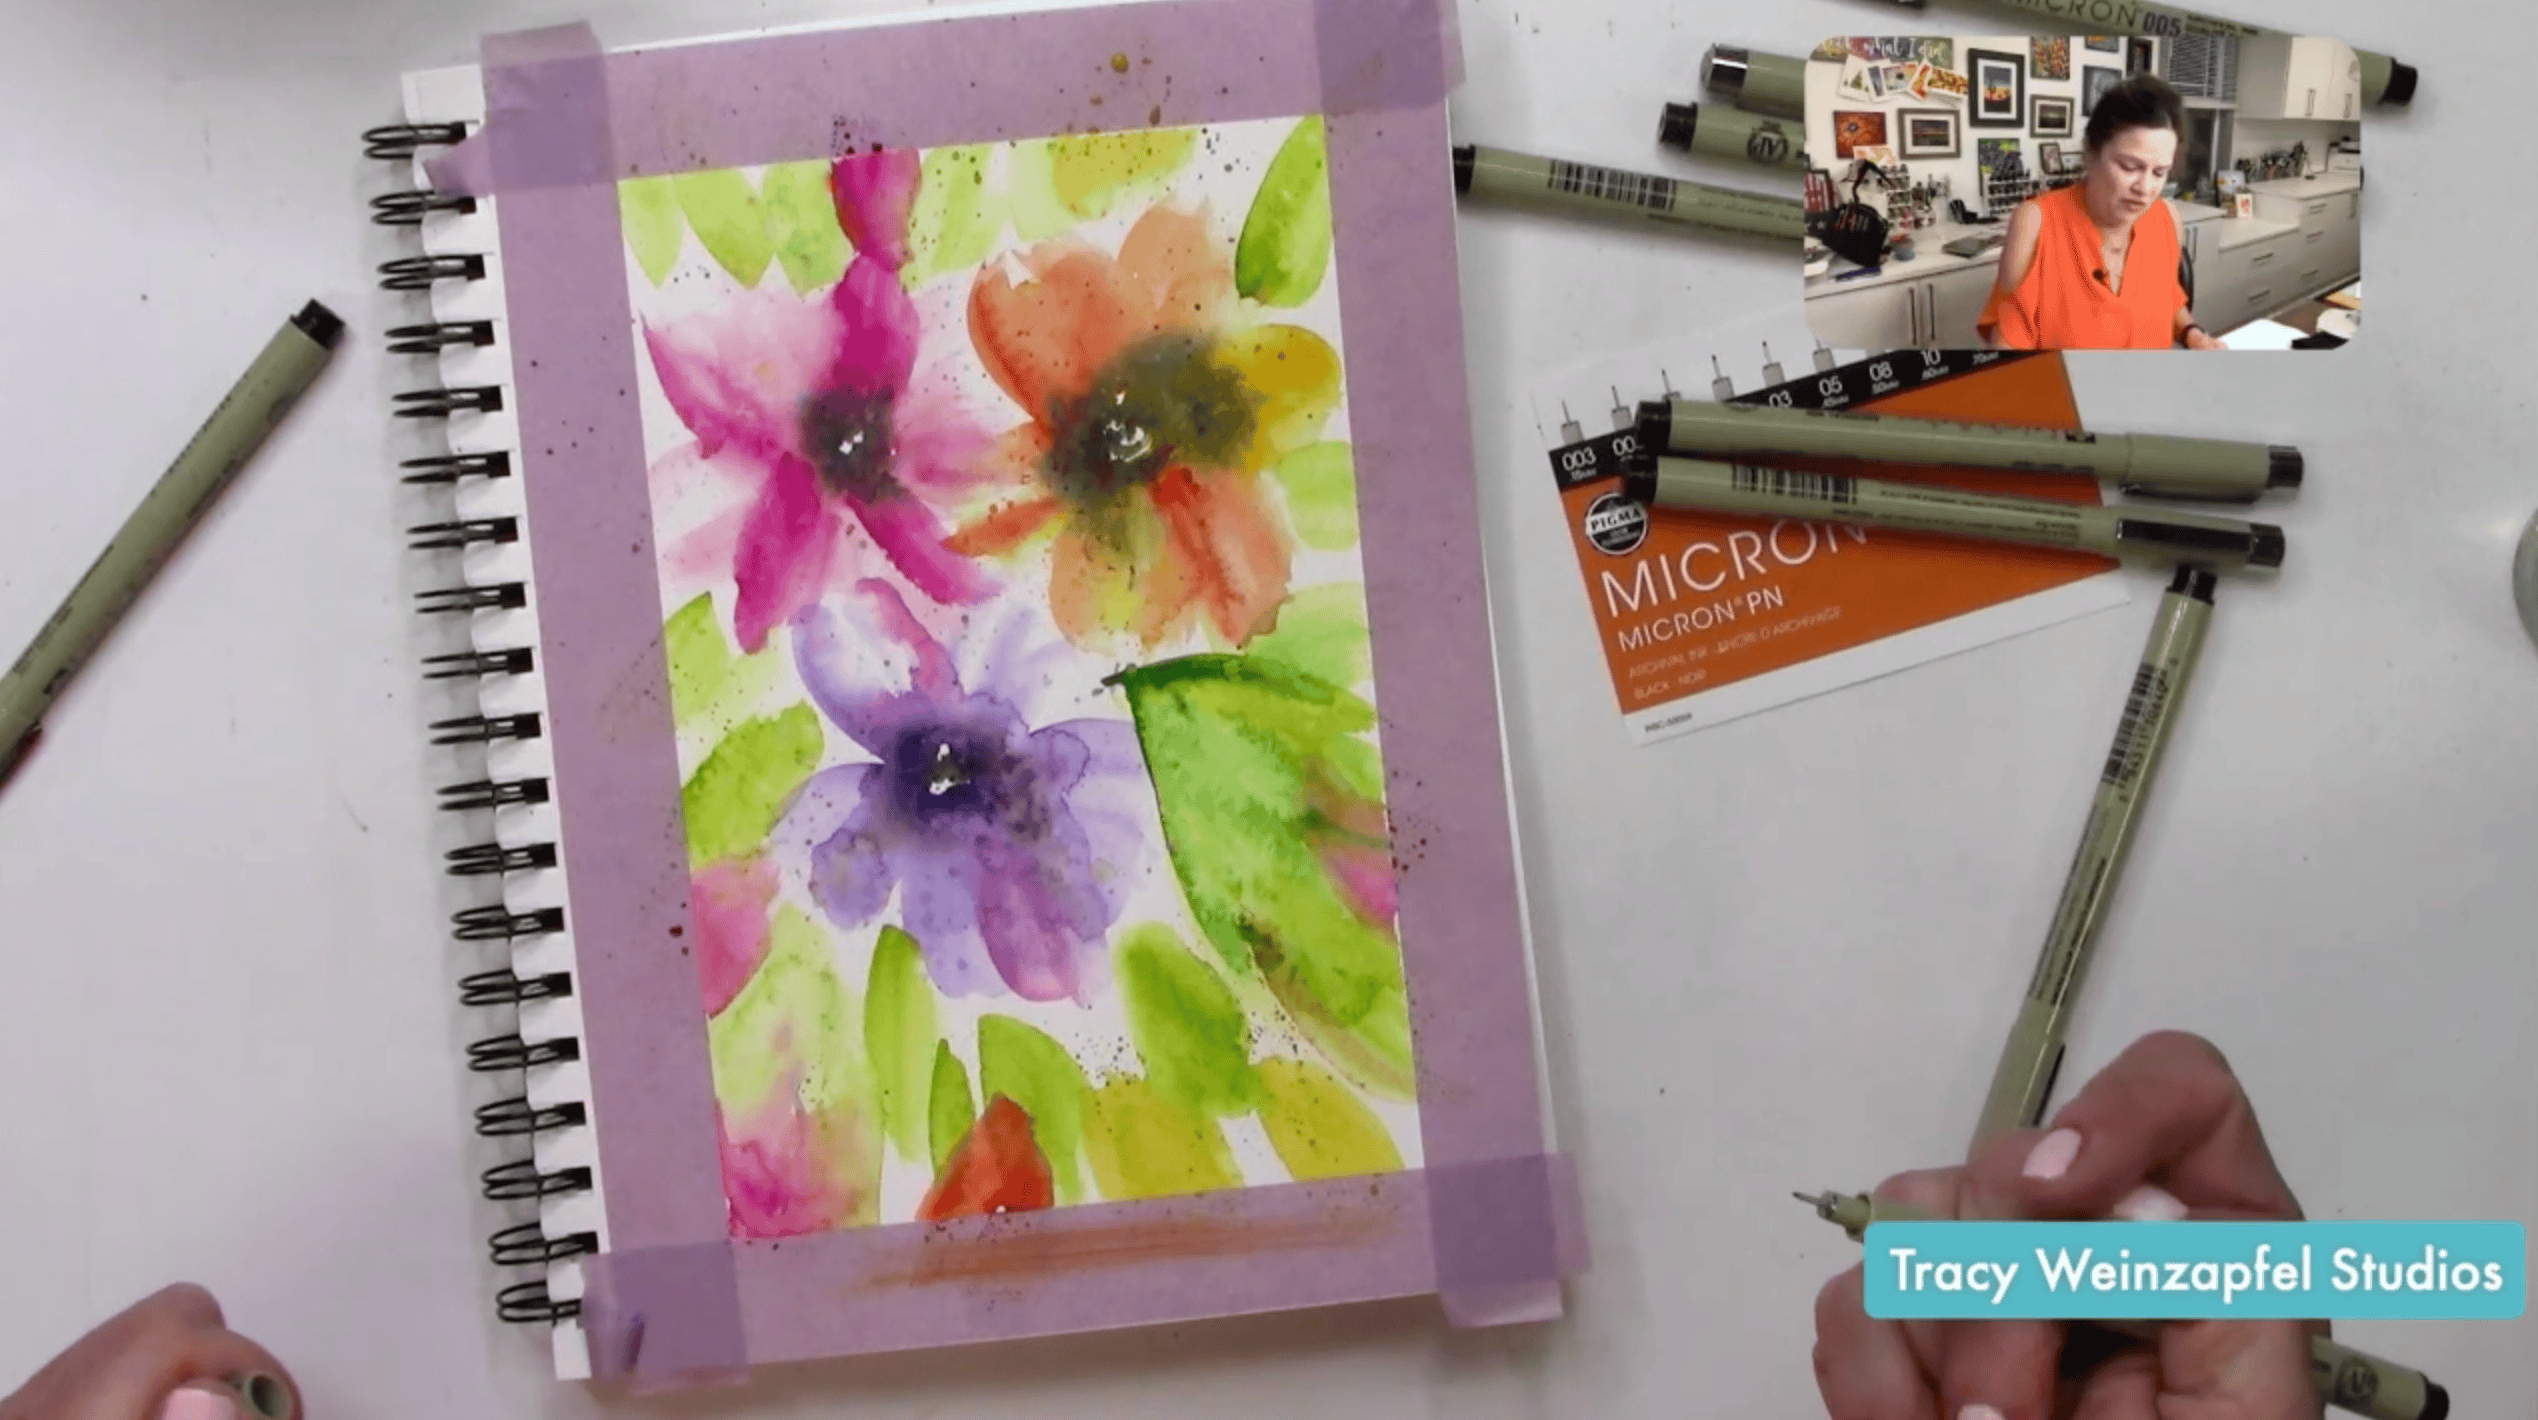
Next, use a fan brush with green watercolor paint and tap it lightly above your page. This creates a splatter effect that gives your leaves some beautiful texture. I’ll do the same with each flower color – pink splatters on the pink flower, purple splatters on the purple flower, and orange splatters on the orange flower.
Before moving on to the pen work, allow the entire page to dry thoroughly. This is an important step because Micron pens and other fine-line pens can become damaged if used on damp paper. Once dry, you’ll begin to see all of the beautiful blooms, color transitions, and textures that formed naturally as the watercolors settled into the paper.
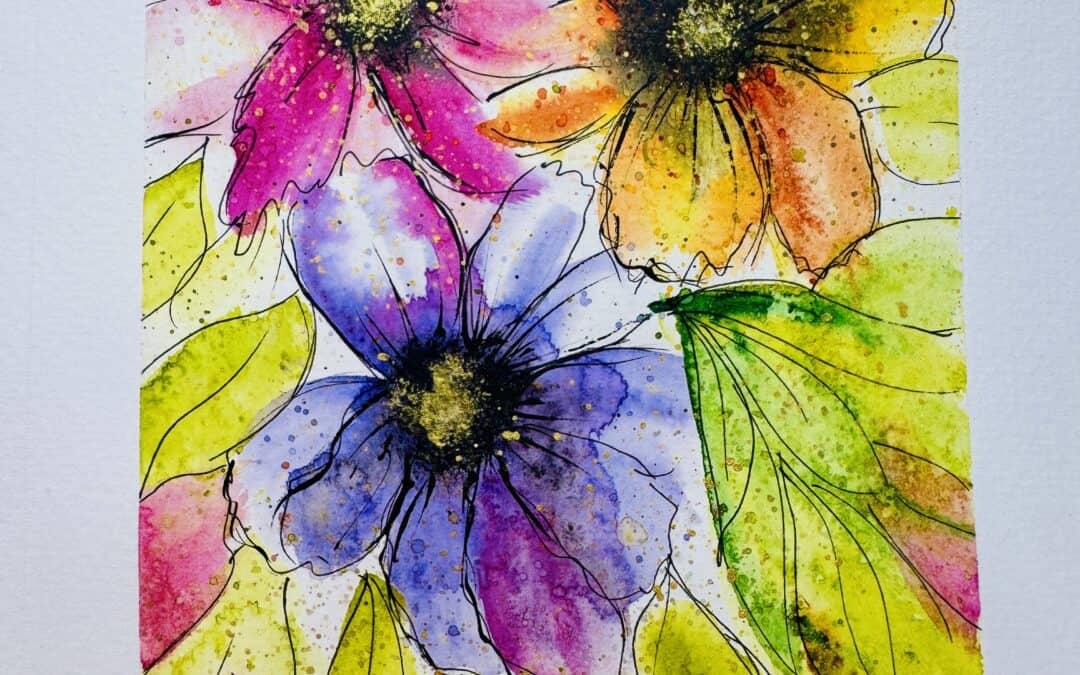
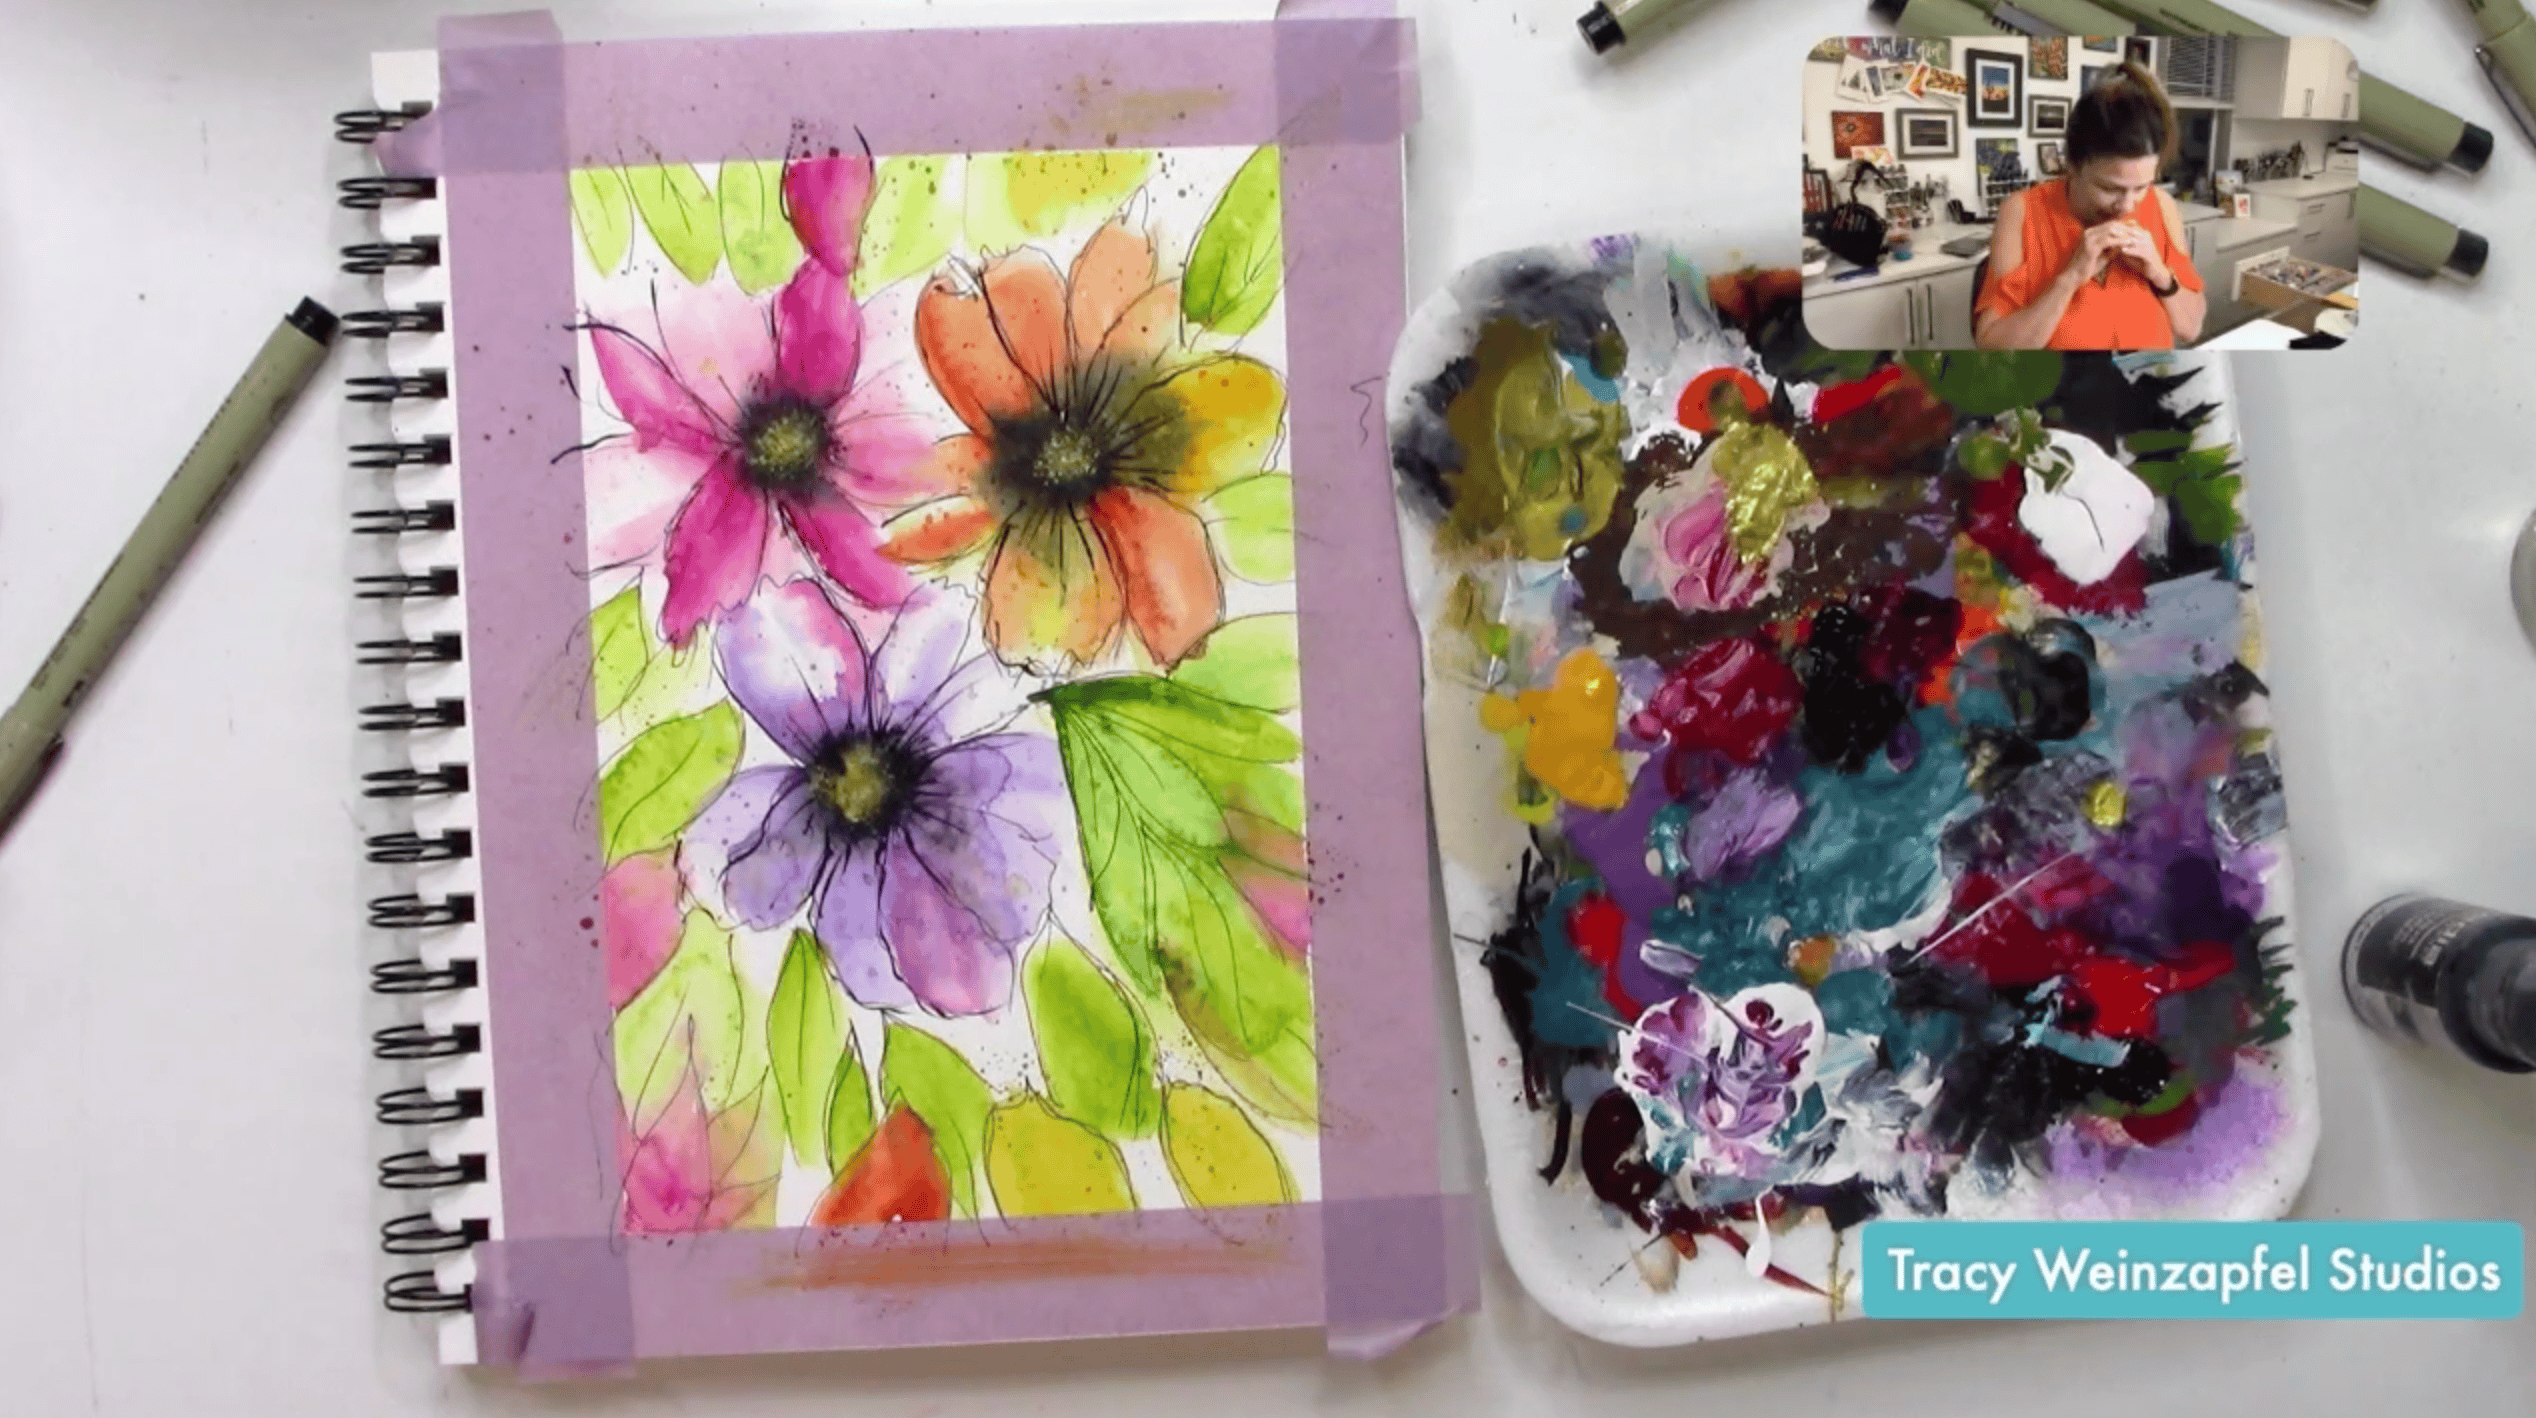
Using a very fine Micron pen, begin sketching directly over the watercolor shapes. Rather than drawing perfect flowers, simply follow the lines suggested by the paint. Allow your pen to wander and scribble around the edges of petals and leaves. These loose, imperfect lines add character and help define the shapes without taking away the soft watercolor feel. Think of this as enhancing what the paint has already created rather than drawing something entirely new.
Once the pen work is complete, use a liner brush and black acrylic paint to strengthen selected lines and flower centers. Focus on the areas you want the viewer’s eye to notice first. You don’t need to outline everything.
For a little extra magic, add touches of 24K Gold Extreme Sheen Acrylic Paint throughout the composition. Apply the gold in flower centers, along select petals, or as small accent marks. The metallic finish catches the light beautifully and adds warmth to the painting without overpowering the delicate watercolor layers underneath.
Using a fine mister bottle, lightly spray portions of the background with water. This softens transitions between colors and helps blend areas together. Be careful not to oversaturate the page. A light mist is all you need to encourage a little more movement and create a cohesive, dreamy background effect.
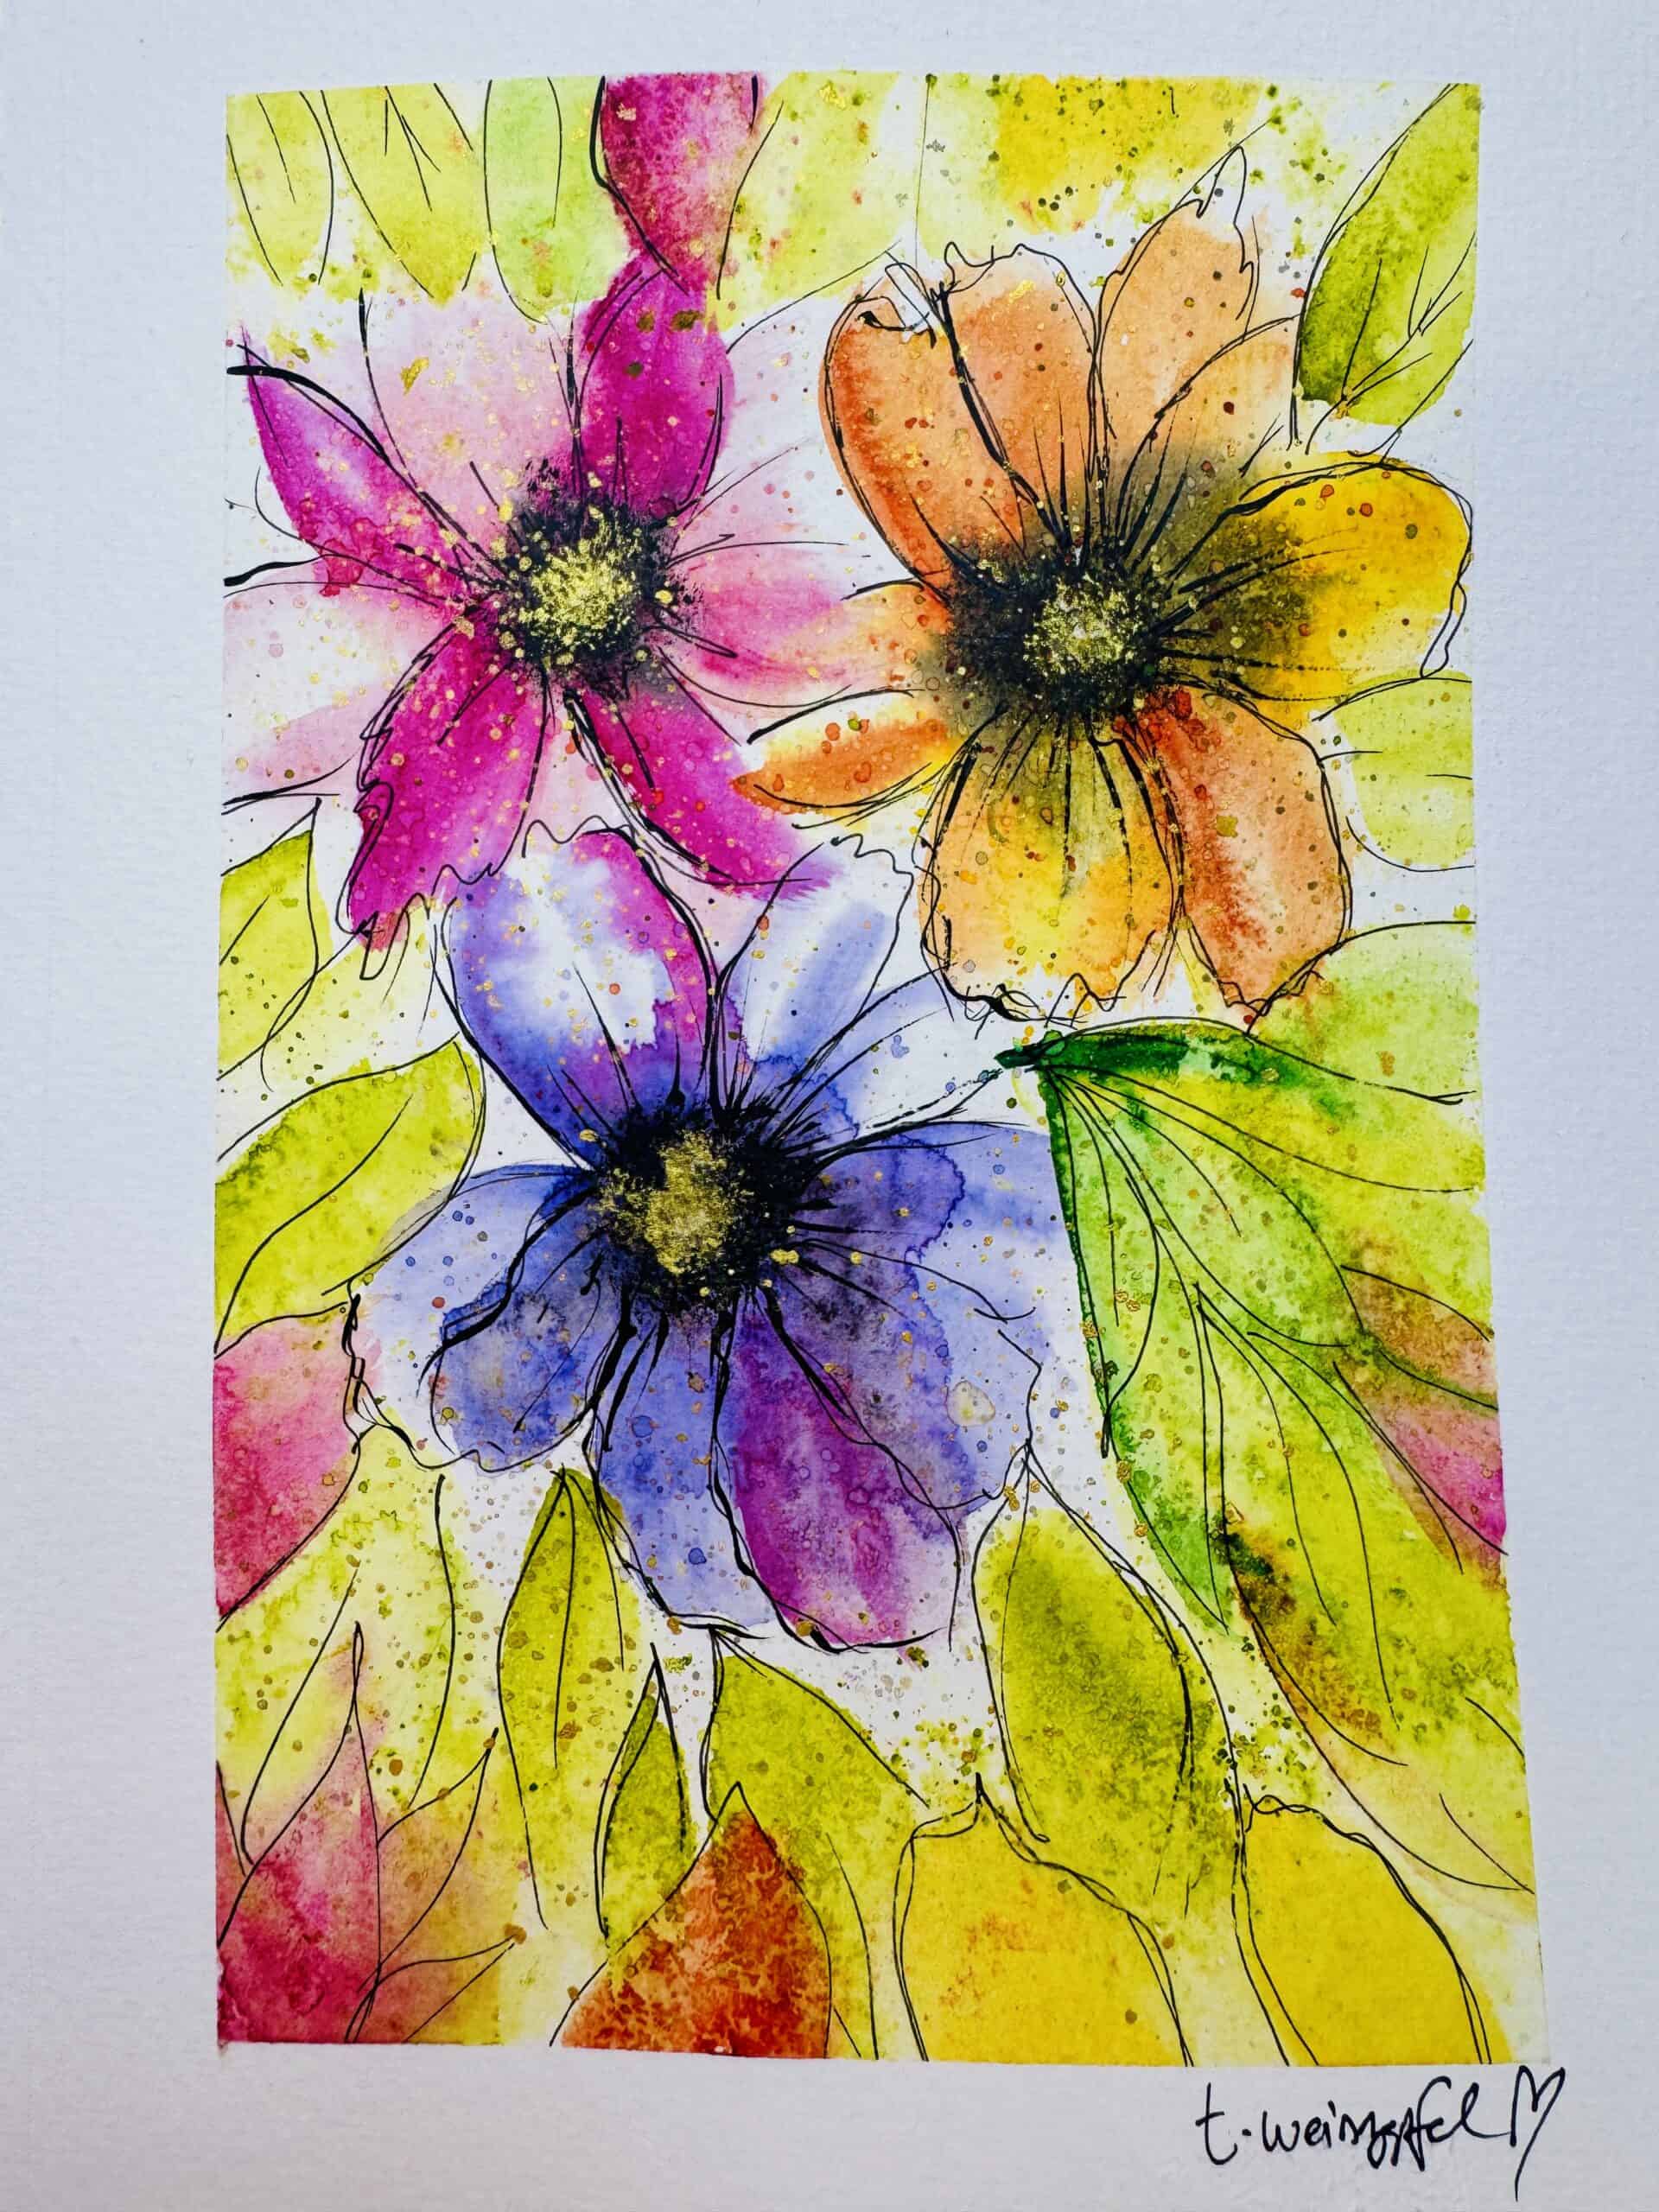
Load a brush with diluted gold paint and gently splatter it across the page. The splatters add texture, movement, and a touch of whimsy. This final layer helps tie the entire composition together and creates those little surprises that make mixed media artwork so fun.
Once everything is completely dry, apply a thin layer of Dorland’s Wax Medium to protect the page. Use a soft cloth or paper towel to gently buff the wax into the surface. The wax enhances the colors, protects the watercolor layers, and leaves a beautiful soft finish.
Carefully remove any painter’s tape and reveal the clean white border around your artwork. Sign your piece and take a moment to enjoy the beautiful watercolor blooms, loose sketching, and shimmering gold details!
Watch the replay below!
Thank you for joining in on the creative fun. Join us LIVE every Wednesday at 5:30 pm PST on Facebook at Tracy Weinzapfel Studios.
Join the waitlist for Your Artful Journey! This is my exclusive creative membership where you can explore the world of art journaling! Join a community of support and inspiration with interactive art sessions full of tips and tricks, conversation, Q & As, and most of all, FUN!
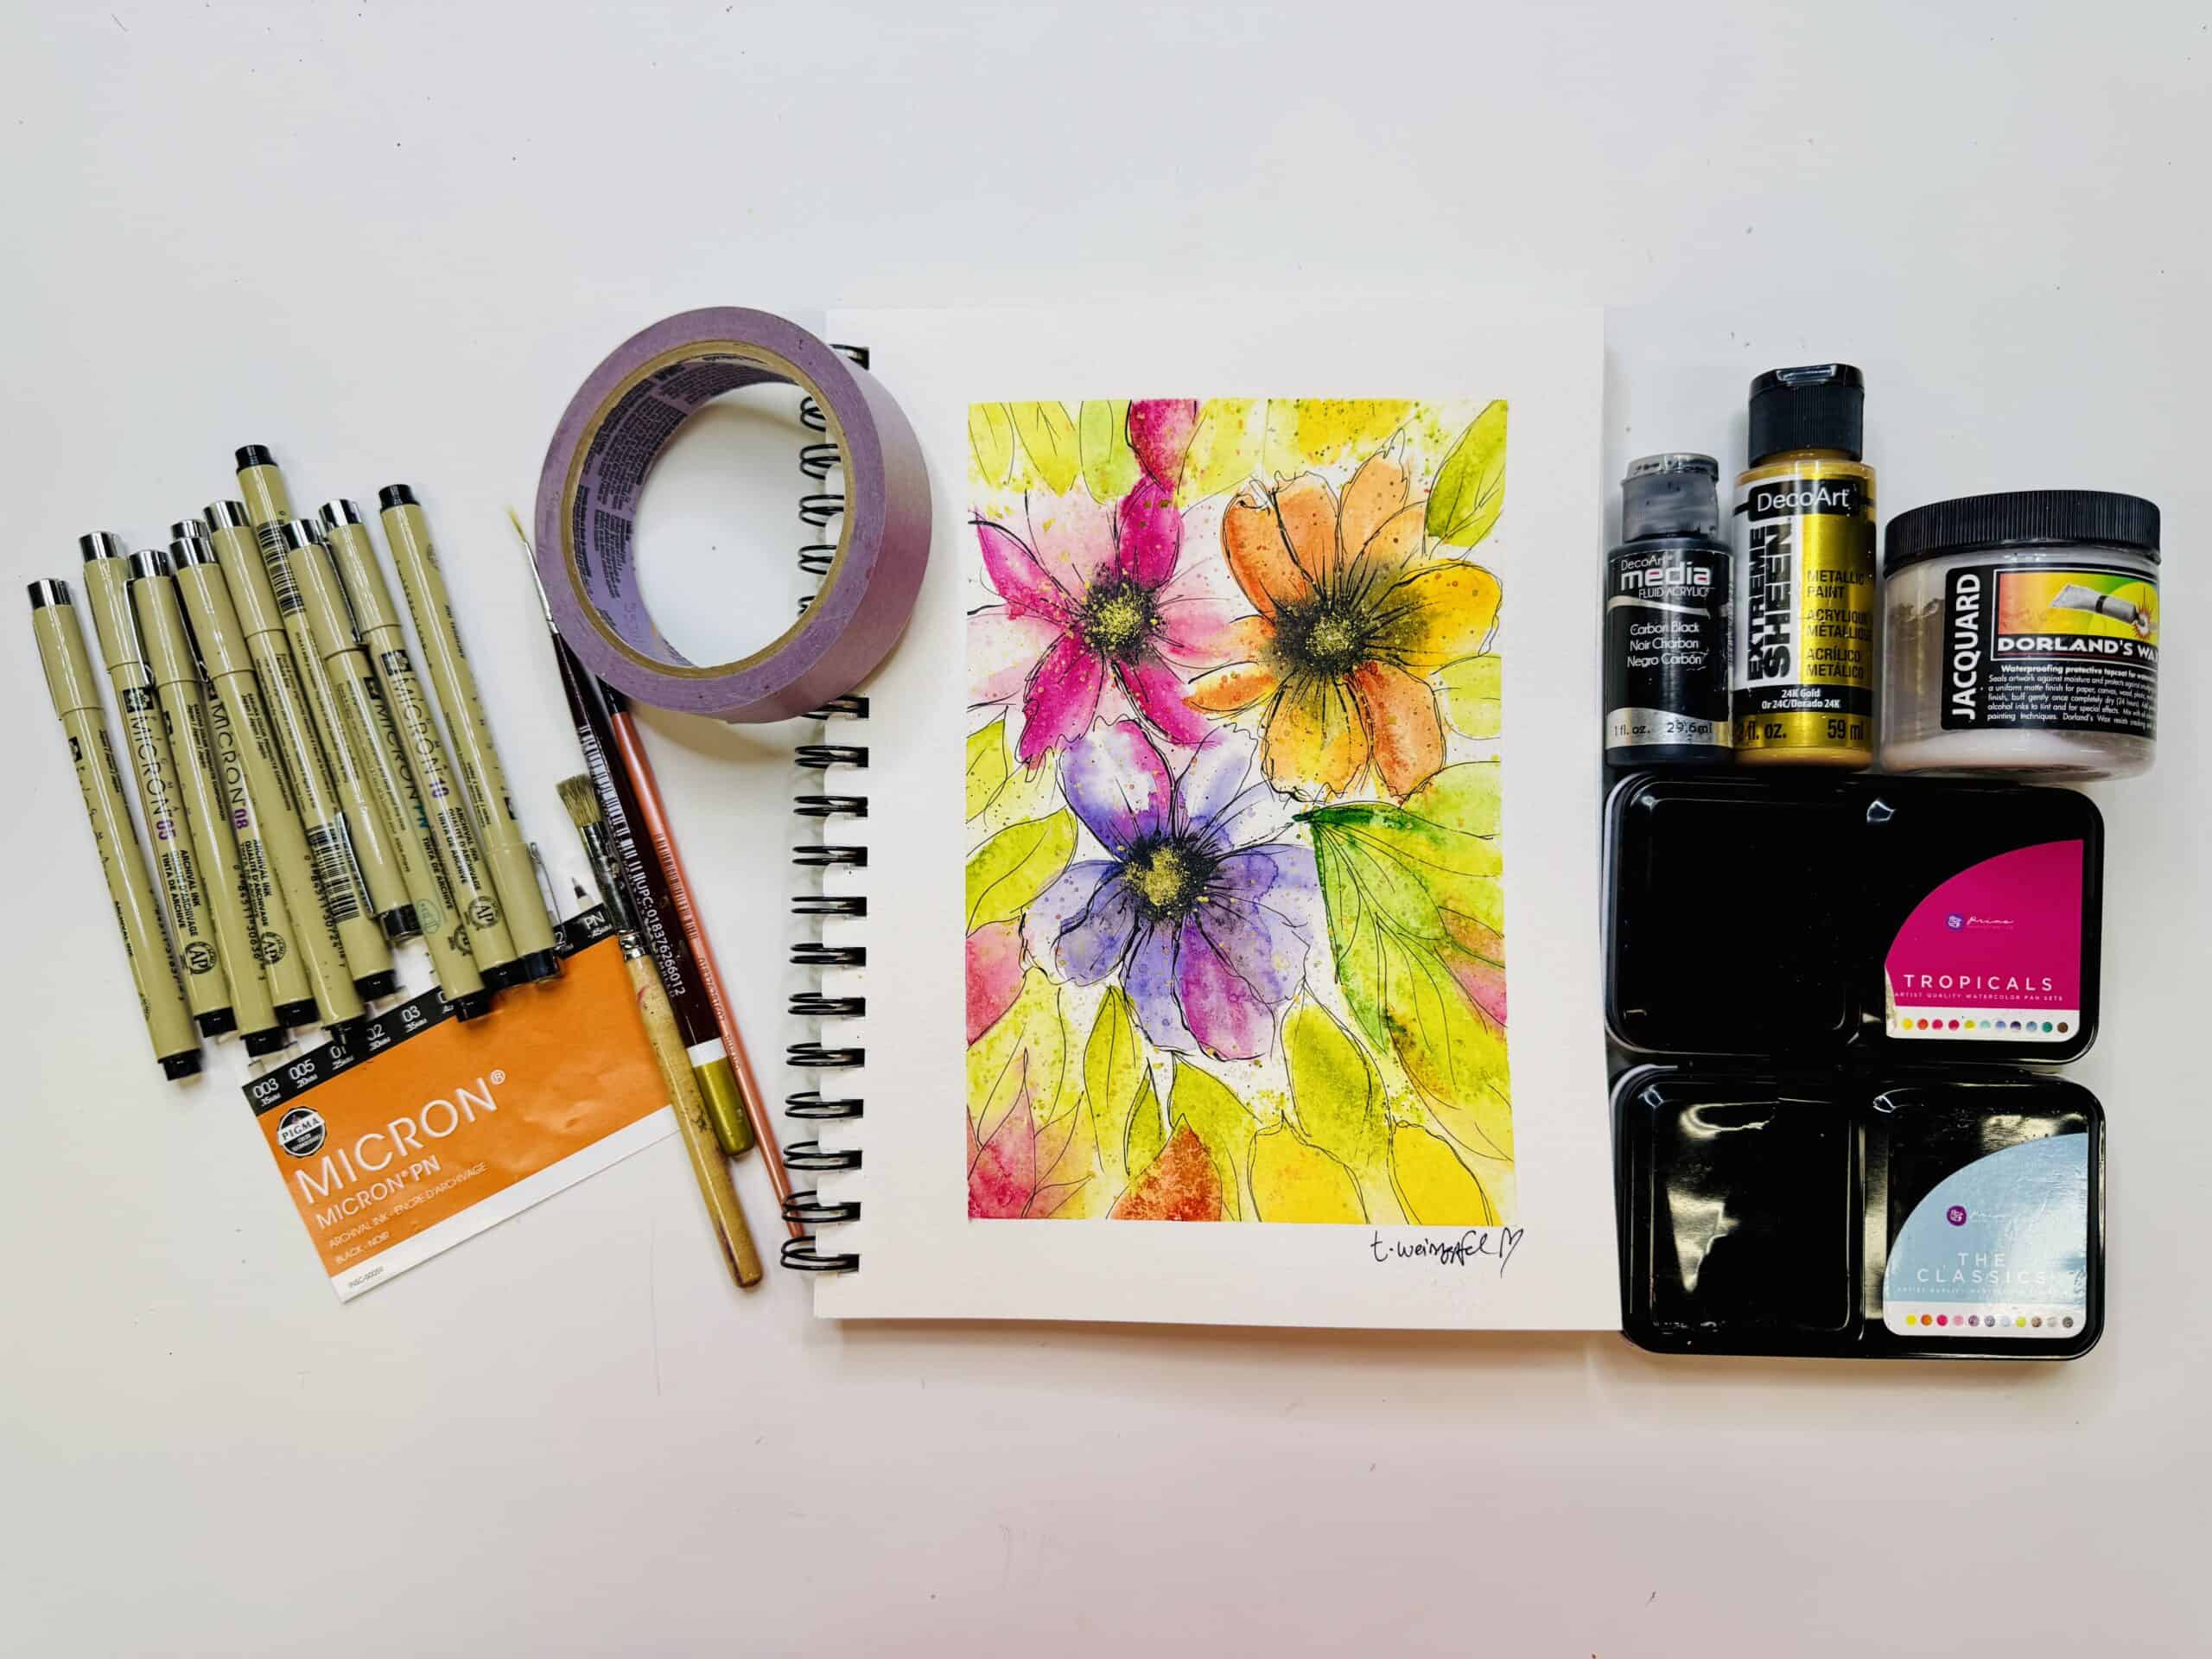
Supply List:
- Grumbacher 7 X 10 Watercolor Journal
- DecoArt Media Fluid Acrylics: Carbon Black
- Decoart Extreme Sheen: 24K Gold
- Pens: Micron
- Watercolors: Tropicals and The Classics
- Dorlands Wax Medium (clear wax medium)
- Paint brushes – Tracy Weinzapfel Brush Sets
- 10/0 Micron Liner Brush
- Painter’s Tape
Check out Tracy’s Art Journal Starter Kit!
Tracy’s Resources Page and visit Tracy’s Shop
Gorgeous