
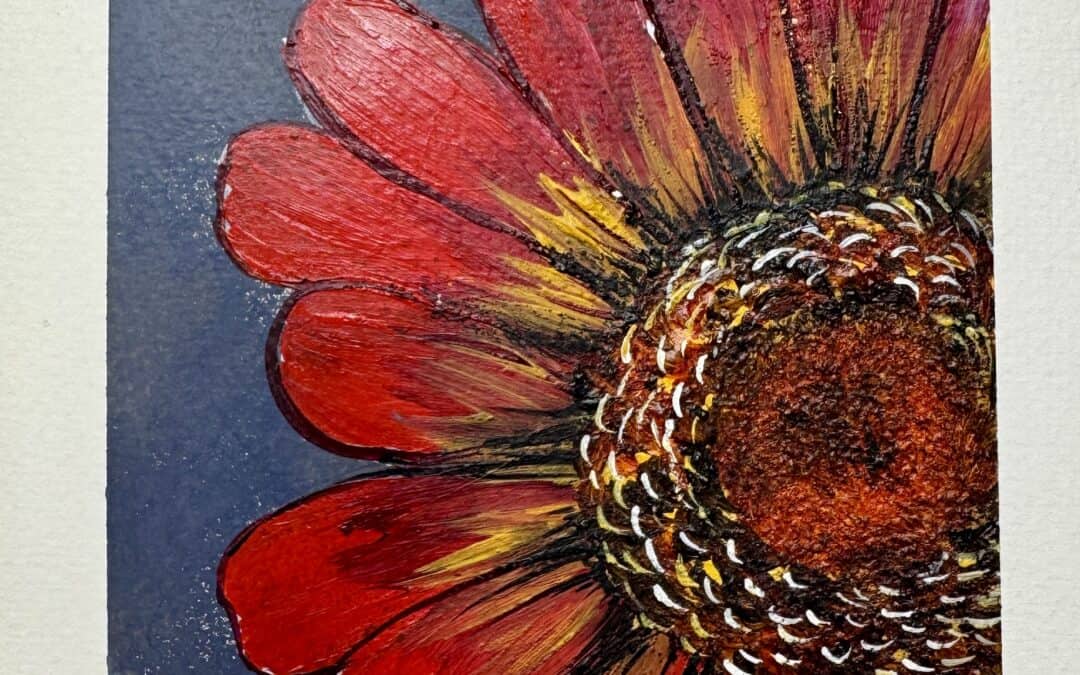
If you love expressive floral art, rich color, and plenty of texture, this mixed-media flower painting is a project you’ll want to try. In this tutorial, you’ll learn how to create a dramatic red flower against a moody black background using Distress Oxide Spray, gesso, acrylic paint, archival ink, and a few favorite mixed media techniques!

Begin by taping off your art journal page with painter’s tape to create a clean border. I loosely sketched the placement of the flower using simple guide marks rather than a detailed drawing. I used my tape roll to help with the flower center and then doodled the petals. The flower fills much of the page and extends off the edge.
Spray Black Soot Distress Oxide Spray across the background, intentionally avoiding most of the flower area. The dark background creates immediate contrast and allows the bright flower colors to shine. Let some areas spray heavier than others to create natural variations and texture. If desired, gently blot portions of the spray for even more visual interest. Allow the background to dry completely before moving on.
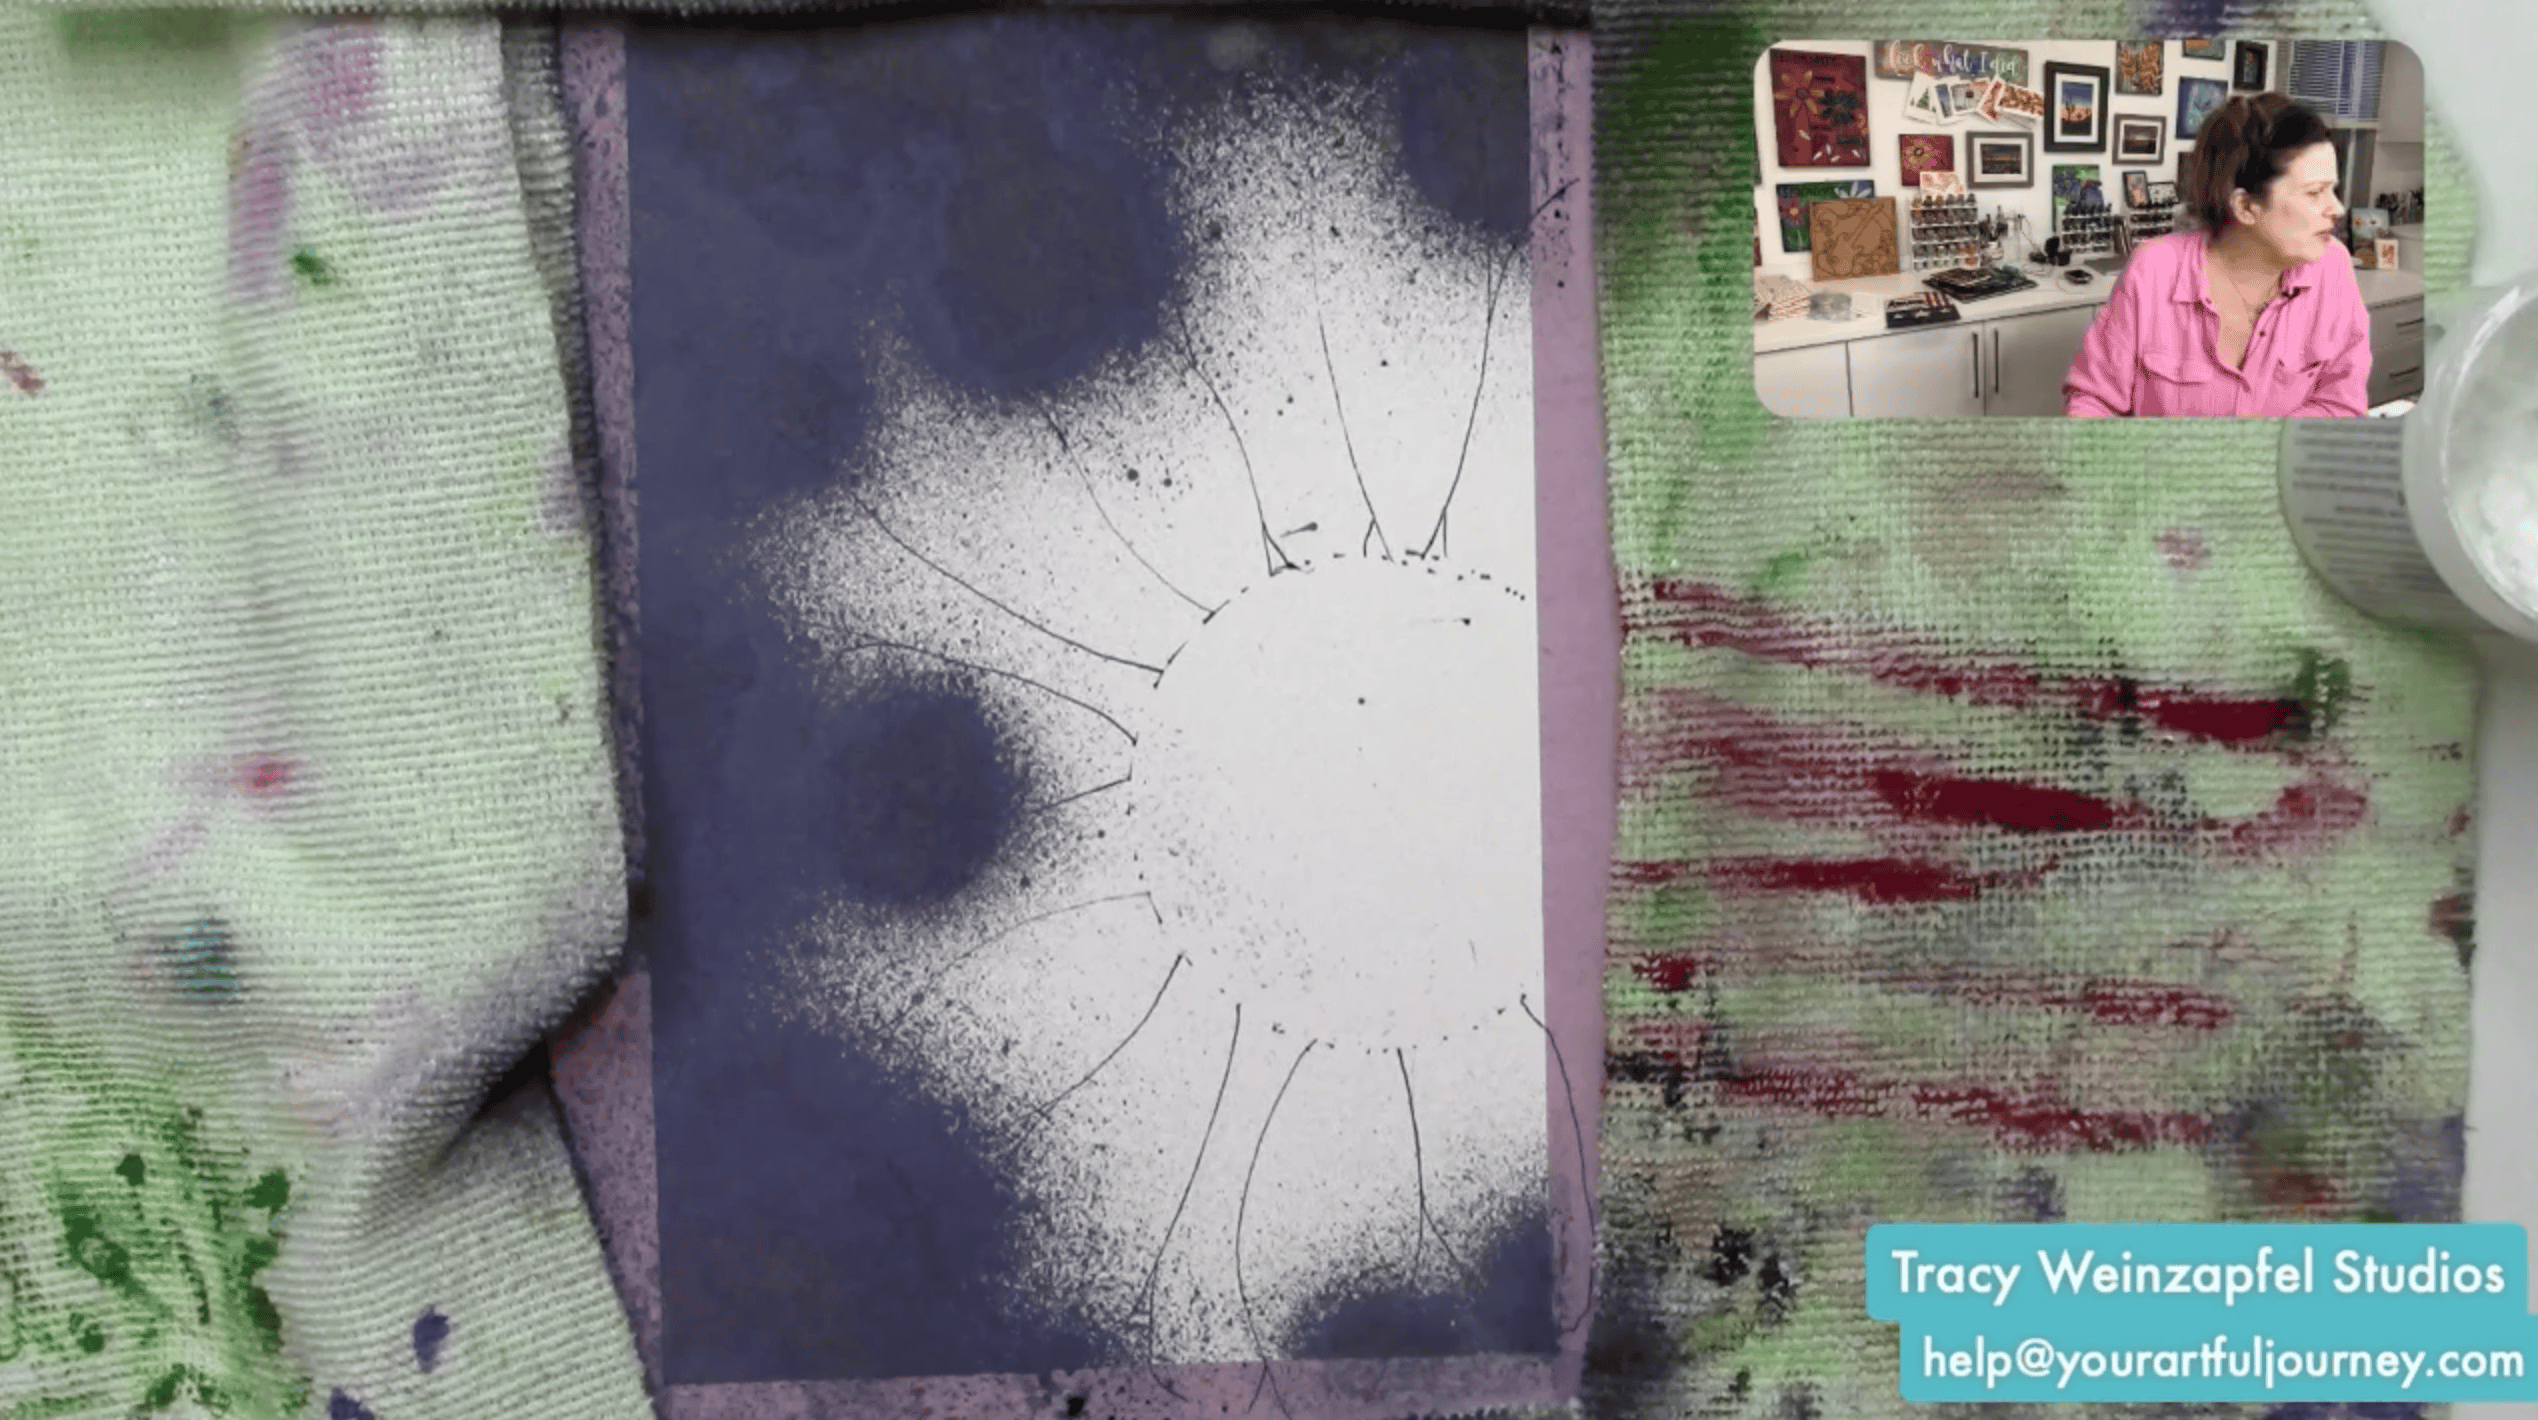
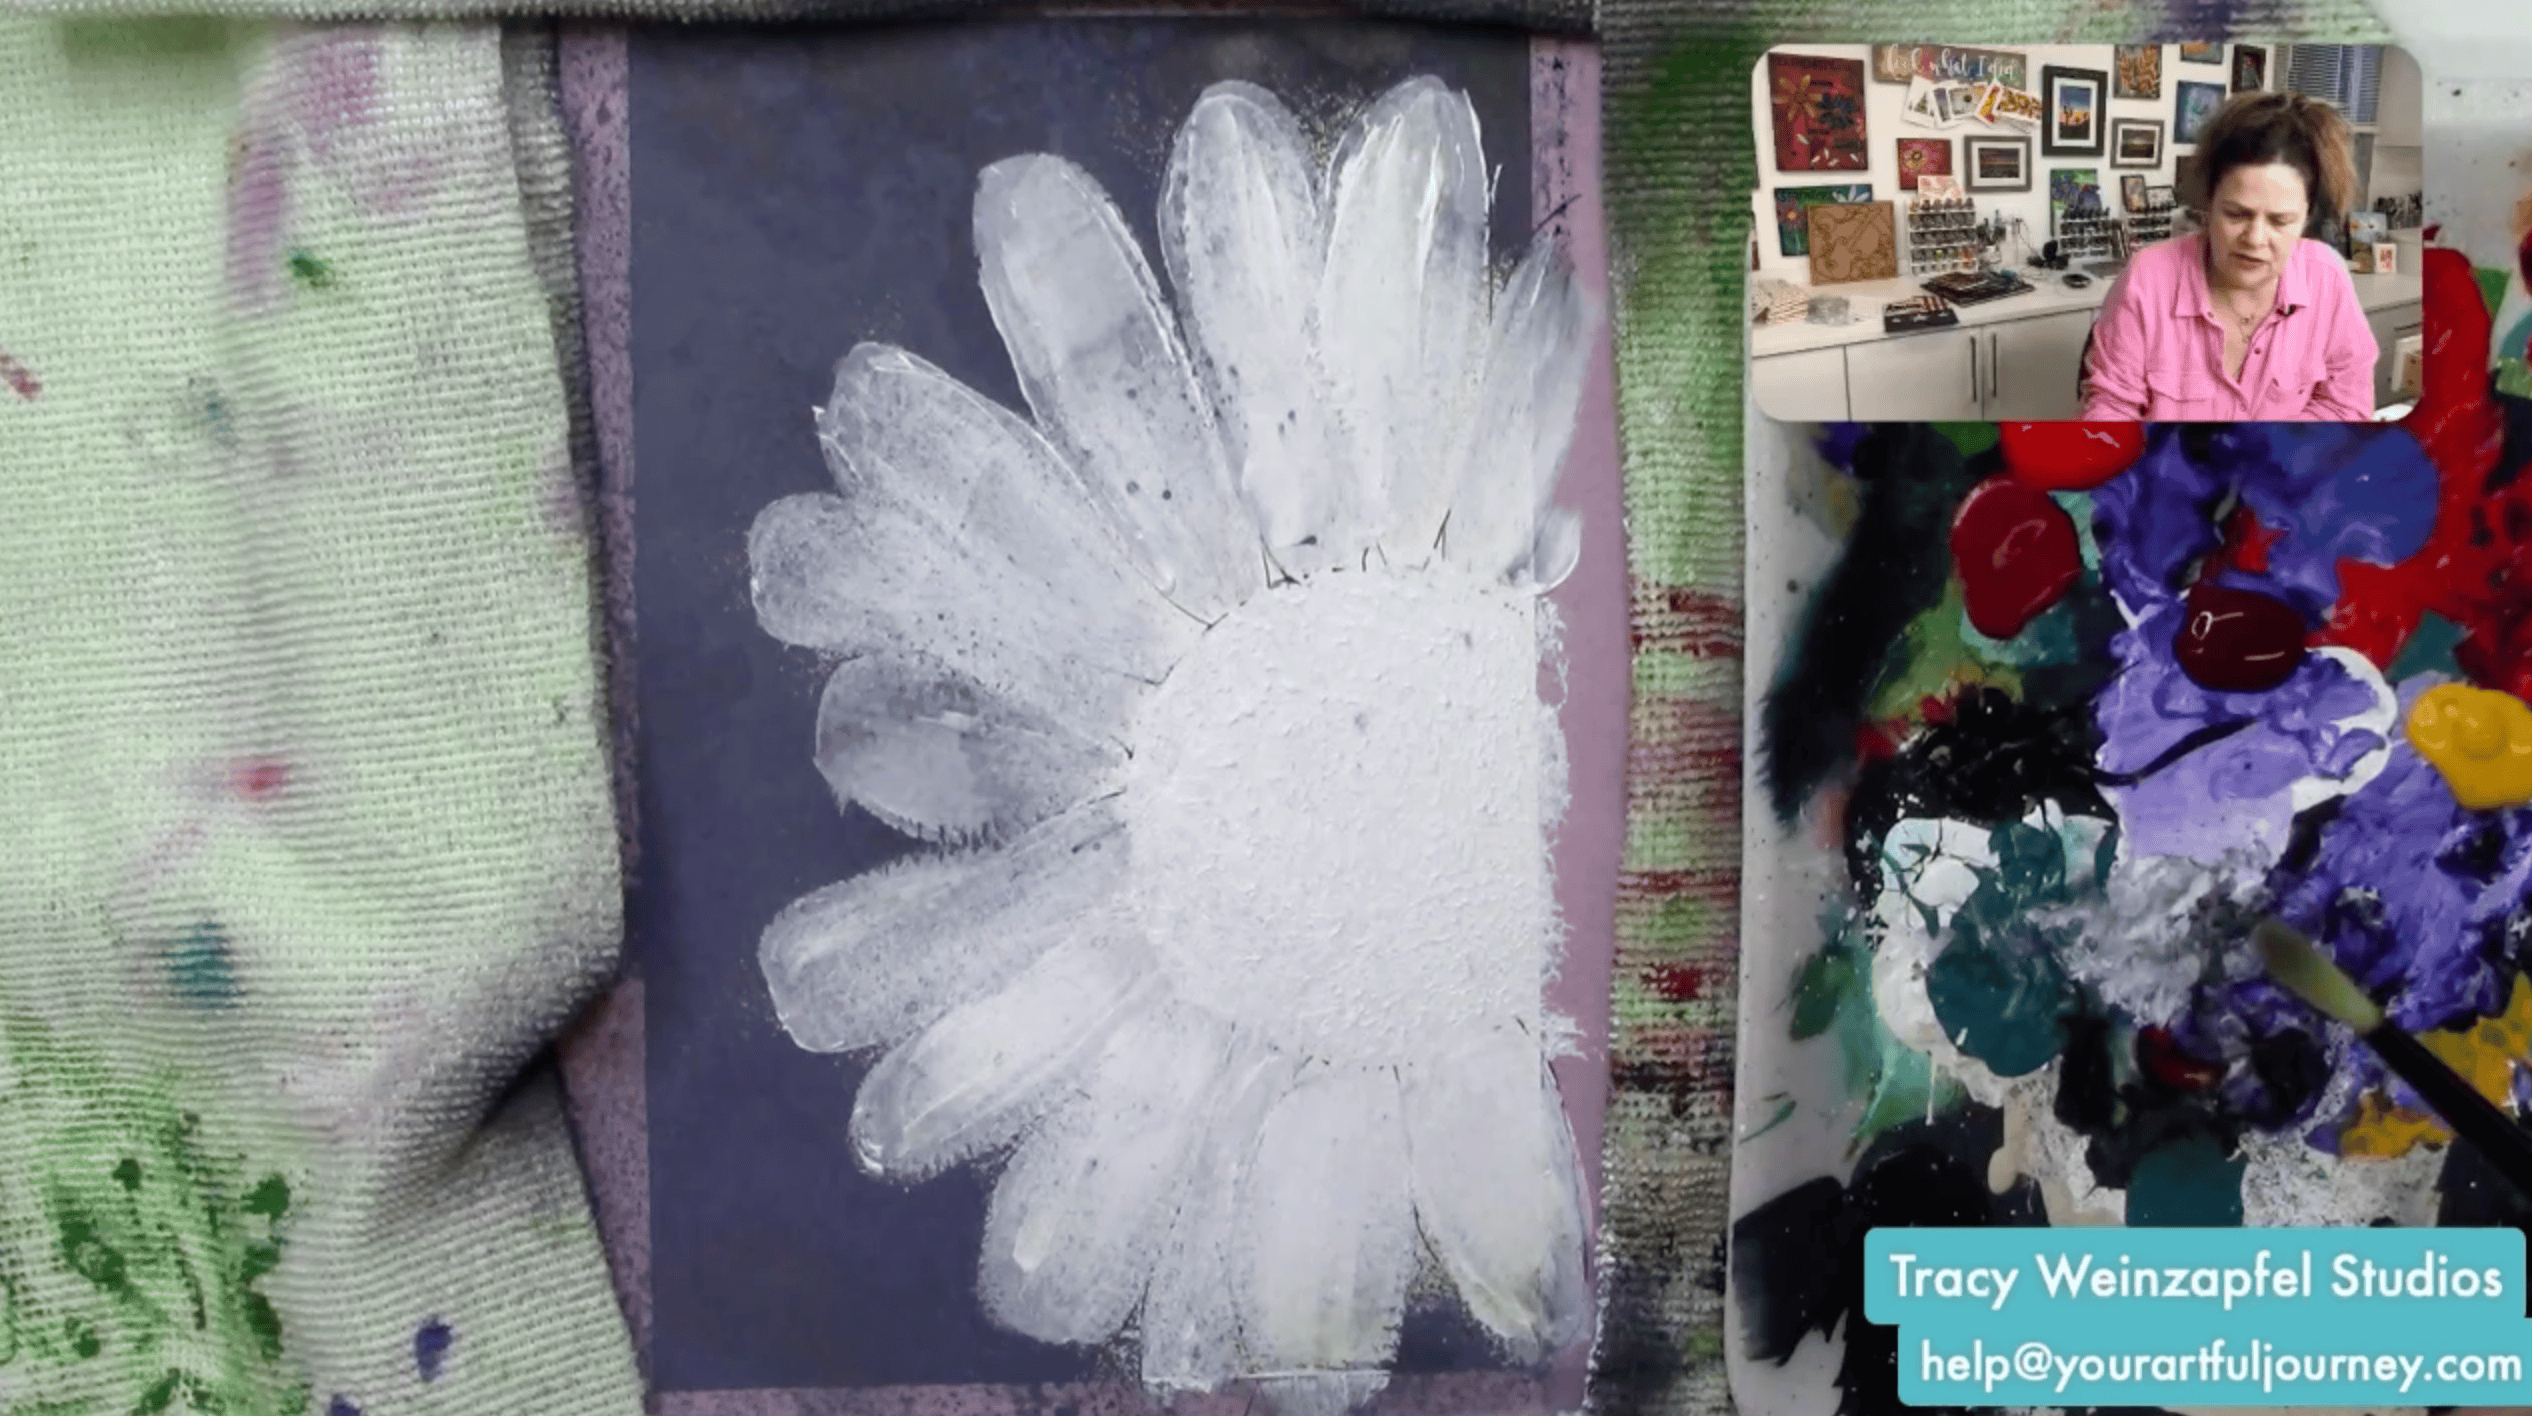
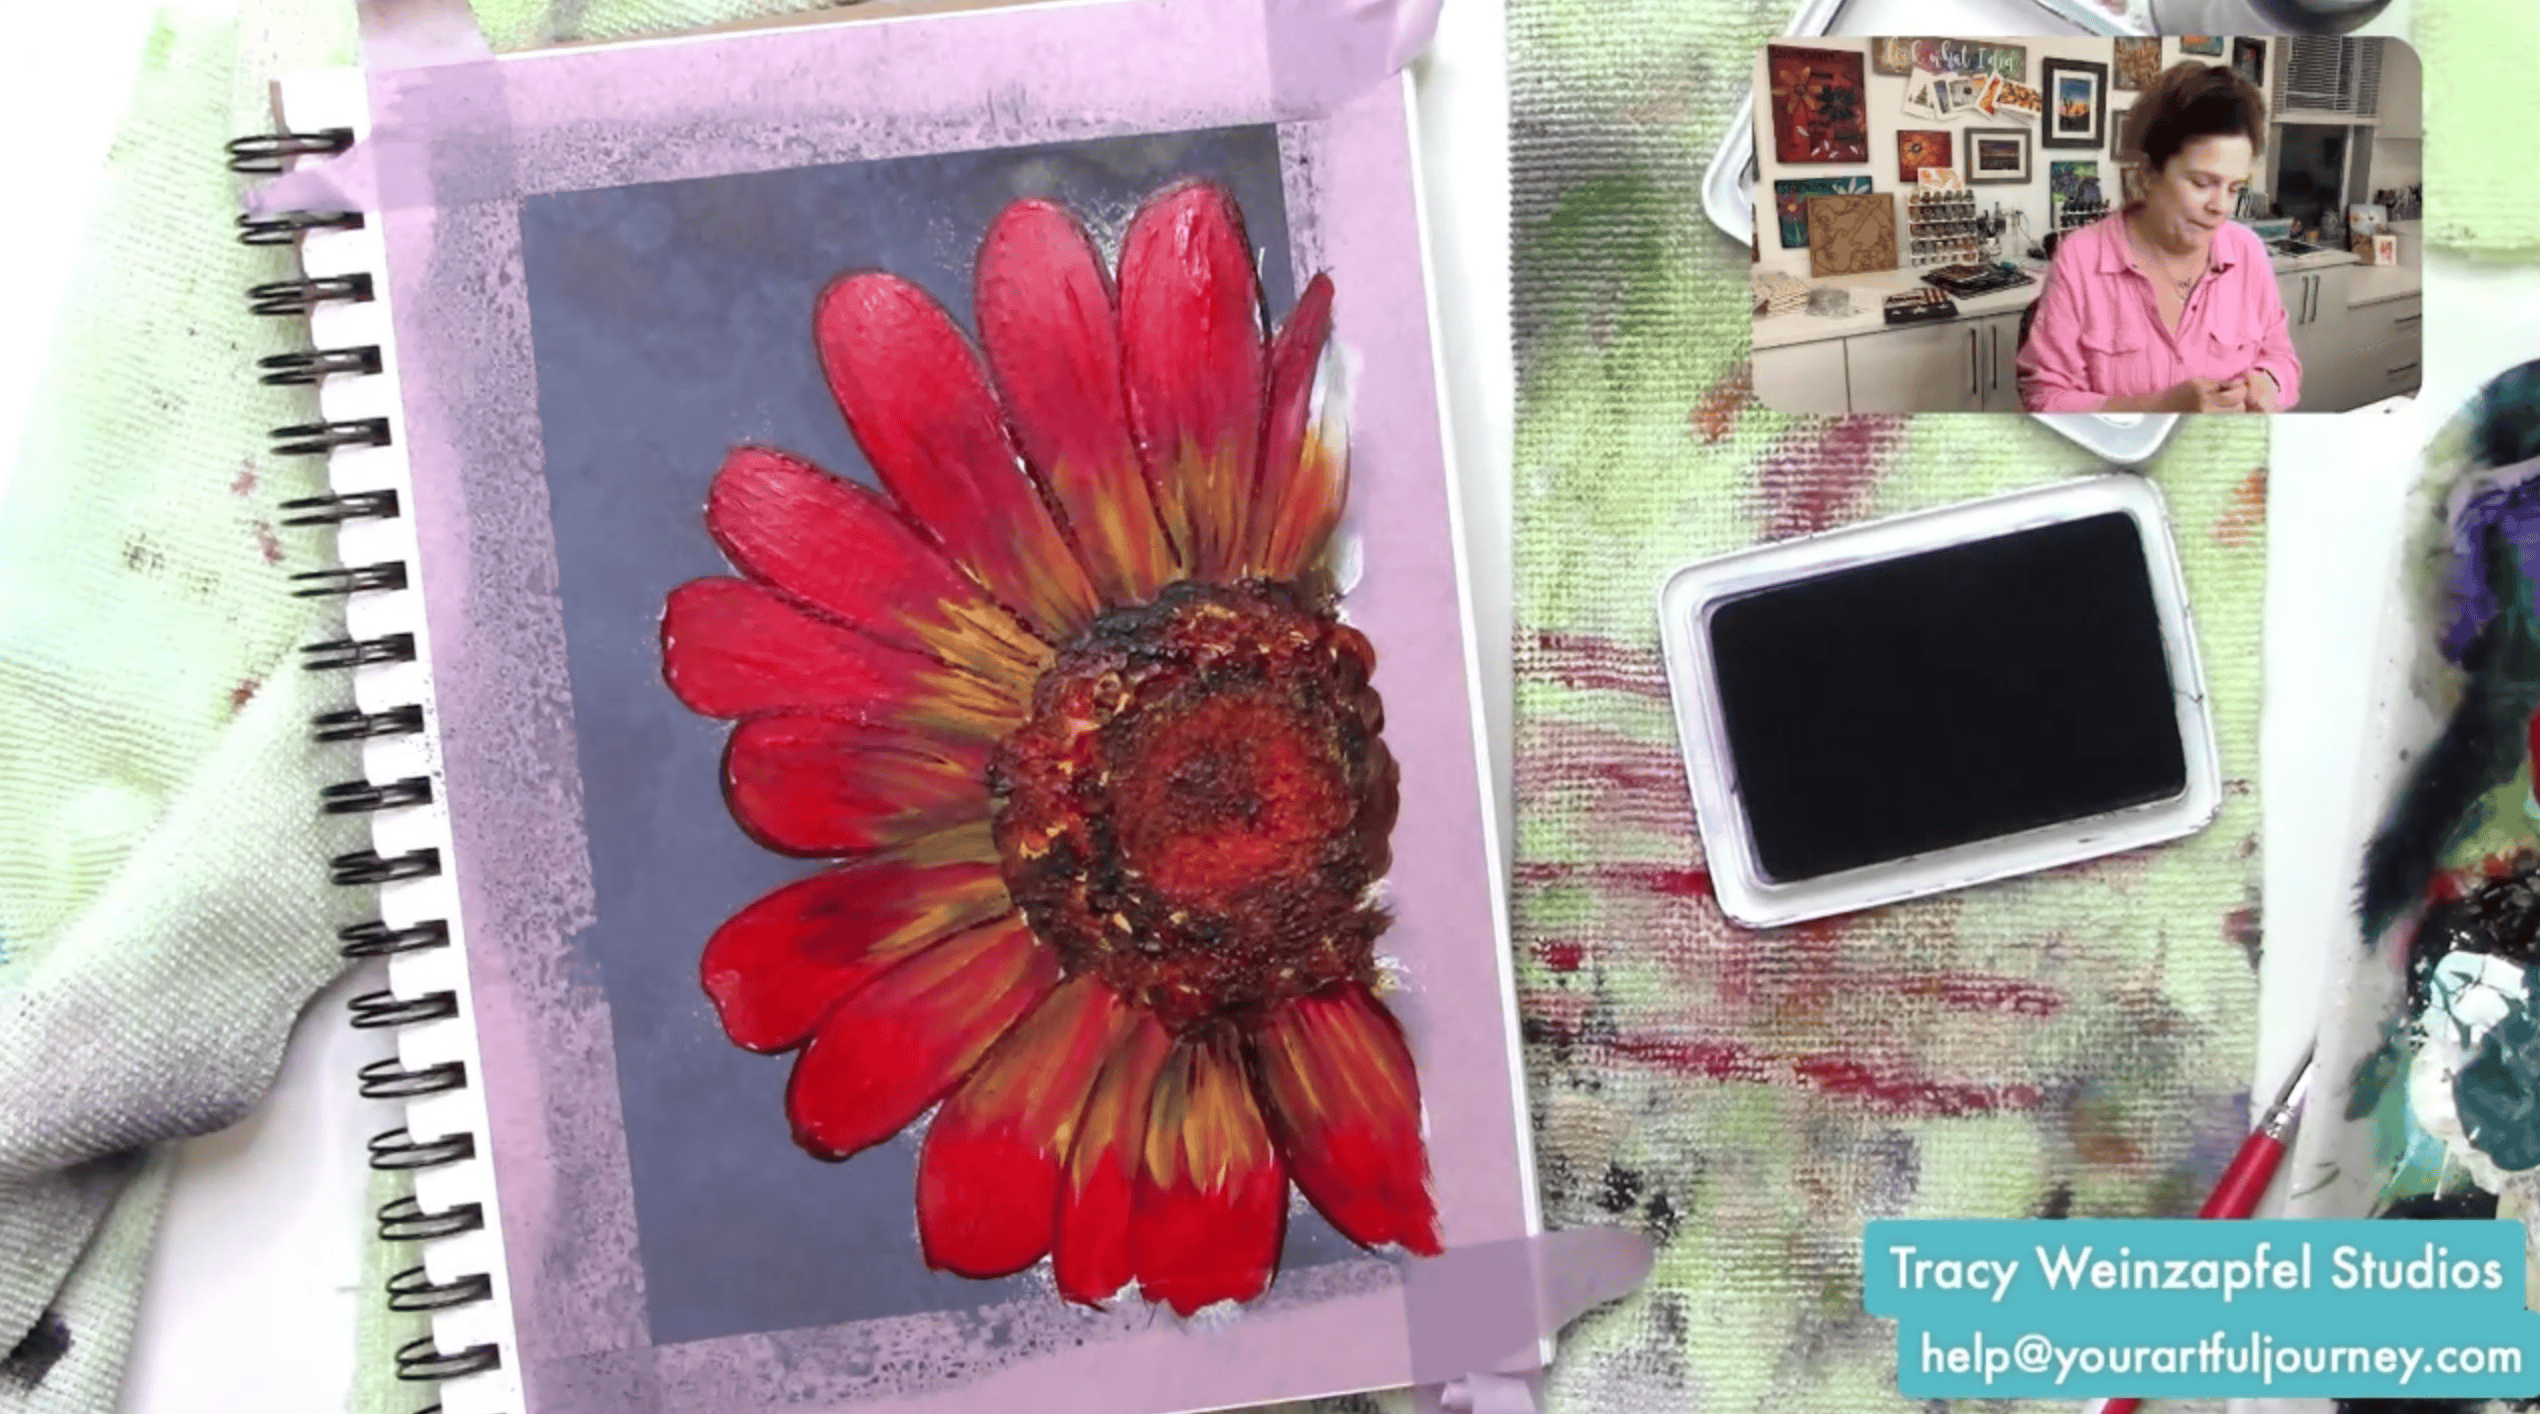
Using a flat brush and white gesso, paint the flower petals and center. The gesso serves two important purposes: it blocks the dark background from affecting the flower colors and creates wonderful texture that will show through later layers of paint.
Apply the gesso generously but not too thickly. I also used a stencil brush to create additional texture within the flower center. Let the gesso dry thoroughly before continuing.
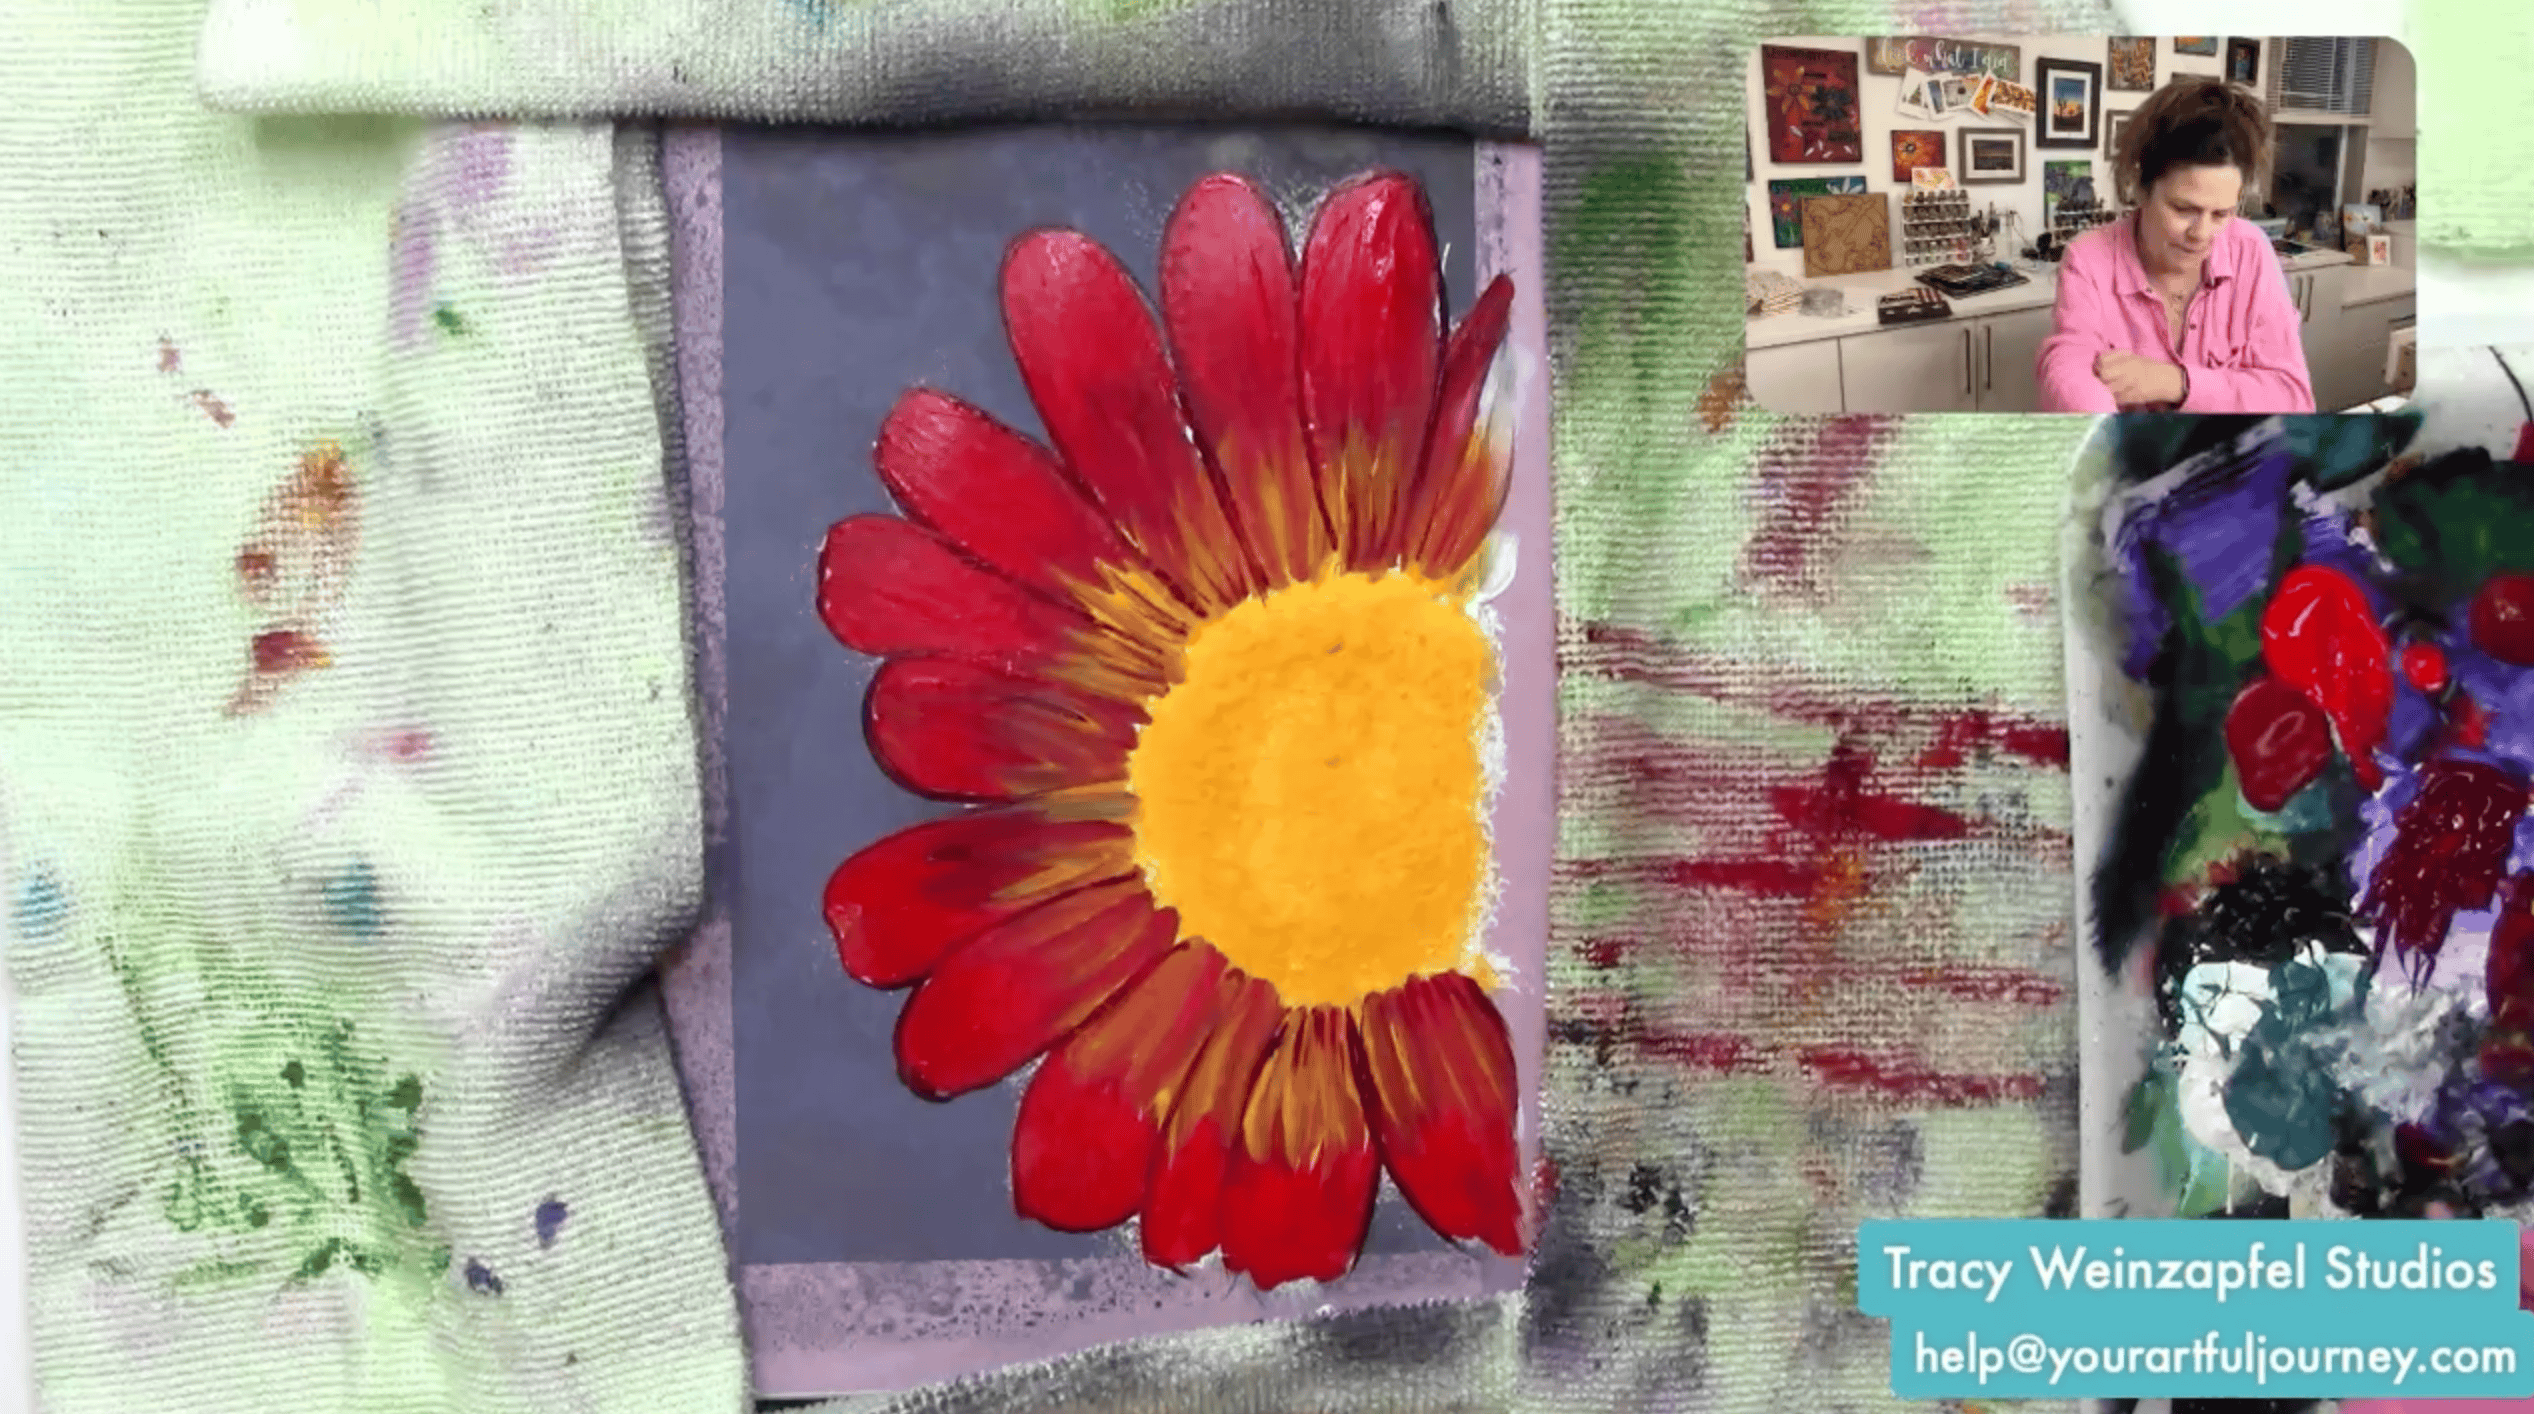
Begin painting the petals with Saffron Yellow near the flower center. Next, add Pyrrole Red across the petals, allowing the colors to blend where they meet. Introduce Quin Violet into some of the red areas to create depth and variation.
Don’t worry if the flower looks messy at this stage. The beauty of this technique comes from building multiple layers of color. Continue moving between the red, yellow, and violet until you achieve a blend you enjoy.
Using a smaller brush and Quin Violet, begin pulling color back toward the flower center. This helps define individual petals and creates the dramatic streaks that make the flower feel alive and dimensional.
Once the acrylic paint is applied, use a heat tool to carefully warm portions of the petals and flower center. As the paint heats, it begins to blister slightly, creating beautiful organic texture.
Move the heat tool continuously and watch carefully. The goal is subtle texture rather than burning the paint. This step adds incredible character and helps transform the flower into a richly textured mixed-media piece.
Mix Payne’s Gray and Quin Gold on a stencil brush and begin creating small curved marks throughout the flower center. I described these as little swoops or half-circles.
Continue layering these marks until the center develops depth and complexity. The combination of warm gold and dark gray creates a realistic seed-head effect while maintaining the artistic style of the piece.
Using a stencil brush and black archival ink, work around the flower center and petal edges. The archival ink settles into the textured areas and emphasizes the raised surfaces created earlier with gesso and heat. This subtle shading adds contrast and helps the flower stand out against the dark background.
Use an Aquarellable pencil to deepen shadows and add additional definition where needed. Focus on areas around the flower center and between petals. A little goes a long way. These finishing marks help create even more depth without overwhelming the painting.
Using Titanium White and a small detail brush, add highlights throughout the flower center. These bright accents create contrast and bring attention to the focal point of the piece. You can also add a few subtle highlights on petal edges if desired. The white marks help the flower feel dimensional and finished.
Allow the piece to cool completely before sealing. Because the artwork includes water-soluble products, I chose to finish it with Dorland’s Wax Medium. Apply a thin layer with a soft cloth or paper towel and gently buff. Carefully remove the painter’s tape to reveal crisp, clean edges. Sign your artwork and take a moment to enjoy the dramatic contrast between the dark background and vibrant flower!
Watch the replay below!
Thank you for joining in on the creative fun. Join us LIVE every Wednesday at 5:30 pm PST on Facebook at Tracy Weinzapfel Studios.
Join the waitlist for Your Artful Journey! This is my exclusive creative membership where you can explore the world of art journaling! Join a community of support and inspiration with interactive art sessions full of tips and tricks, conversation, Q & As, and most of all, FUN!
Supply List:
- Grumbacher 7 X 10 Watercolor Journal
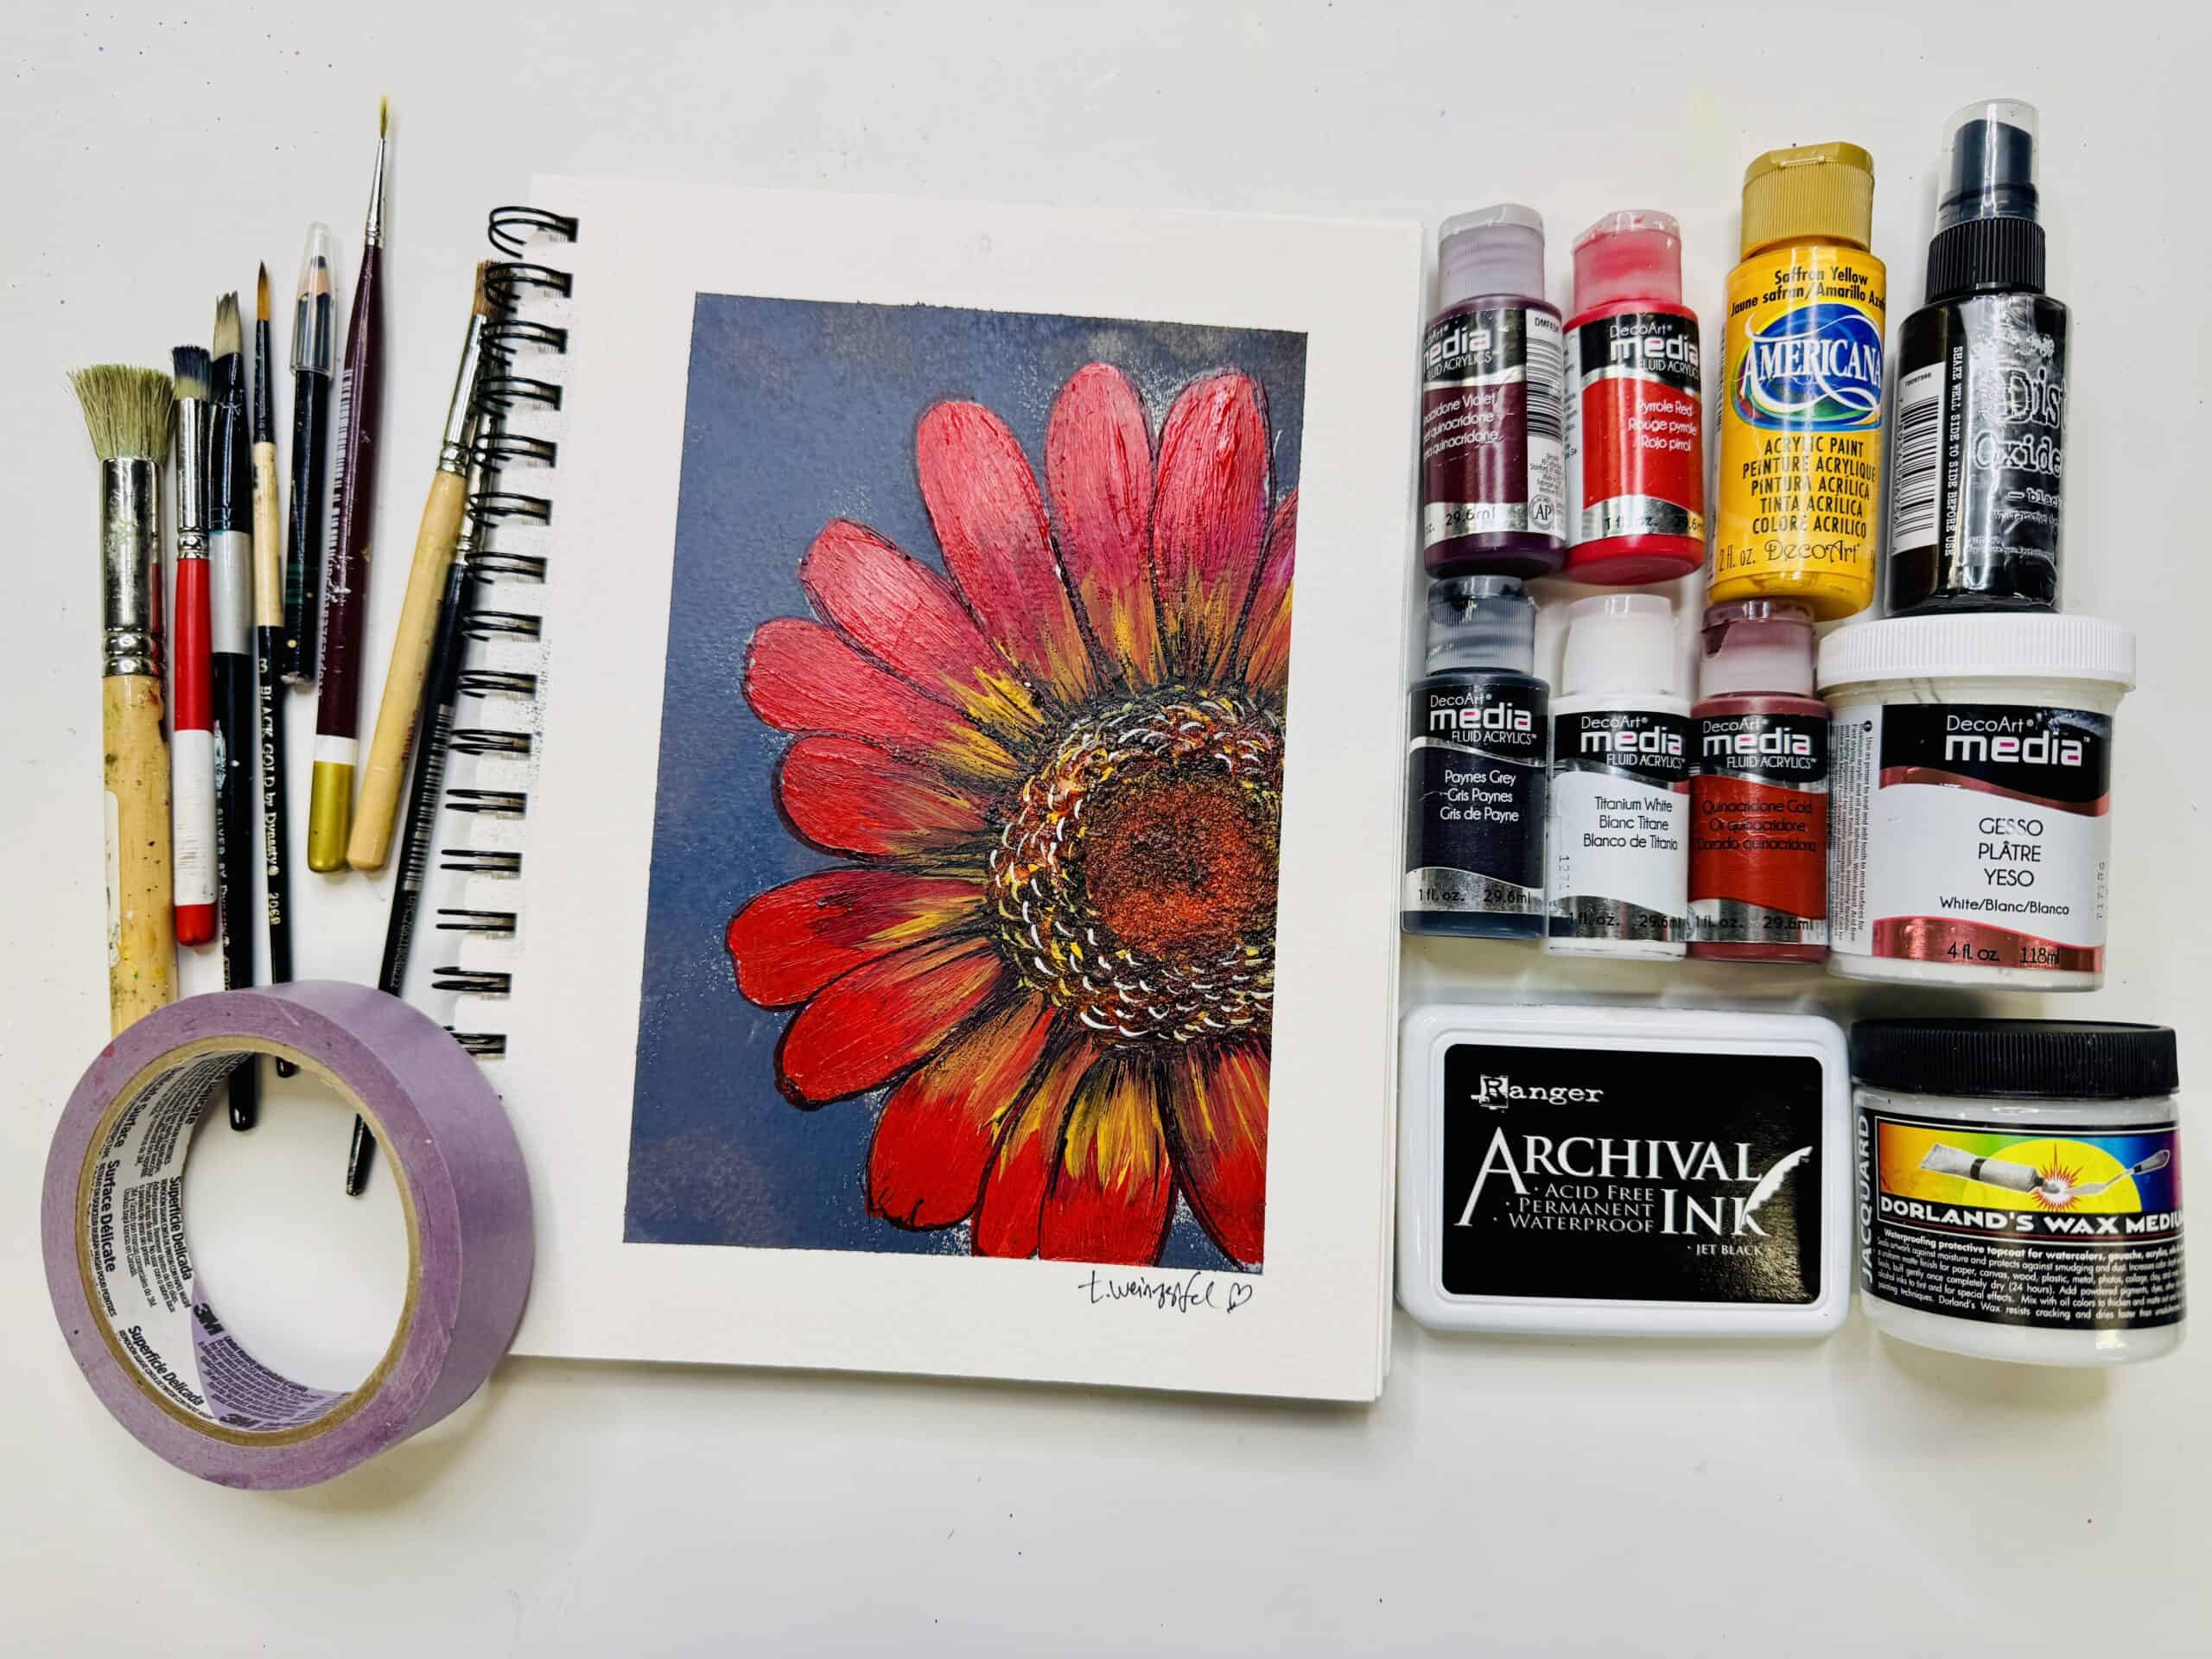
- DecoArt Media Fluid Acrylics: Paynes Grey, Titanium White, Pyrolle Red, Quin Gold & Violet, Saffron Yellow
- Distress Oxide Sprays:
- Dorlands Wax Medium (clear wax medium)
- Paint brushes – Tracy Weinzapfel Brush Sets
- 10/0 Micron Liner Brush
- Stabilo Aquarellable
- Archival Ink: Jet Black
- Painter’s Tape
Check out Tracy’s Art Journal Starter Kit!
Tracy’s Resources Page and visit Tracy’s Shop