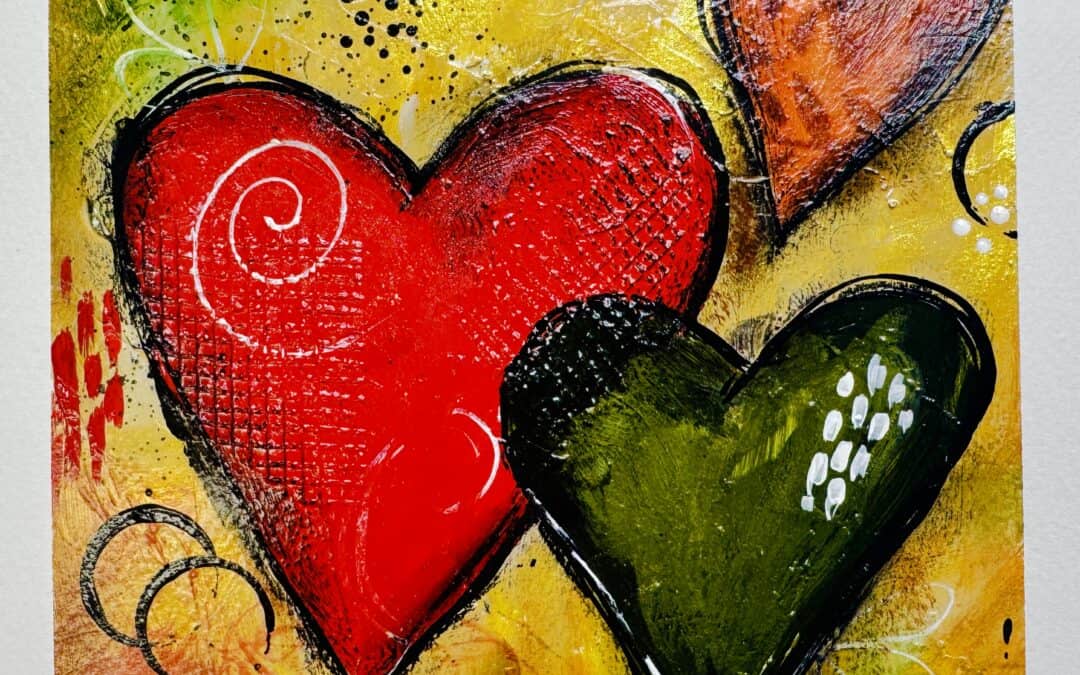
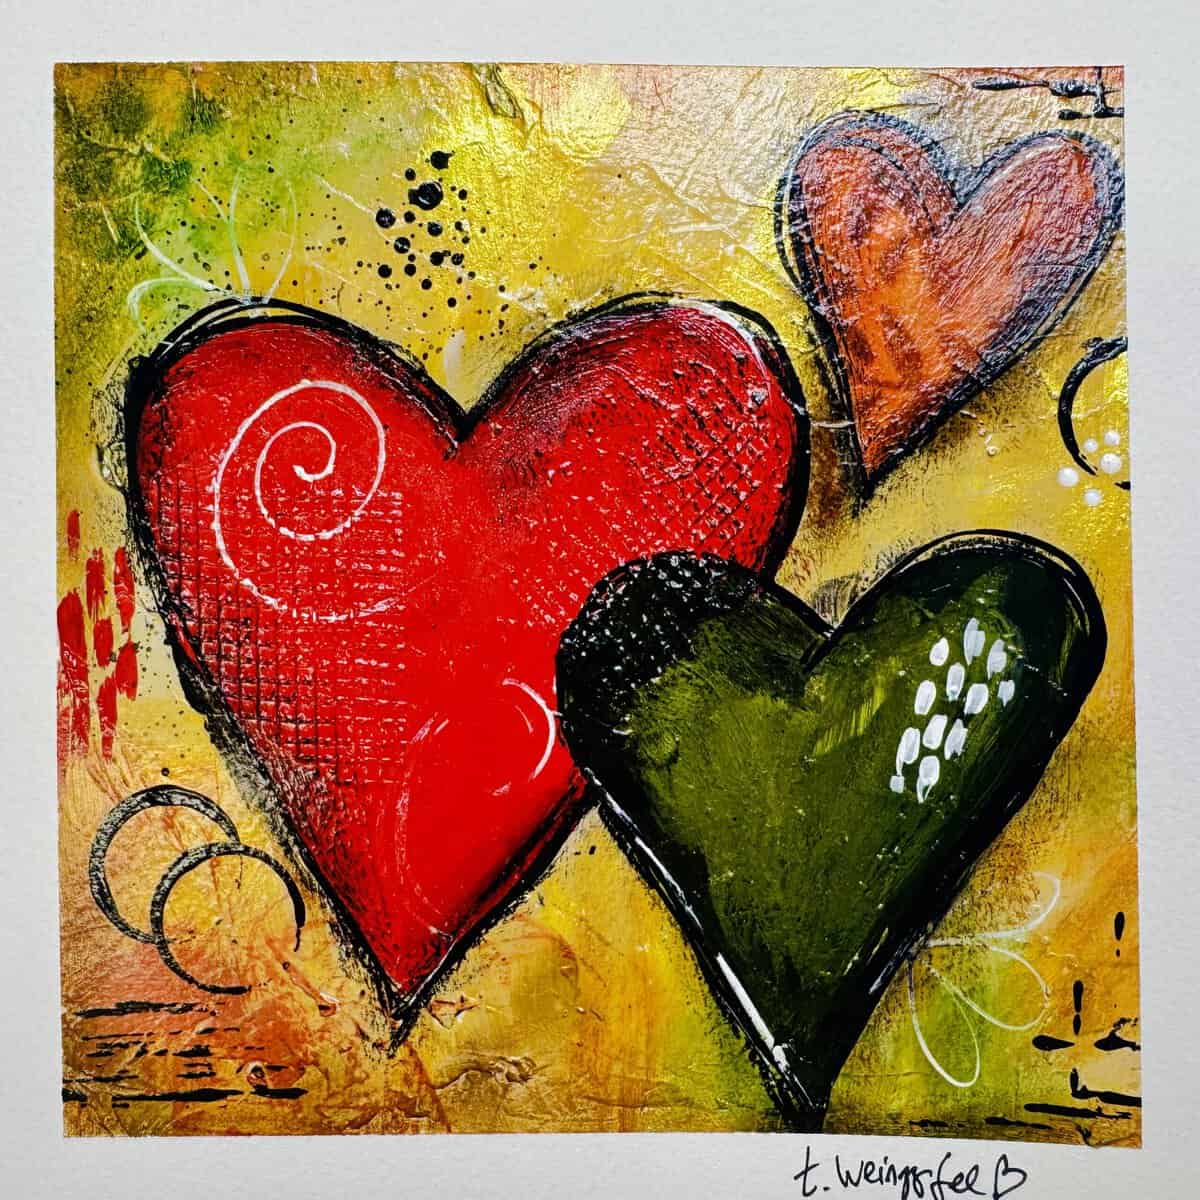
This week, we created this stunning Fall Hearts mixed media art journal page! I pulled out my acrylic paints, gesso, stencils, ink pads, and even some drywall tape to create this colorful, textured heart painting. With layers of warm yellows, rich reds, earthy greens, and touches of gold, this project is all about experimenting, building texture, and enjoying the creative process.
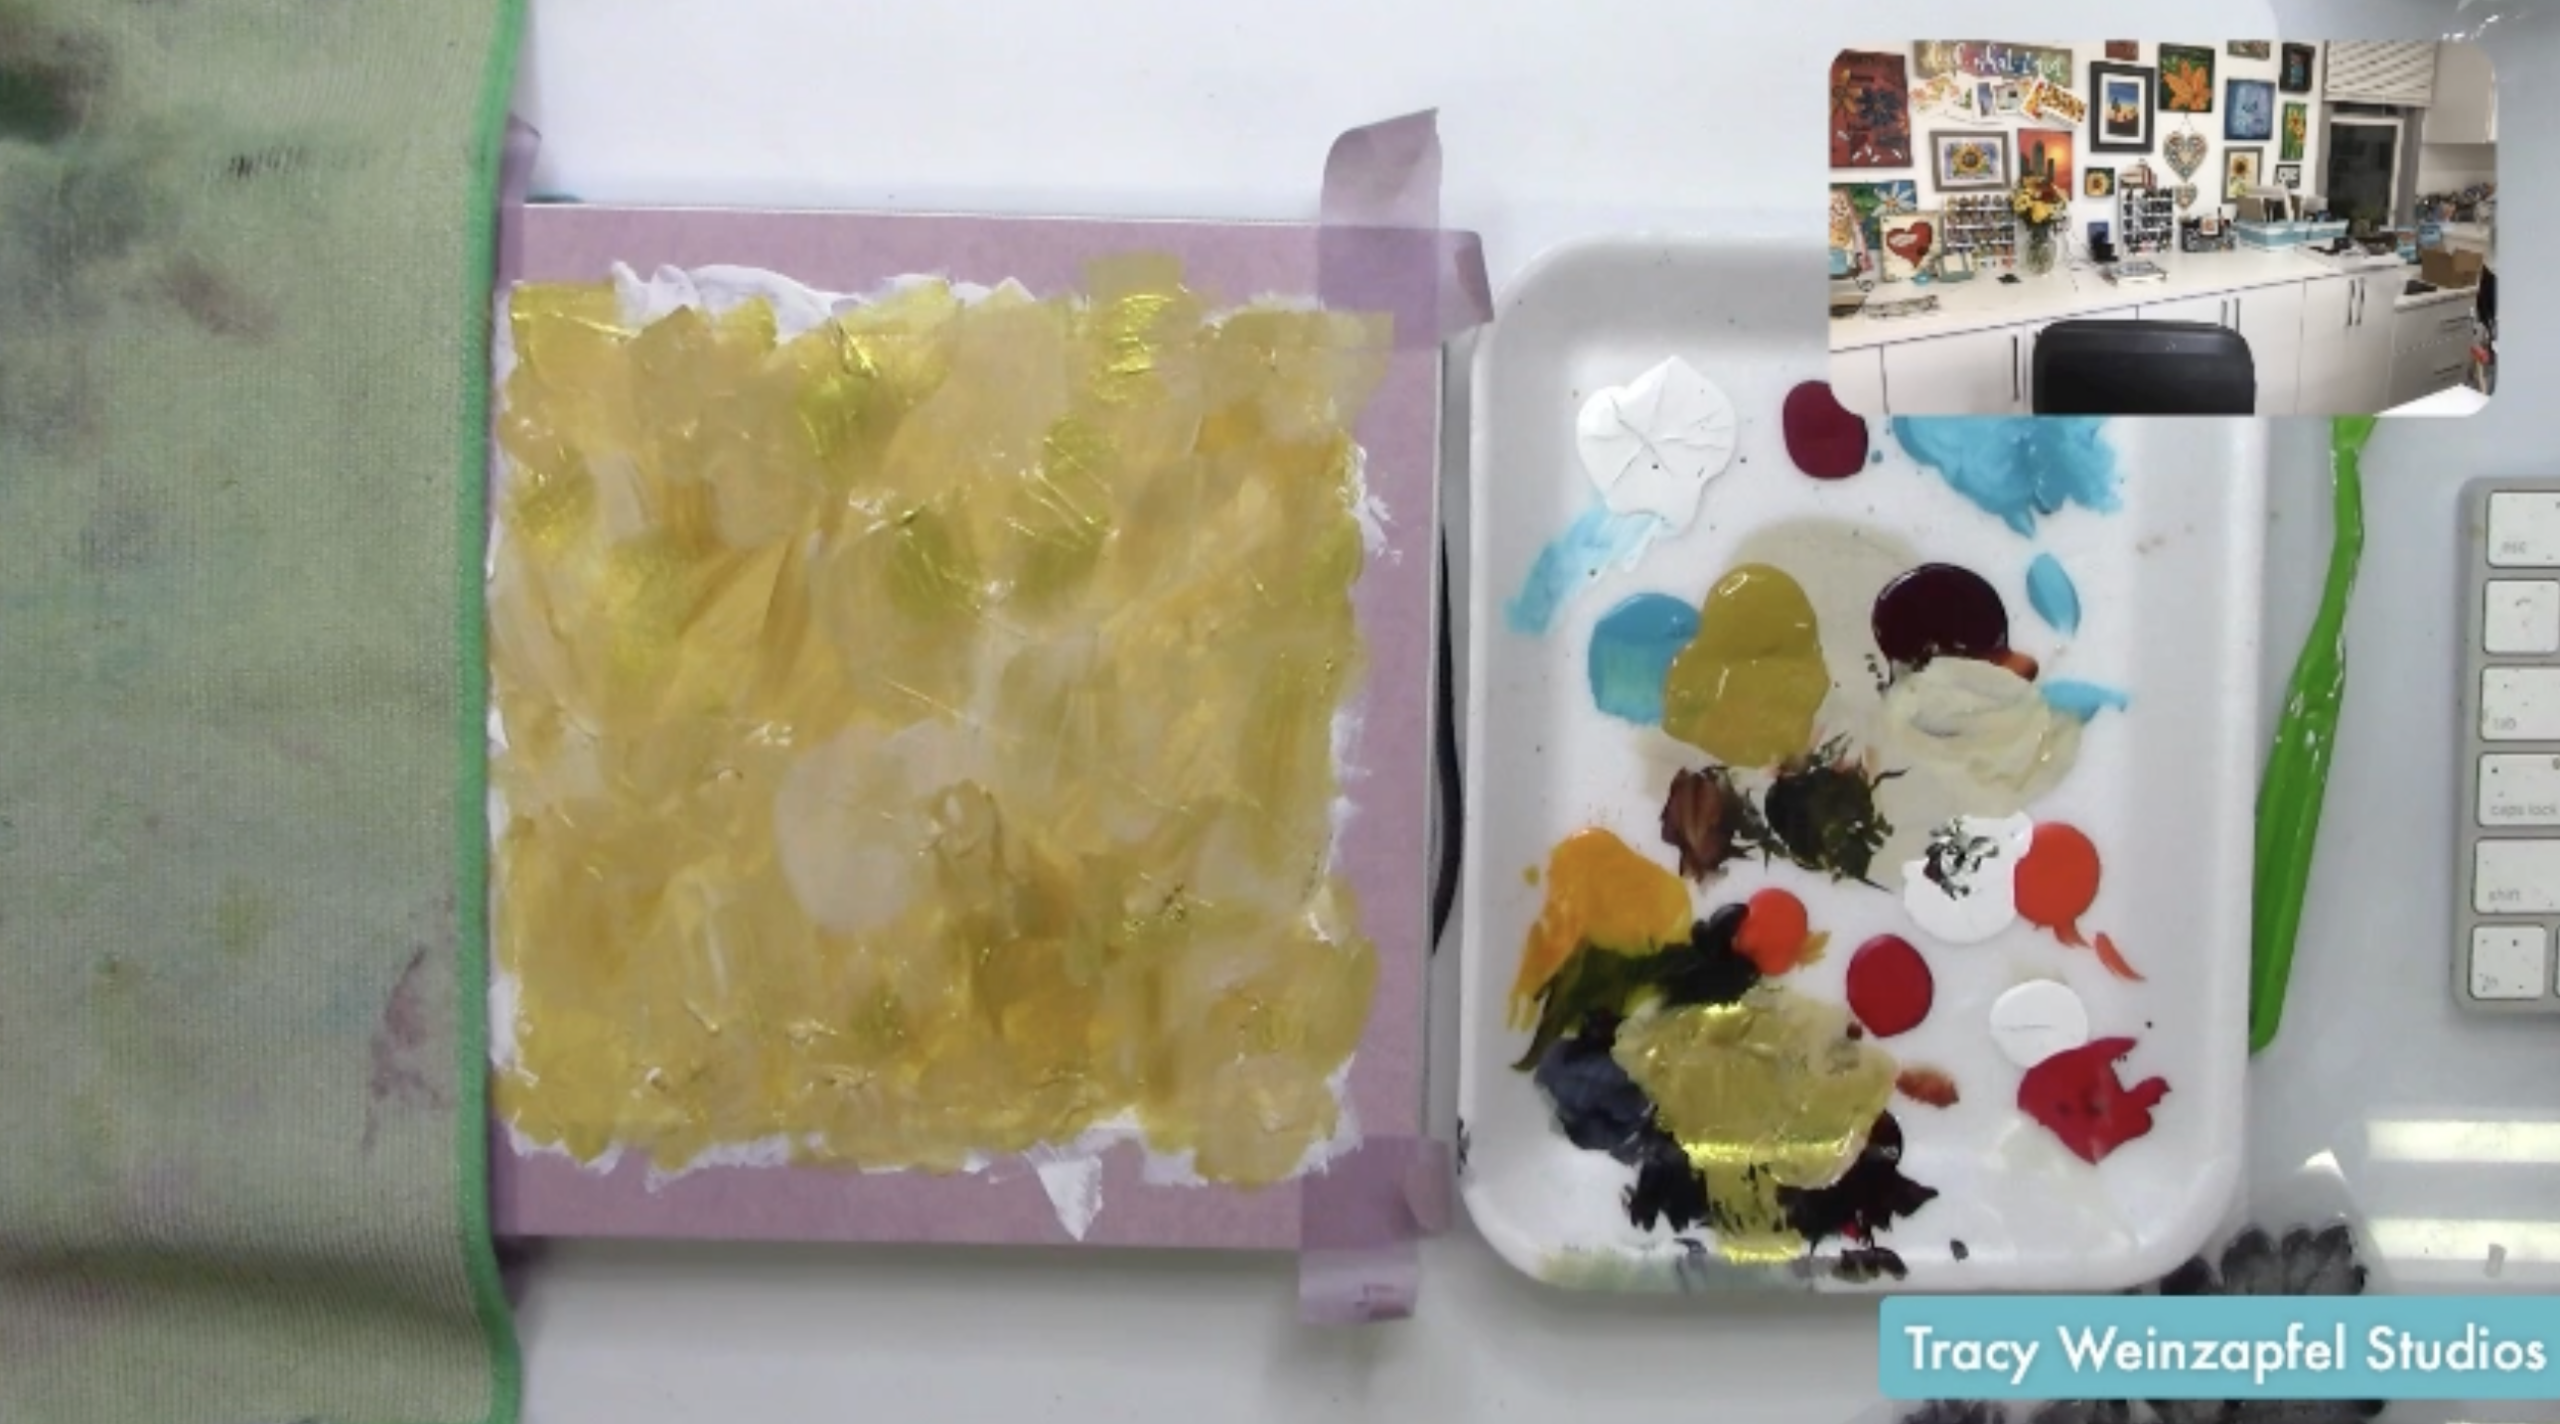
Prep your art journal page by taping off the edges with painter’s tape. Next, I applied a layer of gesso. I love using a thicker gesso because it gives me a little extra texture to work with! Rather than smoothing everything out perfectly, I moved the gesso around the page, building up some texture around the edges and adding a little through the center.
You can get as creative as you want here, but remember that thicker layers will take longer to dry. I kept mine relatively thin so I could continue painting without waiting forever. Use a heat tool carefully if needed, or allow the gesso to dry naturally.
Once my gesso was ready, I reached for Yellow Oxide acrylic paint to start building the background. I mixed in a little Titan Buff to soften the yellow and then added some gold to give the background a warmer, richer appearance. That gold made such a difference! I spread the colors across the page, allowing them to blend and settle into the texture from the gesso.
Next, I pulled out some of my favorite stencils and archival ink pads to add even more interest to the background. I used Rustic Wilderness and Fired Brick to introduce earthy greens and reds, along with Jet Black for darker accents.
Using leafy and circular stencil designs, I added patterns throughout the page, allowing some impressions to be bold while others were more subtle. I love using archival ink because it’s permanent once dry, making it a great option for layered mixed media projects.
At this stage, I wasn’t worried about creating a specific design. I was simply building up colors, marks, and textures that would peek through the finished painting.
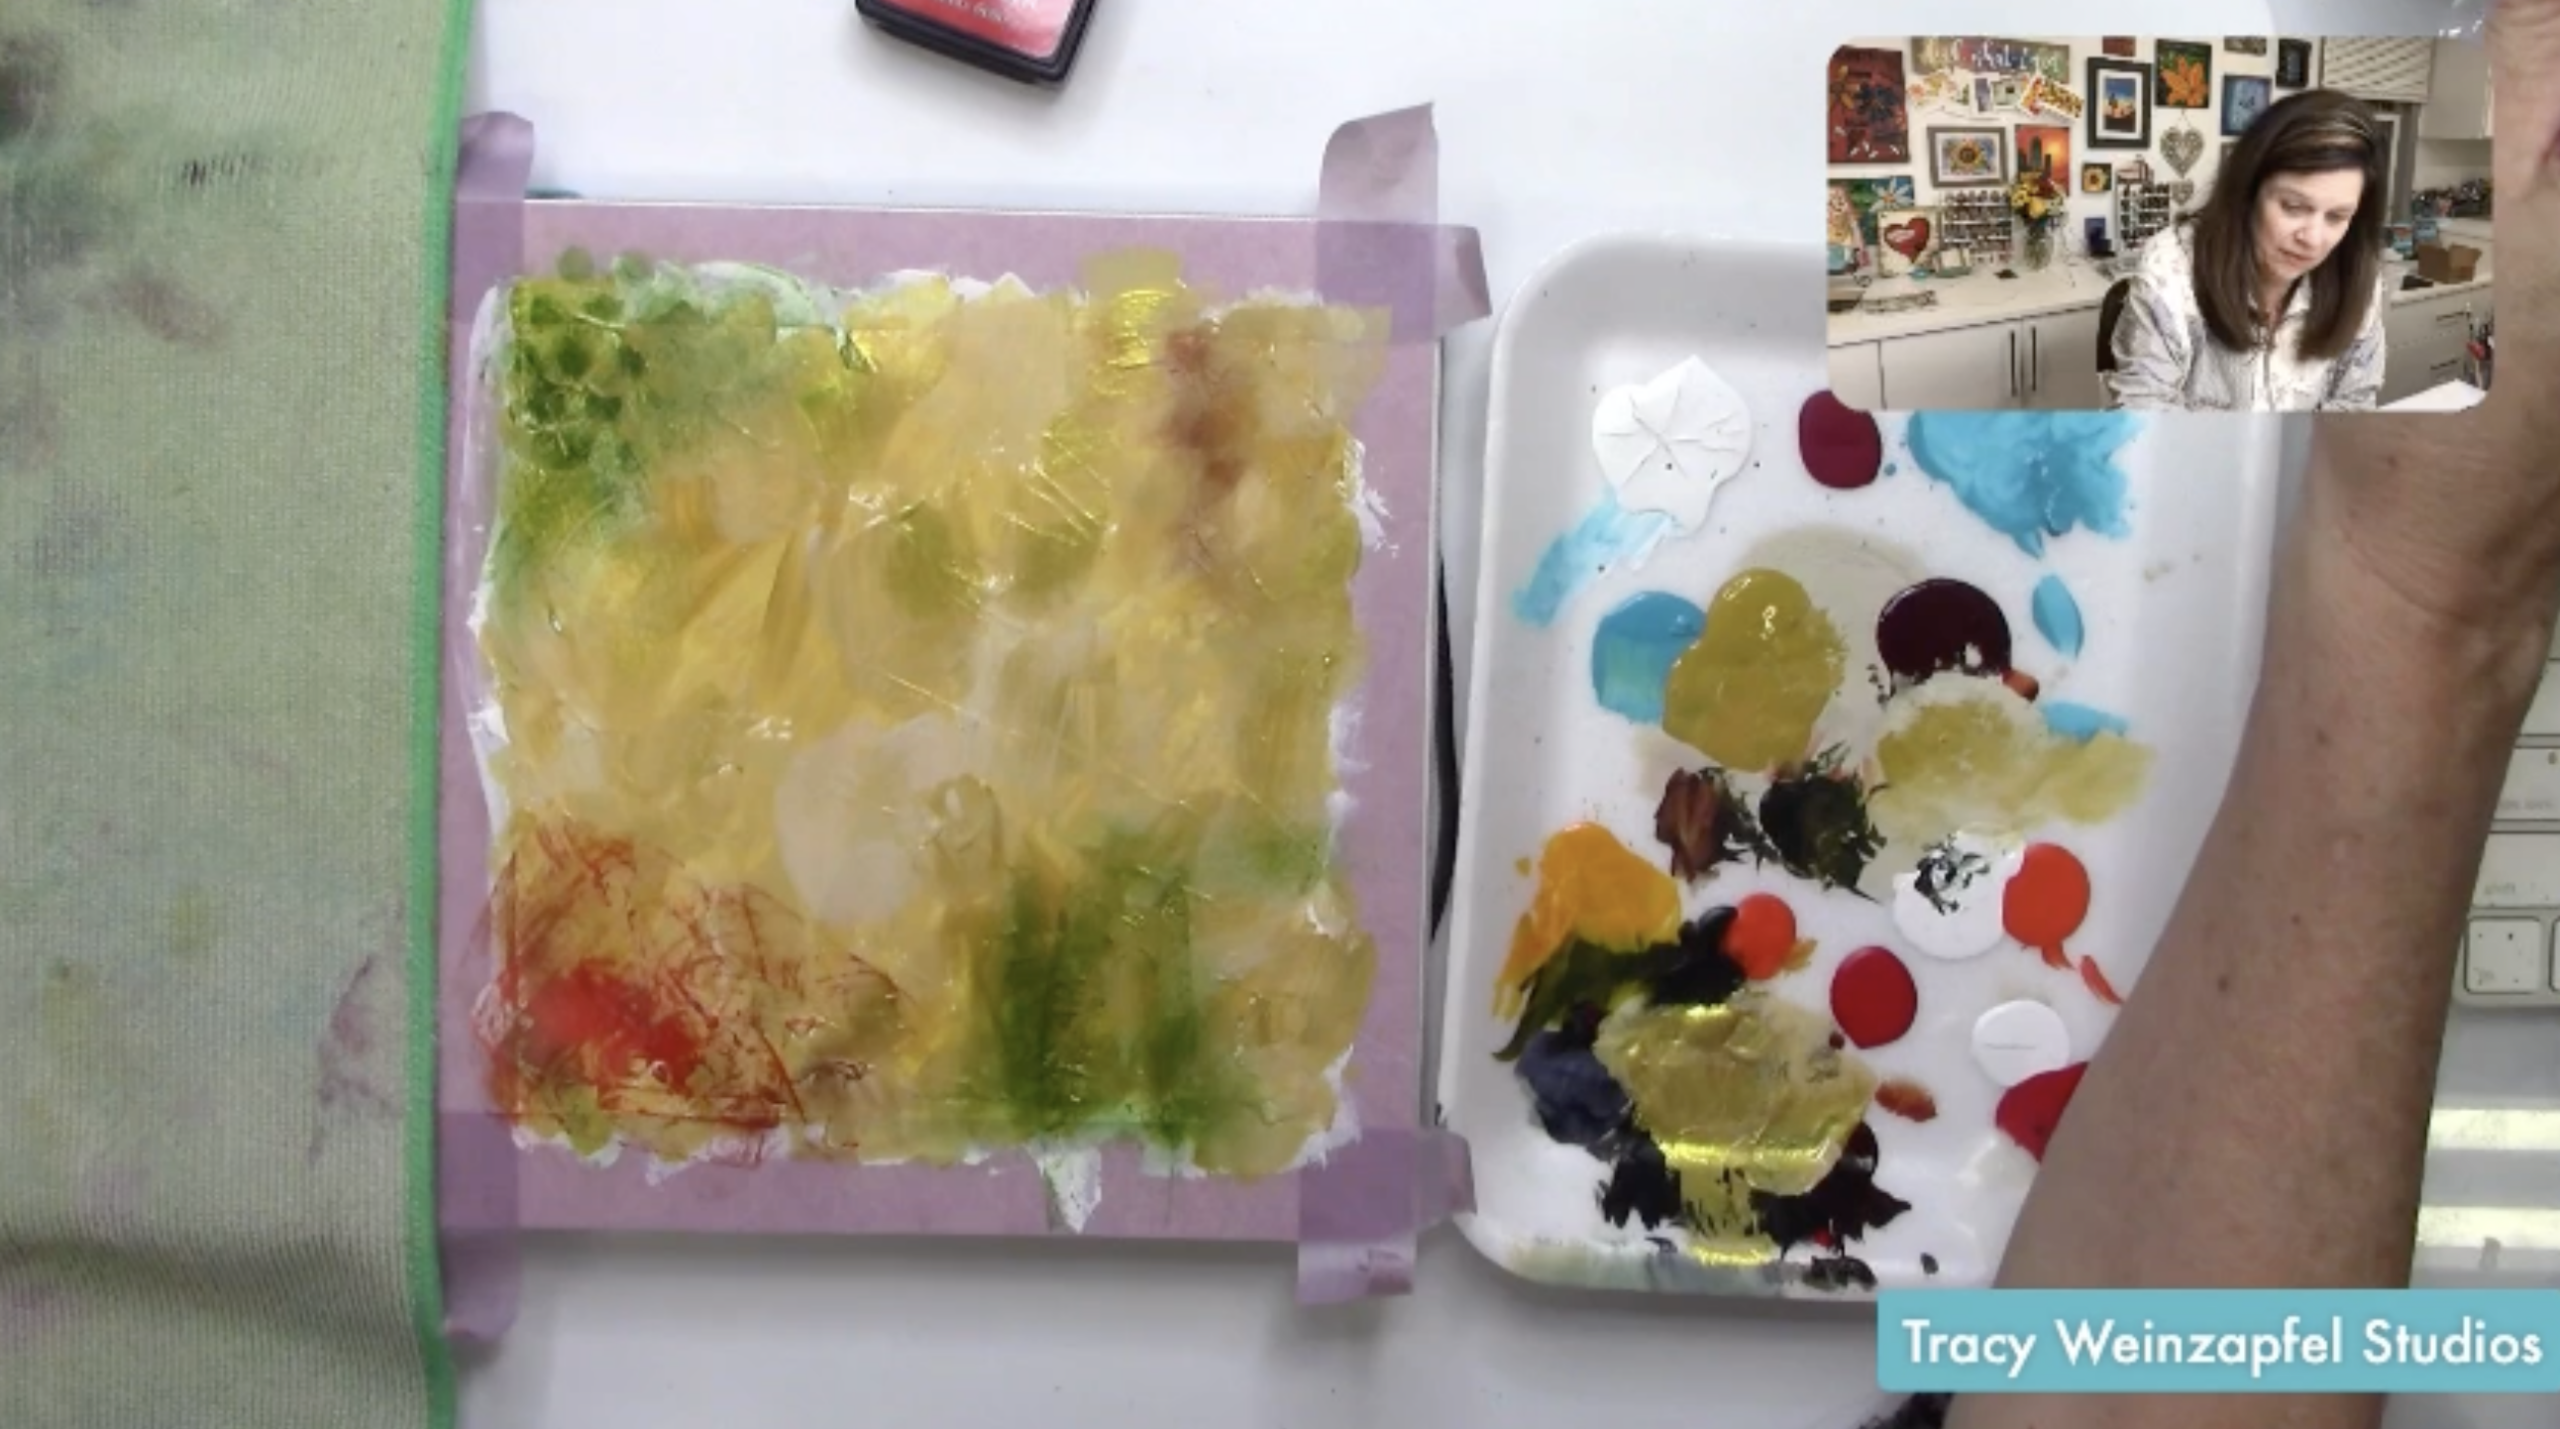
Instead of drawing everything out with a pencil first, I started loosely sketching my heart shapes with gesso and a brush. This is MY version of sketching! I love the freedom of using a paintbrush to create those expressive, imperfect outlines.
I arranged several hearts across the page, allowing them to overlap and vary in size. The largest heart became the main focal point, with additional hearts adding balance and movement to the composition.
Here’s where things got REALLY fun! I grabbed some drywall mesh tape and started incorporating it into my artwork. Yes, actual drywall tape! It’s one of those unexpected supplies that can create the most wonderful texture. I placed pieces of the tape onto the page and used gesso and a little matte medium to embed them into the hearts. I pressed everything down, allowing the mesh pattern to become part of the surface.
One important tip: Be careful when using a heat tool around drywall tape, especially if it’s made from synthetic materials. Excessive heat can cause it to melt or distort.
With my heart shapes established, I started filling them with color! I reached for Pyrrole Red to create that beautiful, bold red heart. I also used Sap Green for another heart and brought in warm orange tones to complement the golden background. I added more gold in places, letting the colors blend and interact with the textured surface.
As you paint, allow some of the underlying texture to remain visible. The drywall tape and gesso create wonderful patterns beneath the acrylic paint, giving the hearts an interesting, almost weathered appearance.
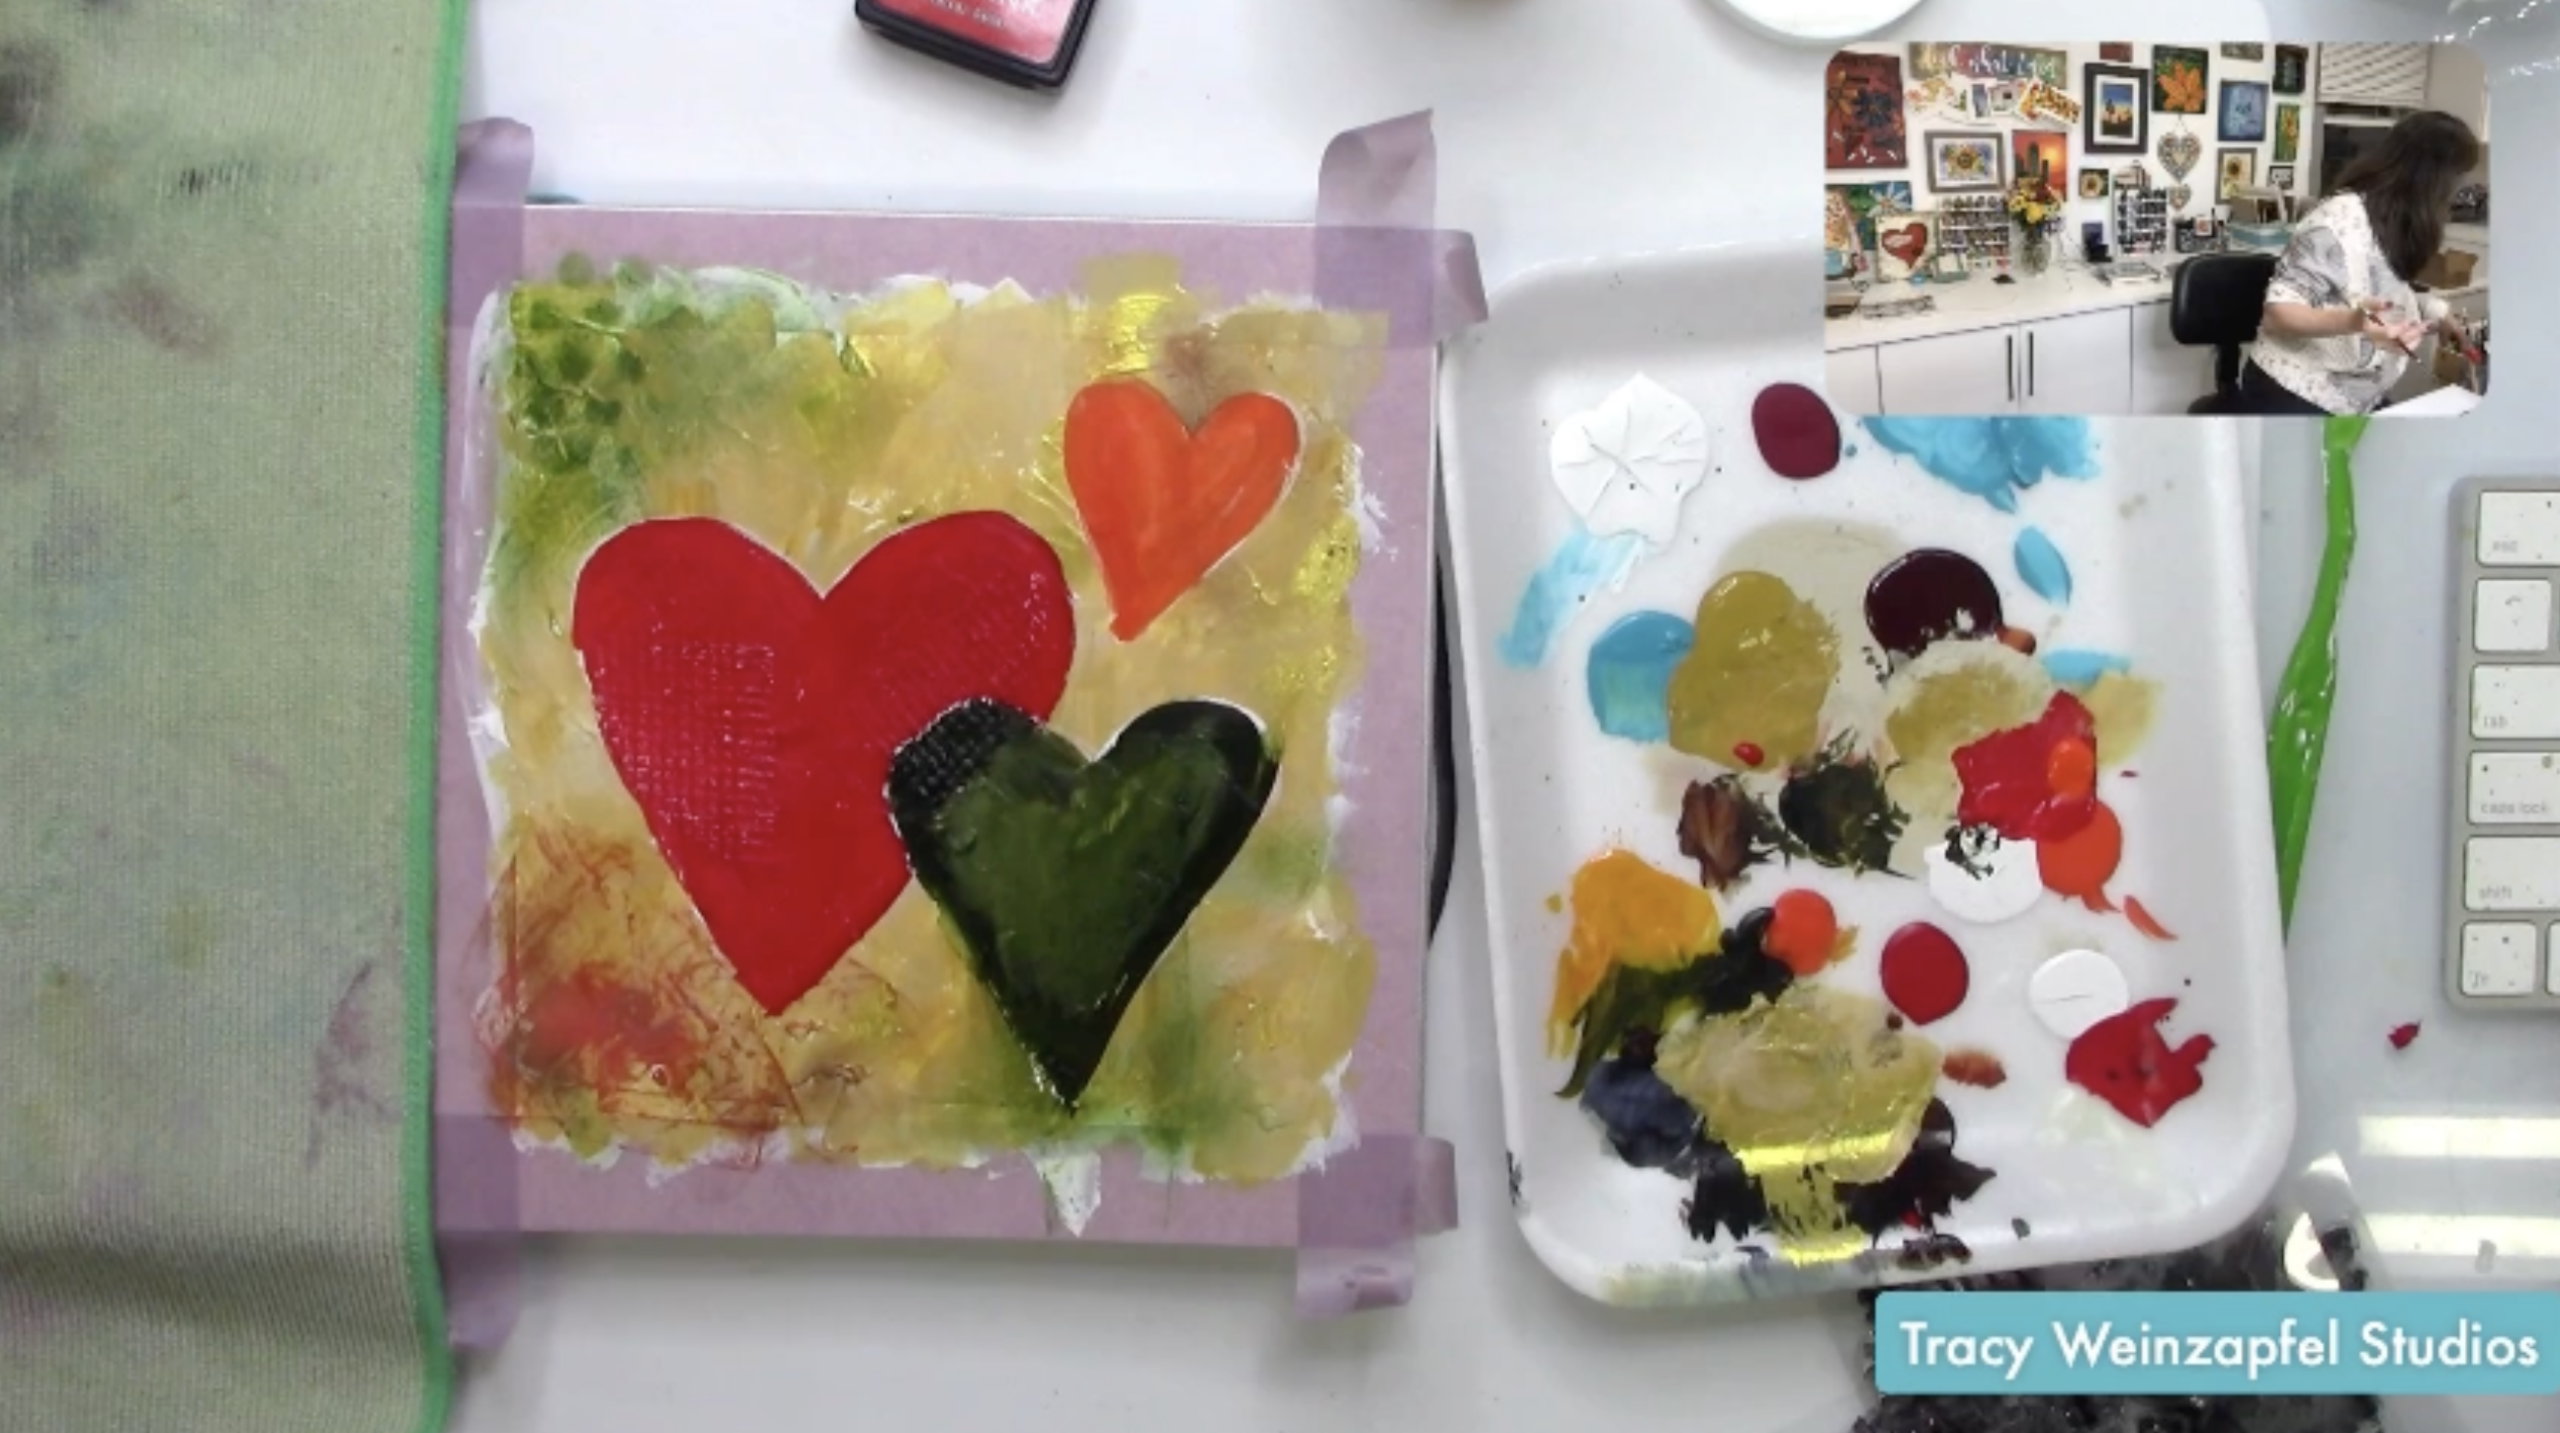
Once the hearts had their color, I wanted to give them more definition. I brought in Carbon Black acrylic paint and black archival ink to create bold, expressive outlines around the shapes.
Rather than making perfectly smooth lines, I worked loosely, letting the marks overlap and vary in thickness. Those darker edges really helped the hearts stand out from the busy background. I also used an old hotel key as a mark-making tool! Dragging or scraping paint with a plastic card is a fun way to create interesting lines and unexpected texture.
Now for the little details that bring everything together! I continued layering black marks and used my Micron brushes to add expressive linework. I also incorporated circular patterns and other playful marks around the hearts to create movement throughout the background.
Then I brought in Titanium White for contrast. I added little white dots to the green heart and loose white swirls and accents to the red heart and surrounding background. A foam detailer is perfect for creating those small, repeated dots. These simple touches help break up the darker areas and make the painting feel even more lively. I added a leaf stencils to the orange heart.
Remember, there’s no need to plan every mark. Sometimes it’s more fun to simply respond to what the painting needs!

I wanted even more depth around my hearts, so I grabbed my Aquarellable pencil. This is a water-soluble pencil that can create beautiful dark lines and shading. I worked around the heart shapes, adding definition and allowing some of the marks to smudge slightly. I actually LOVE that imperfect, blended look!
Because this pencil is water-soluble, you’ll want to be careful when sealing the finished piece. A brush-on sealer can reactivate the pencil and cause the lines to move. That’s why I decided to use a workable spray fixative before applying my final varnish.
I reached for Quinacridone Gold and used a dry brush to lightly work some additional color across the textured surface. This helped bring warmth back into the painting and highlighted some of those beautiful raised areas.
Dry brushing is such a simple technique, but it can make a BIG difference in mixed media artwork. By using very little paint on your brush, you can catch the raised texture without covering everything underneath.
Because I used a water-soluble pencil along with several layers of paint and ink, I wanted to protect the finished piece before sealing it. I took my journal outside to a well-ventilated area and applied a workable spray fixative. This helps keep the water-soluble details from smearing when the final sealer is applied.
Once the fixative was dry, I used a soft brush to apply satin varnish over the painting. Be gentle during this step, especially if you have thick paint or delicate textured areas. Allow everything to dry completely before closing your art journal.
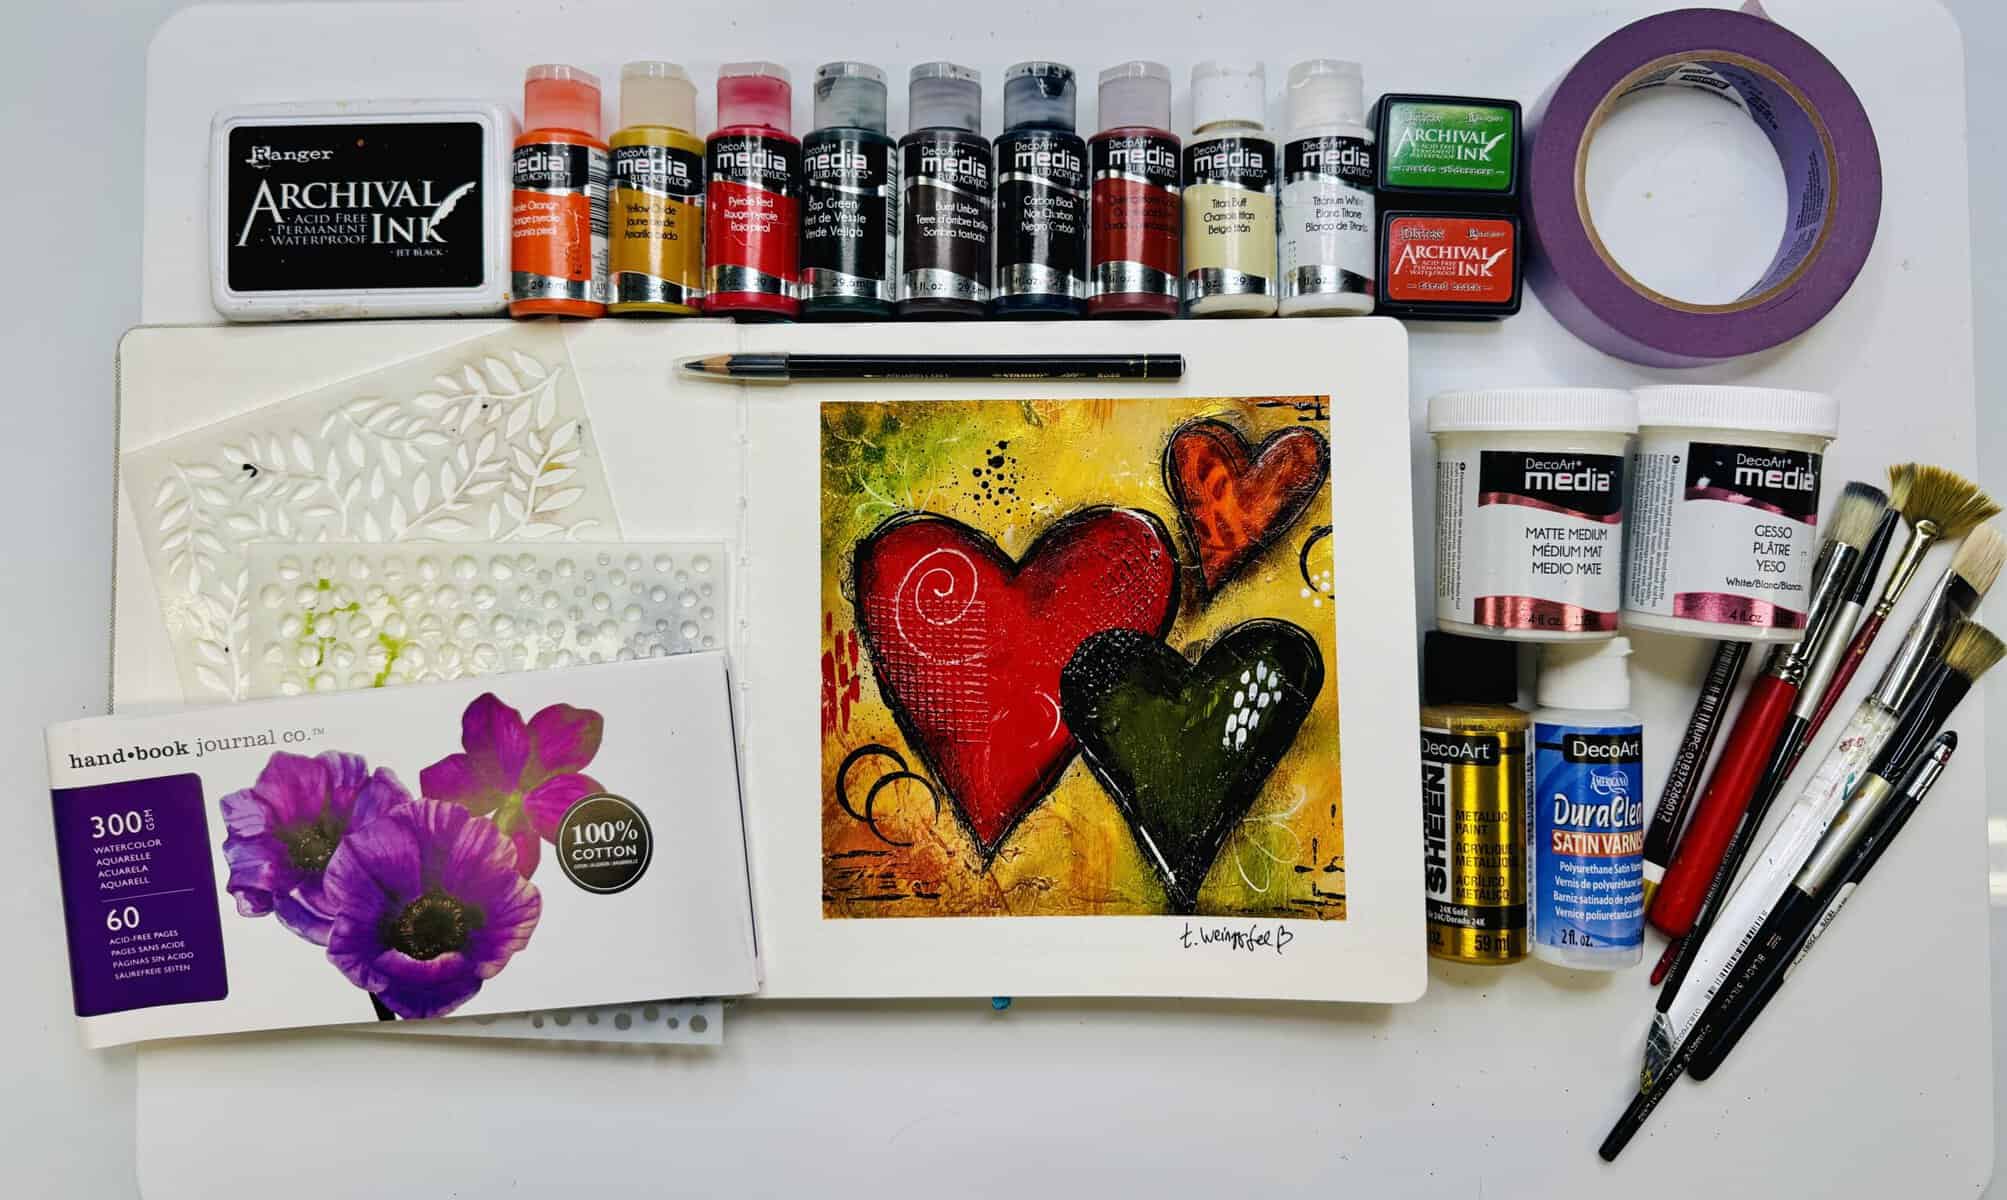
Oh my goodness, this project made me HAPPY! It had been a while since I really got into some messy mixed media painting, and I had forgotten just how much I love building layers, trying different tools, and seeing what happens along the way. From the drywall tape and gesso to the bold hearts and little white details, every layer added something special. I hope this inspires you to pull out those supplies you’ve been saving, try a few unexpected techniques, and enjoy getting a little messy!
Watch the replay below!
Thank you for joining in on the creative fun. Join us LIVE every Wednesday at 5:30 pm PST on Facebook at Tracy Weinzapfel Studios.
Join the waitlist for Your Artful Journey! This is my exclusive creative membership where you can explore the world of art journaling! Join a community of support and inspiration with interactive art sessions full of tips and tricks, conversation, Q & As, and most of all, FUN!
Supply List:
- DecoArt Media Fluid Acrylics: Pyrrole Orange, Yellow Oxide, Pyrrole Red, Sap Green, Burnt Umber, Carbon Black, Quinacridone Gold, Titan Buff, Titanium White
- DecoArt Extreme Sheen 24K Gold
- Ranger Archival Ink Pad Jet Black
- Distress Archival Mini Ink Pads: Fired Brick and Rustic Wilderness
- DecoArt Media Matte Medium
- DecoArt Media White Gesso
- DecoArt DuraClear Satin Varnish
- Speedball 100% Cotton Watercolor Journal 8.25 X 8.25
- Stencils: Circle Duos and Lacey Leaves
- Paintbrushes: assorted flat, fan, and stencil brushes; use preferred sizes.
- Aquarellable Pencil
- Scotch Delicate Surface Painter’s Tape
Check out Tracy’s Art Journal Starter Kit!
Tracy’s Resources Page and visit Tracy’s Shop