
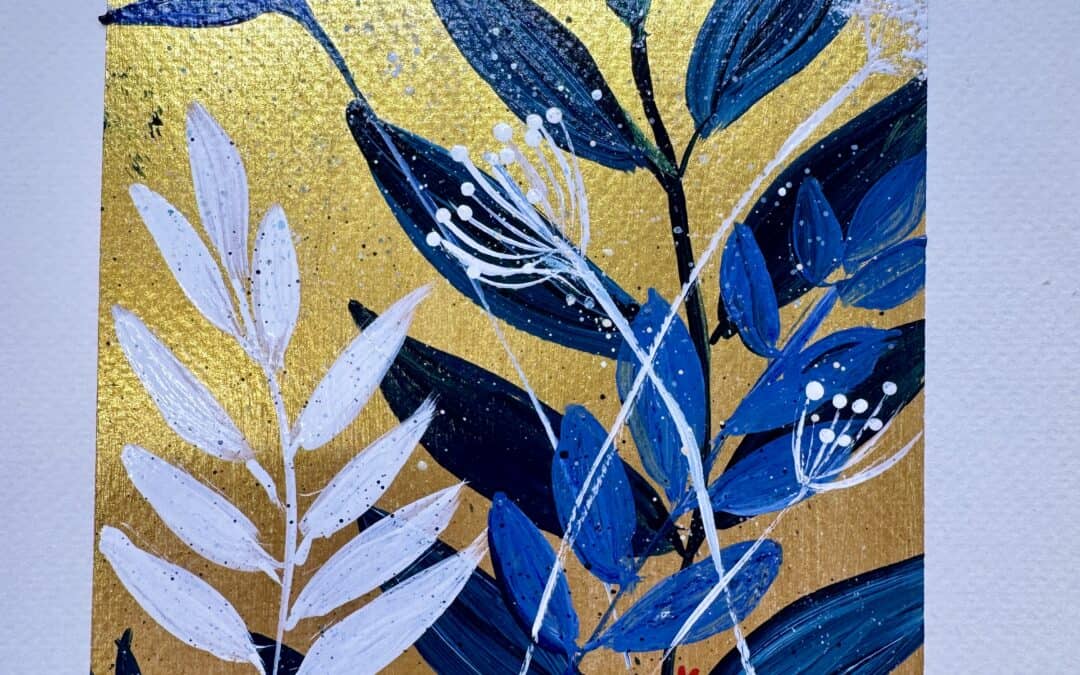
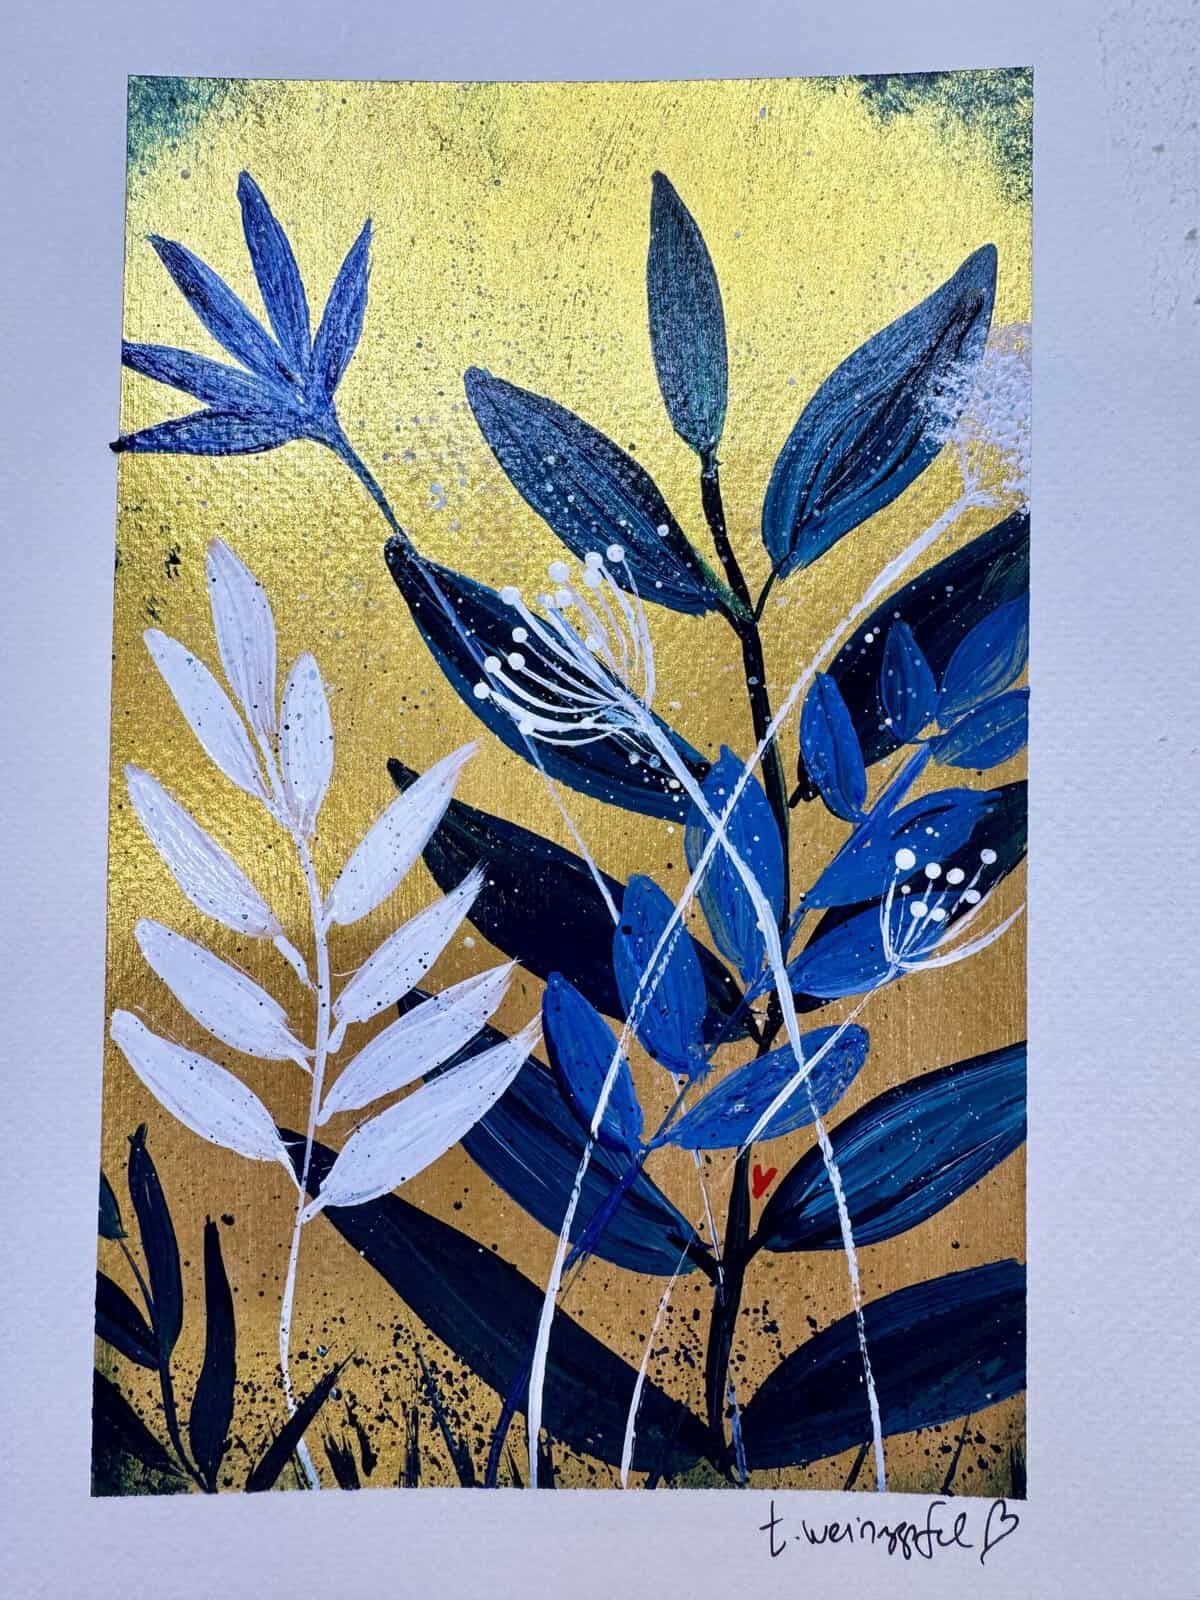
There’s something about the combination of deep blues, soft whites, and shimmering metallic gold that makes a painting feel extra special! For this mixed media art journal project, we’re creating a beautiful botanical design using just a handful of acrylic paint colors. This is a wonderful project for experimenting with simple leaf shapes, acrylic paint layering, and a limited color palette.
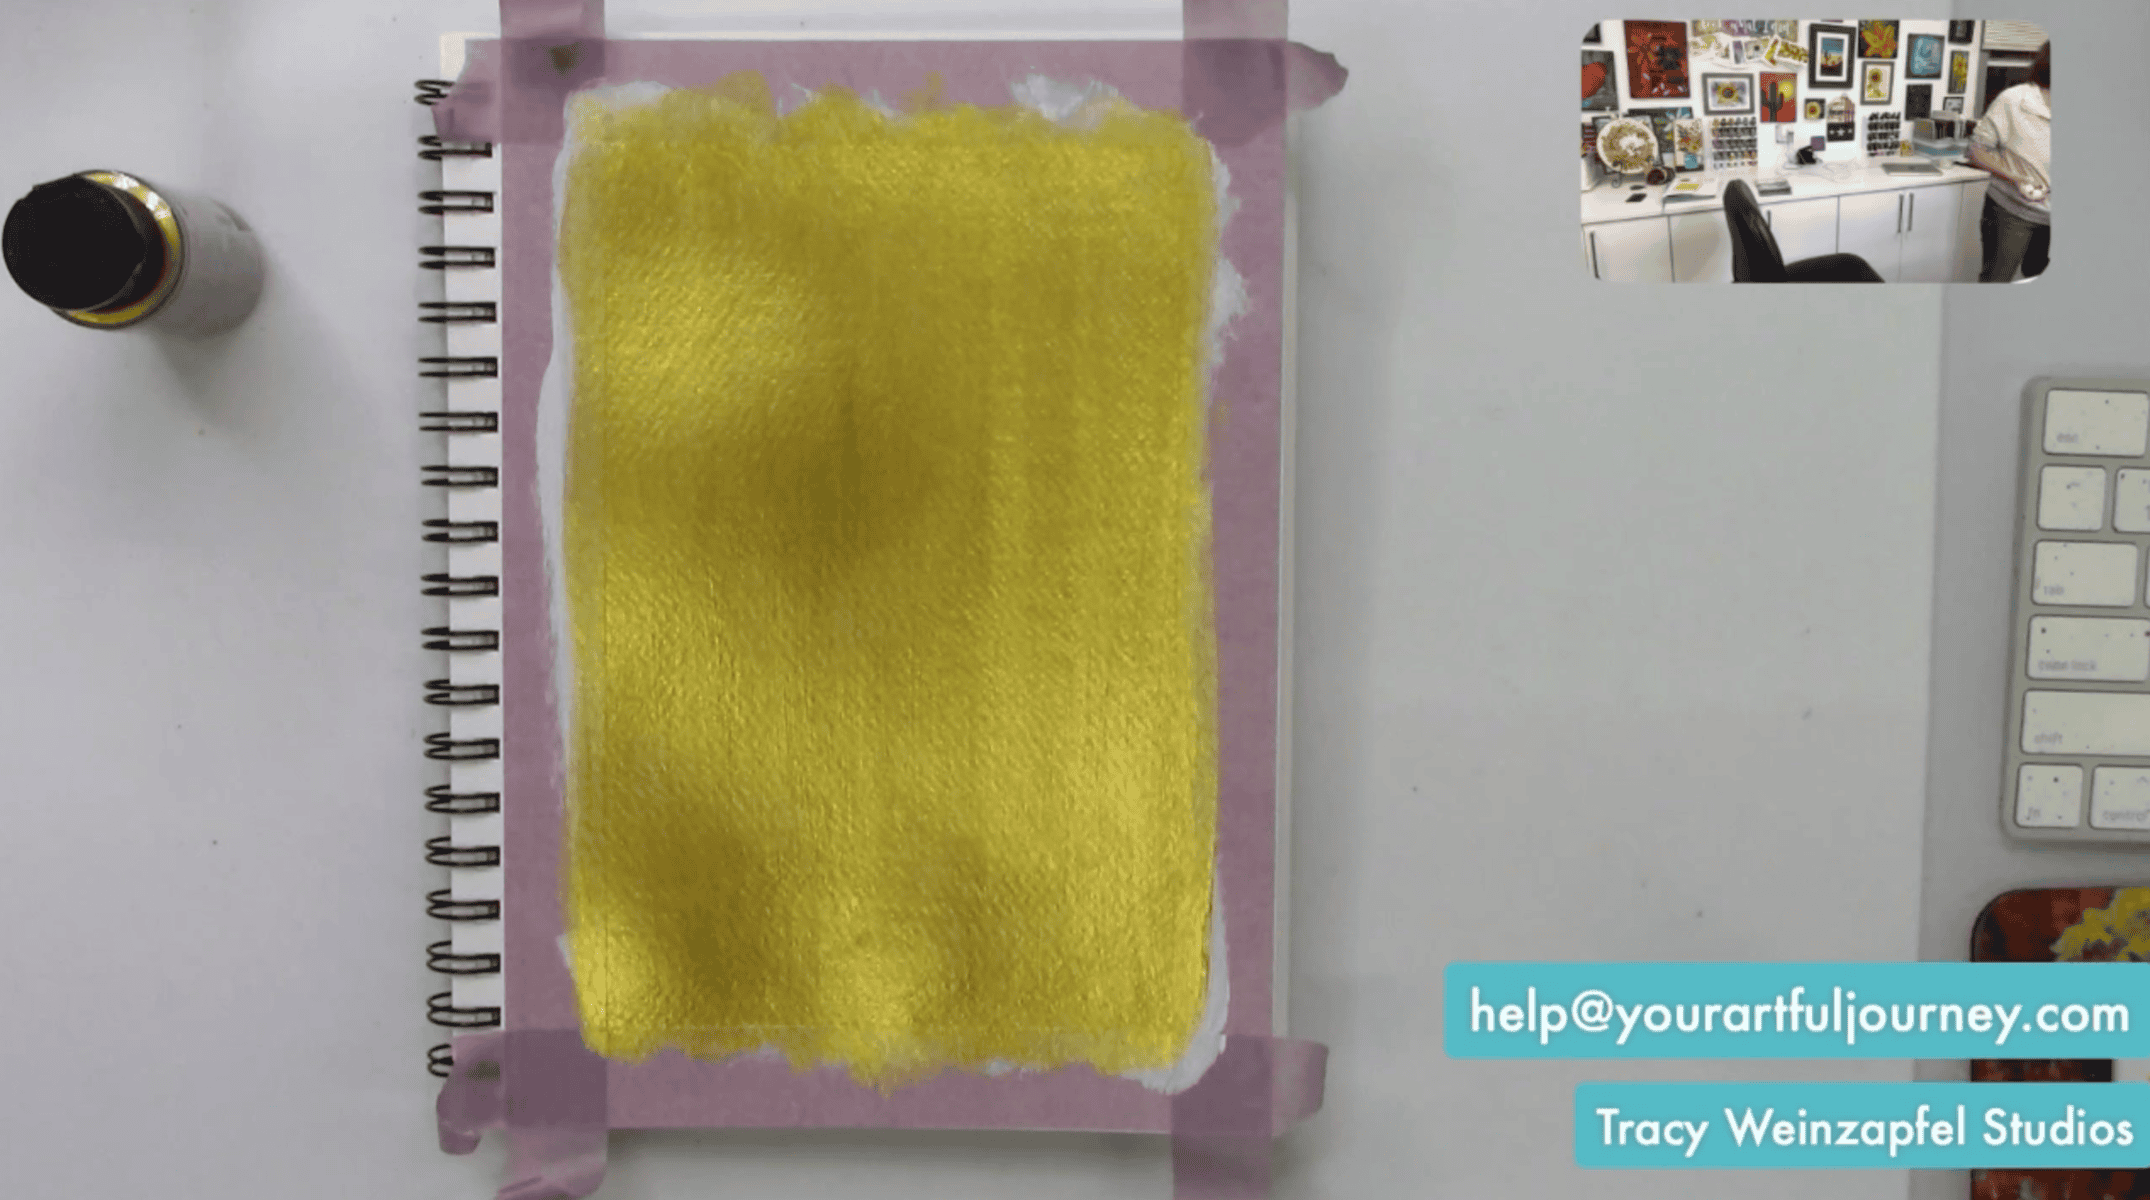
Start by taping off the edges of your art journal with painter’s tape to create a clean border around your artwork. I typically like to prime my paper with gesso before acrylic painting. Gesso helps prepare the surface and gives the paint a nice base to adhere to.
I decided to go bold with the background and reached for DecoArt Extreme Sheen in 24K Gold. Make sure to shake your metallic paint well before using it!
Using a larger brush, apply a solid coat of gold paint across the entire page. I ended up applying a second coat to get the beautiful, even coverage I wanted. Allow the first coat to dry before adding the next. The goal is to create a rich, shimmering background that will really make our botanical shapes stand out.
Once the gold background is dry, it’s time to start painting! I decided to keep my color palette simple with Prussian Blue Hue, Cobalt Blue Hue, Titanium White, and a little Titan Buff.
I started with Prussian Blue Hue to create some of the darker botanical shapes. Using a round brush and liner brush, begin painting loose stems and leaves across the page. I made some of my leaves quite large, knowing that I would be layering additional branches and smaller details over them. Don’t worry about getting everything perfectly placed. Let your stems curve naturally, and vary the direction and size of your leaves as you go.
If you’ve ever struggled with painting leaves, here’s a little trick I love to teach: think of each leaf as two parentheses! Paint one curved brushstroke, then another curved stroke in the opposite direction, bringing the ends together to create your leaf shape.
Once you’ve created the outline, you can fill it in with paint. Try making some leaves long and narrow while others are a little shorter and rounder. You can even let your brushstrokes show through for additional texture. Remember, we’re not trying to make every leaf identical. Those little differences give your botanical painting personality!
With some of the darker leaves in place, I brought in Cobalt Blue Hue to start building another layer of color. I mixed a little Titanium White into the blue to create a lighter shade that would stand out against the darker Prussian Blue.
Using my liner brush, I painted additional stems and leaves, allowing them to overlap the first layer. I love how the different blues work together against that metallic gold background! As you add more branches, look for areas where you can create interesting overlaps and movement. Some of the leaves can extend right off the edge of your taped area, too.
As I continued painting, I started changing the shapes of my leaves. Some became a little fatter and rounder, while others stayed long and pointed. I also added smaller branches to fill in areas that needed a little more interest.
Next, I reached for Titanium White acrylic paint to add some lighter botanical elements. I wanted these branches to feel a little more delicate, so I used my liner brush to create thin stems and narrow leaves.
The white really pops against the darker blue shapes and creates a beautiful contrast with the gold background. I painted some of these lighter branches over the existing layers, letting them cross in front of the larger leaves. This helps create depth and gives the finished painting a more layered, dimensional look.
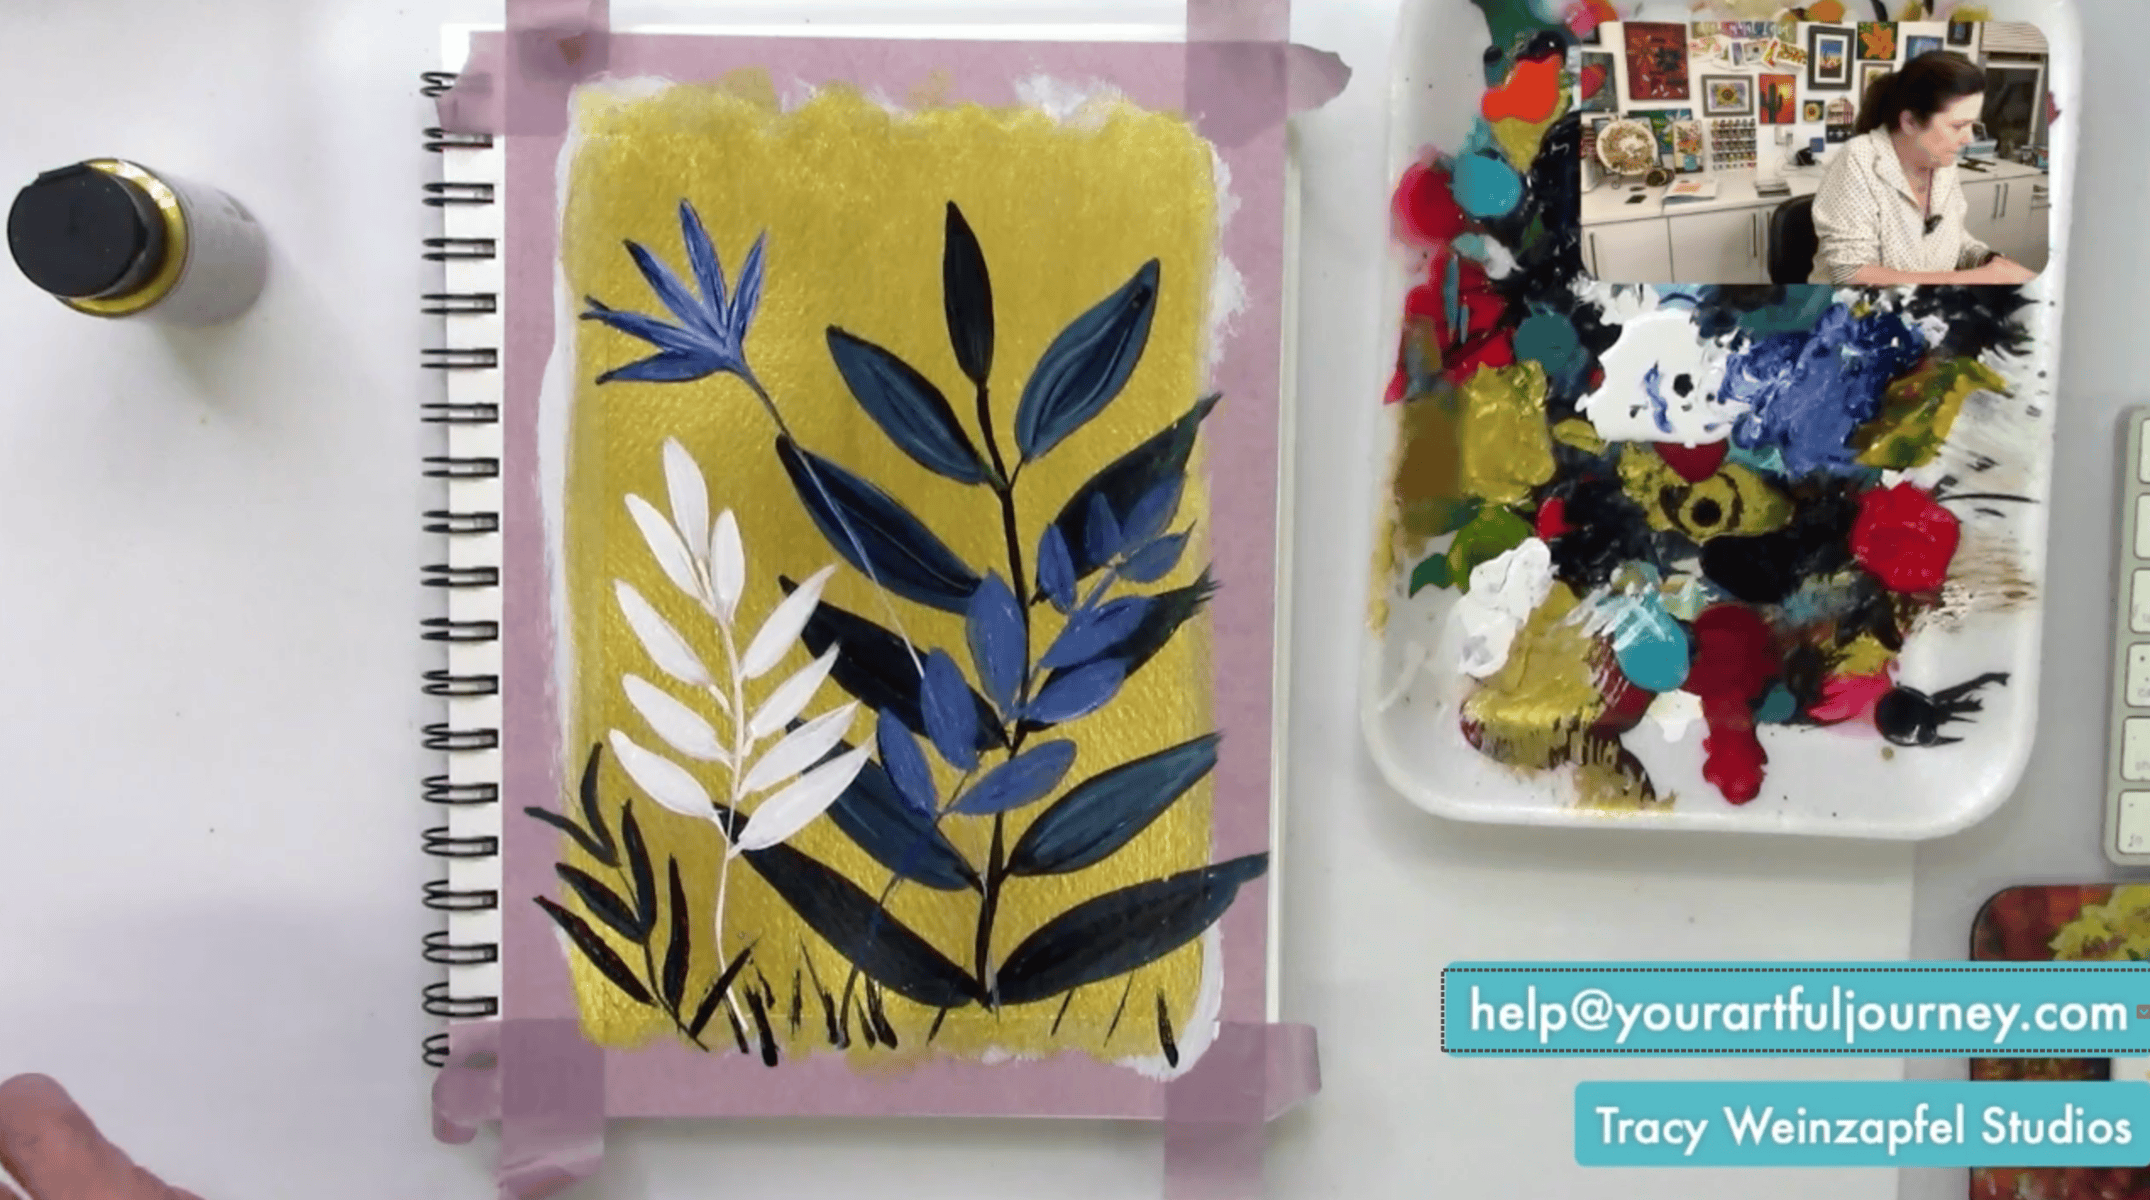
At this point, I stepped back and looked at the overall composition to see where it needed a little more color. I continued mixing my blues with small amounts of white, gradually working toward lighter shades as I added more botanical details.
Once I was happy with the botanical design, I decided the background needed a little extra texture. I loved the gold, but I wanted to give the edges a slightly distressed look so the painting didn’t feel quite so clean.
Using a coarse brush and a stencil brush, I added a little darker blue around portions of the painted rectangle. I gently worked the color into the edges, allowing some of the gold to show through. You don’t need much paint for this step. Just a little texture can make a big difference and help frame the artwork.
You know I love a little paint splatter, and this project was no exception! I started by adding some Titanium White splatter across the page, then brought in a little Titan Buff for a softer, cream-colored effect.
Using a small fan brush, lightly flick the paint across your artwork. I wanted the splatter to add texture without taking attention away from the botanical design, so I kept it fairly subtle. And if you end up with a larger splatter than you intended, don’t panic! Sometimes those unexpected marks become part of what makes the finished piece interesting.
Before finishing, I decided this painting needed one of my signature little hearts. I reached for Pyrrole Red acrylic paint and added a tiny heart among the botanical leaves.
Once everything is completely dry, apply a satin sealer to protect your artwork and give the surface a beautiful, consistent finish. I love how the satin sheen works with the metallic gold background without taking away from all that gorgeous shimmer.
After the sealer has dried, carefully remove your painter’s tape to reveal the clean border around your painting. Add your signature, step back, and enjoy your finished blue botanical art journal page!

One of my favorite things about this project is how much we were able to create with such a simple color palette. A little metallic gold, a couple of beautiful blues, some white, and a few basic brushstrokes turned into a layered botanical painting full of texture and movement.
Watch the replay below!
Thank you for joining in on the creative fun. Join us LIVE every Wednesday at 5:30 pm PST on Facebook at Tracy Weinzapfel Studios.
Join the waitlist for Your Artful Journey! This is my exclusive creative membership where you can explore the world of art journaling! Join a community of support and inspiration with interactive art sessions full of tips and tricks, conversation, Q & As, and most of all, FUN!
Supply List:
- 7 X 10 Fabriano Watercolor Journal
- Painter’s tape
- Decoart Gesso (White)
- DecoArt Media Fluid Acrylics — Prussian Blue Hue, Cobalt Blue Hue, Titanium White, Titan Buff, Pyrolle Red
- DecoArt Extreme Sheet: 24K Gold
- Sealer: DecoArt Durclear Satin Sealer
- Dynasty Brushes — small round brush and fine liner or detail brush. Tracy Weinzapfel Brush Set 1
Check out Tracy’s Art Journal Starter Kit!
Tracy’s Resources Page and visit Tracy’s Shop