
Looking to create meaningful, handmade ornaments this holiday season? In this step-by-step tutorial, you’ll learn how to use gesso, layered acrylics, archival ink, and a special weathered wood medium to make three stunning mixed media ornaments, each with its own unique flair. Whether you’re making gifts or decorating your tree, these ornaments are fun and full of texture!

Start with a layer of white gesso on your wood shapes. This helps the paint pop and gives you a smooth base. Let it dry fully (or speed it up with a heat tool).
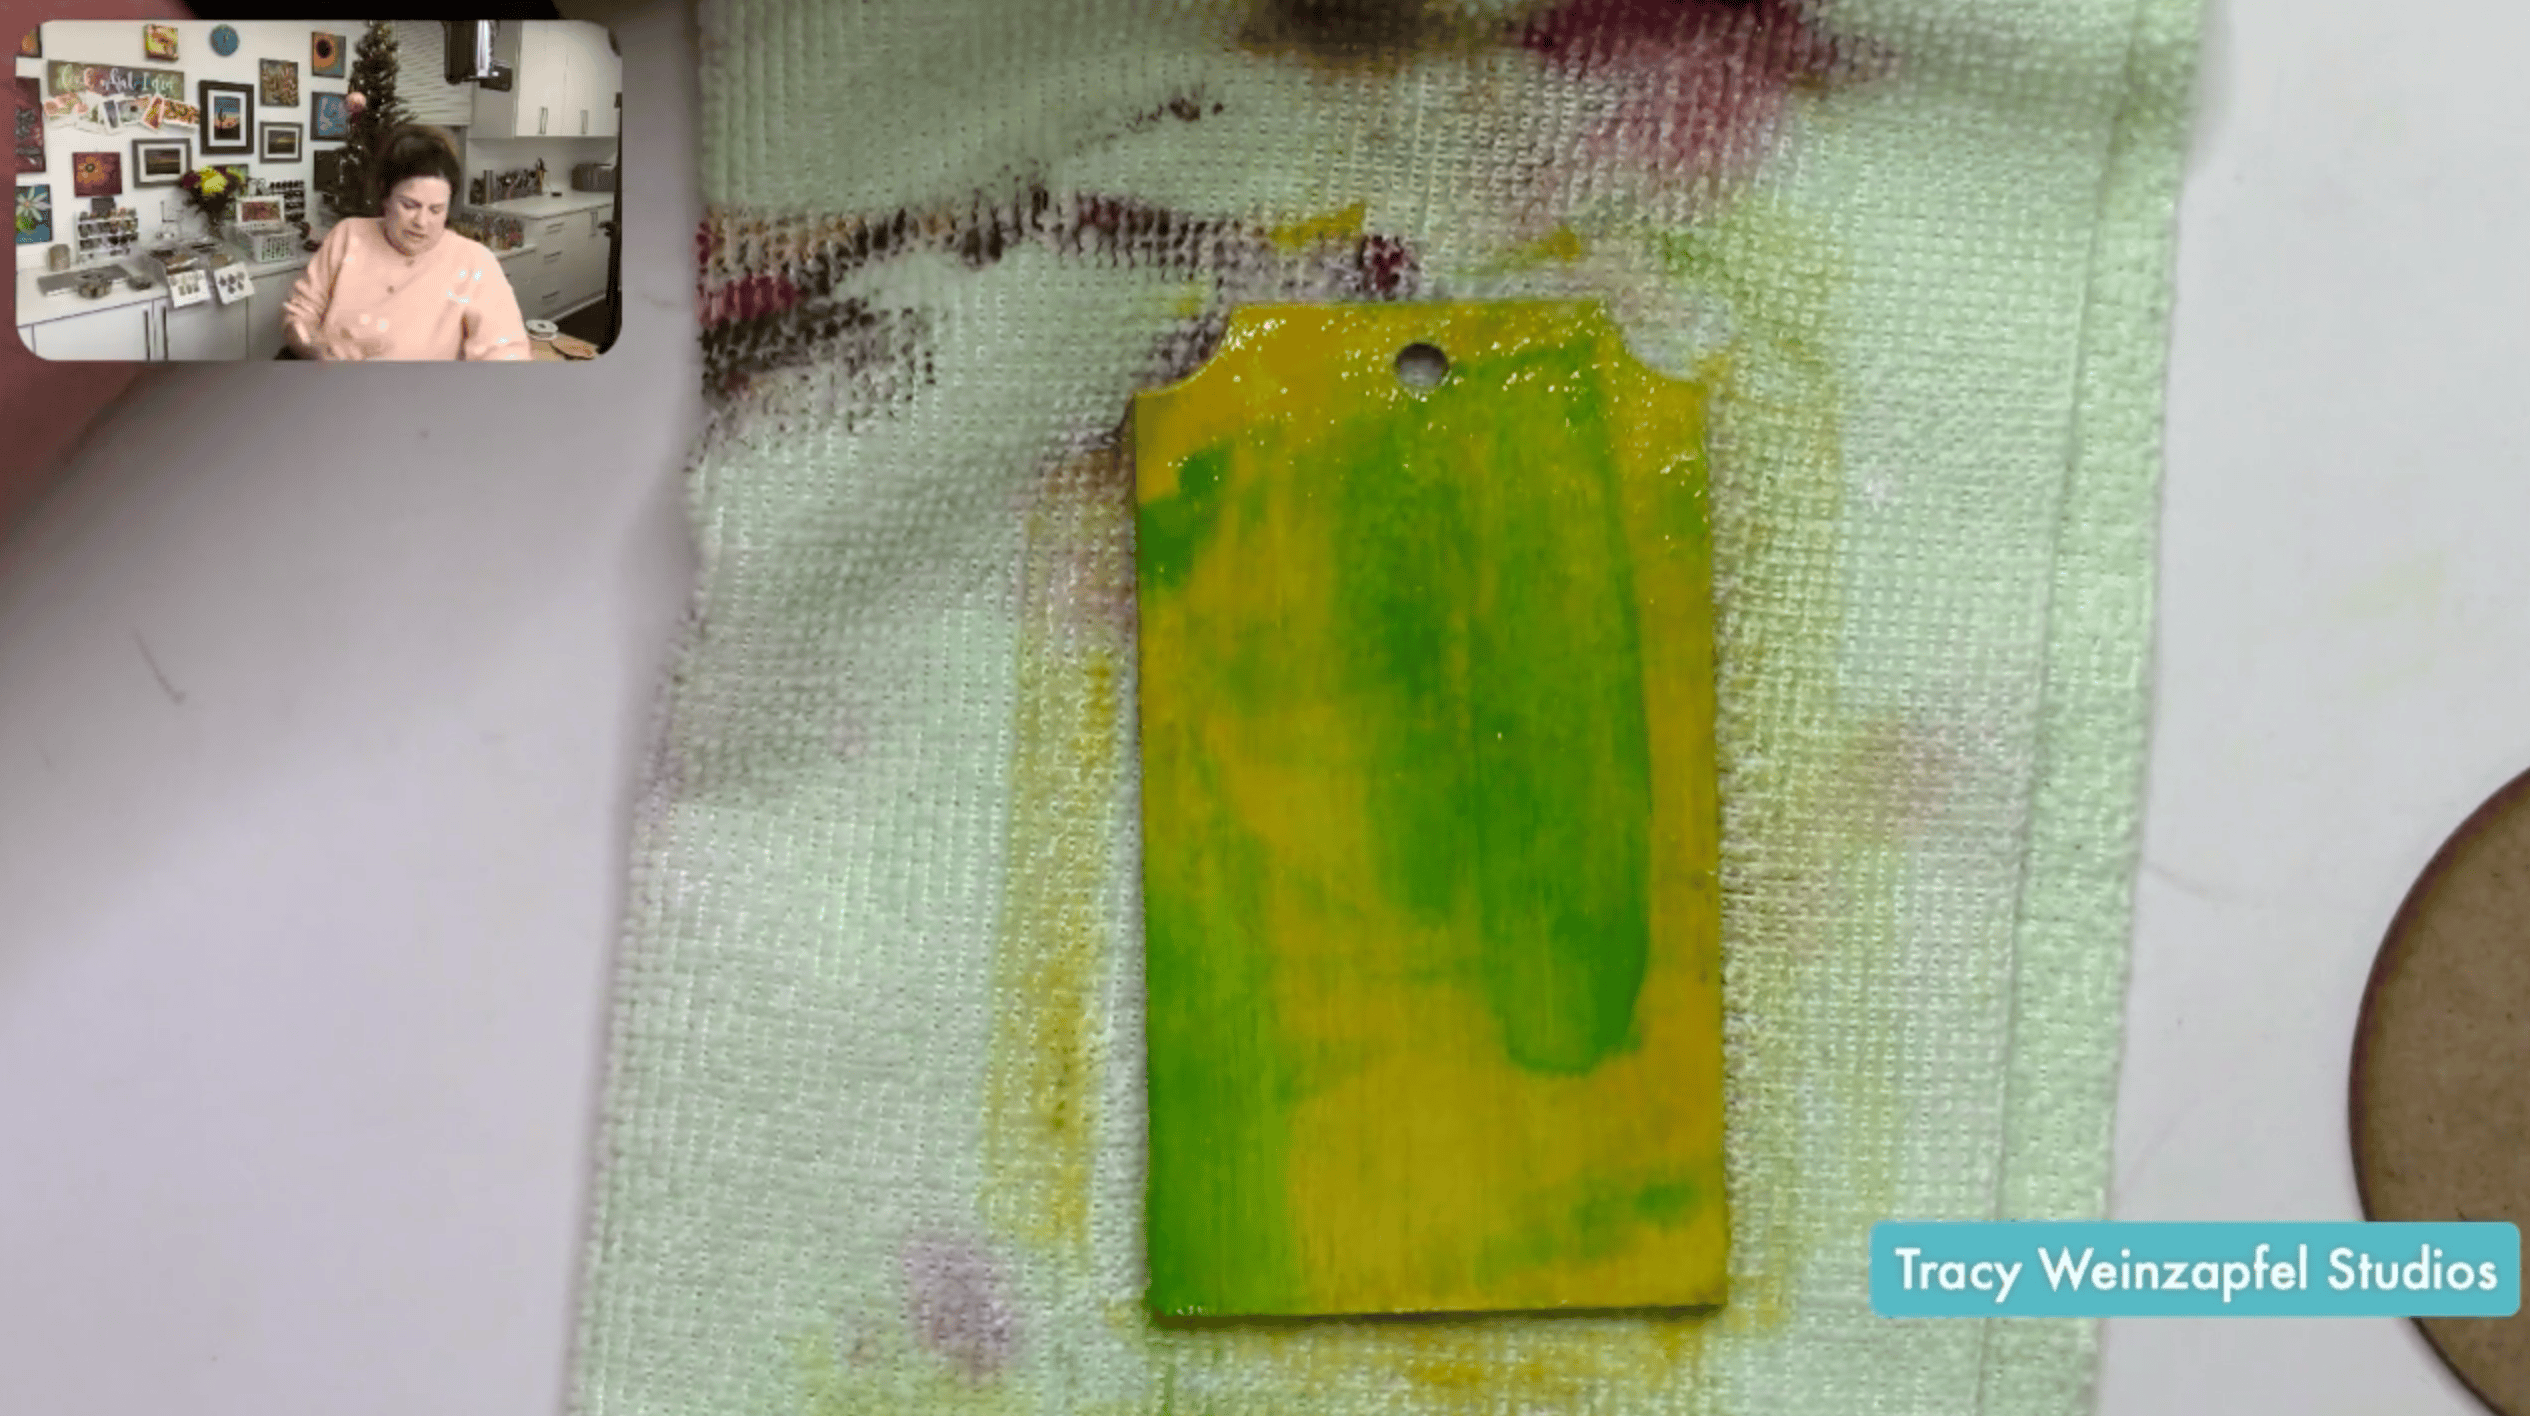
For my snowflake ornament, I’ll be creating a weathered wood finish. For my base color, I’ll paint it with Diarylide Yellow and Cobalt Turquoise Hue. Dry it with a heat tool and then apply with a thin coat of Decoart Weathered Wood. While that is drying, we’ll work on the other ornaments.
On the circular ornaments, use a sweeping, arched motion to apply acrylics to build a colorful gradient. I used:
- Yellow at the bottom
- Primary Magenta in the middle
- Cobalt Teal or Prussian Blue at the top
Blend the colors slightly at the edges for a soft transition. If you’re not using gesso, your colors will be a bit more muted, but still beautiful! Dry with a heat tool.

Next, I’m going to paint a forest scene on these ornaments. Add snowy stars with Titanium White splatter using a fan brush. Dry again.
Next, I’ll use my fan brush to pounce on Carbon Black paint in the shape of trees. I’ll also add some DecoArt Extreme Sheen: Vintage Brass and Titanium White along the bottom.
On my second ornament, I’ll use Sap Green instead of Carbon Black for the trees to switch it up.

After the snowflake ornament is completely dry, add a dark top layer like Prussian Blue Hue to reveal a crackled finish as it dries. Let this air dry.
I’ll paint the snowflake decal with the same gold paint, using a stencil brush to pounce it on. Dry with a heat tool. Then, use Adhesive: Zip Dry to glue the snowflake to the tag ornament.
For the last finishing touch, use an Archival (Black) ink pad to add color to the edges of the ornaments. You’ll literally rub the ink pad along each edge. I’ll also paint each ornament topper with gold paint. Add twine or ribbon, and date the back if you’re gifting them!

Watch the replay below!
Thank you for joining in on the creative fun. Join us LIVE every Wednesday at 5:30 pm PST on Facebook at Tracy Weinzapfel Studios.
Join the waitlist for Your Artful Journey! This is my exclusive creative membership where you can explore the world of art journaling! Join a community of support and inspiration with interactive art sessions full of tips and tricks, conversation, Q & As, and most of all, FUN!
Supply List:
- Wood Ornaments
- Decoart Media Paints: Titanium White, Primary Magenta, Cobalt Turquise Hue, Carbon Black, Sap Green, Diarylide Yellow and Prussian Blue Hue
- DecoArt Extreme Sheen: Vintage Brass
- Decoart Weathered Wood
- Adhesive: Zip Dry
- Ink: Archival (Black)
- Brushes: Tracy Weinzapfel Sets
- Decoart Duraclear (Satin)
Check out Tracy’s Art Journal Starter Kit!
Tracy’s Resources Page and visit Tracy’s Shop