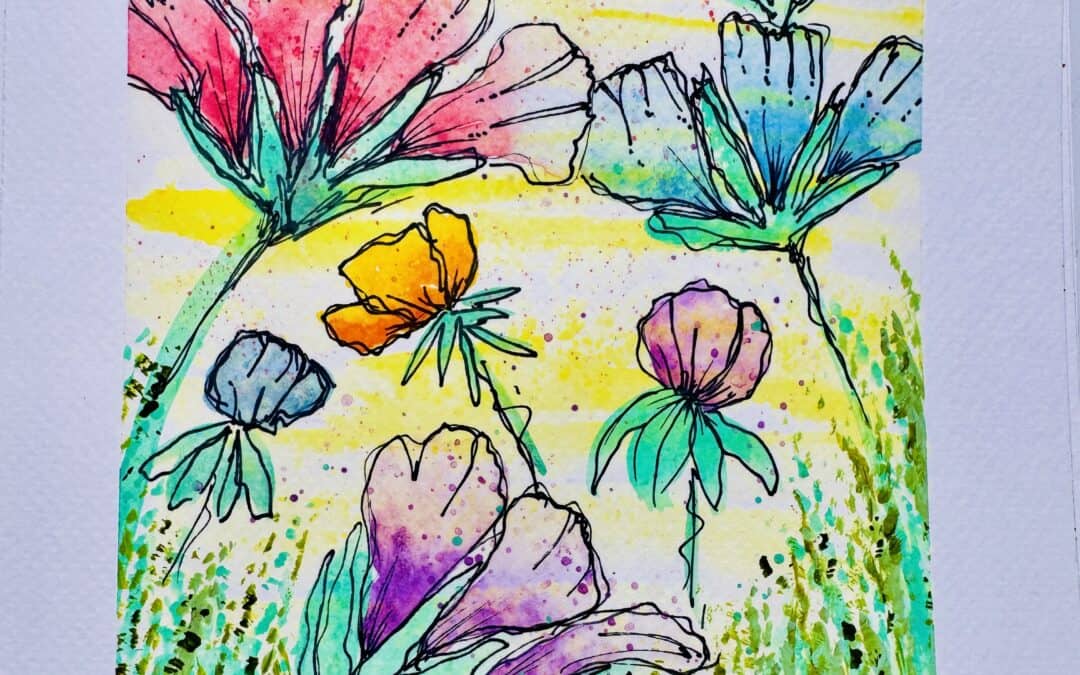
This project is all about soft pastel color, loose floral shapes, and letting watercolor do what it naturally wants to do. We’re working with the Pastel Dreams set to create a light, dreamy background, build simple sketched flowers right on top, and then layer in color, movement, and texture to bring everything to life. It’s one of those projects that reminds you that art doesn’t have to be perfect to be beautiful!

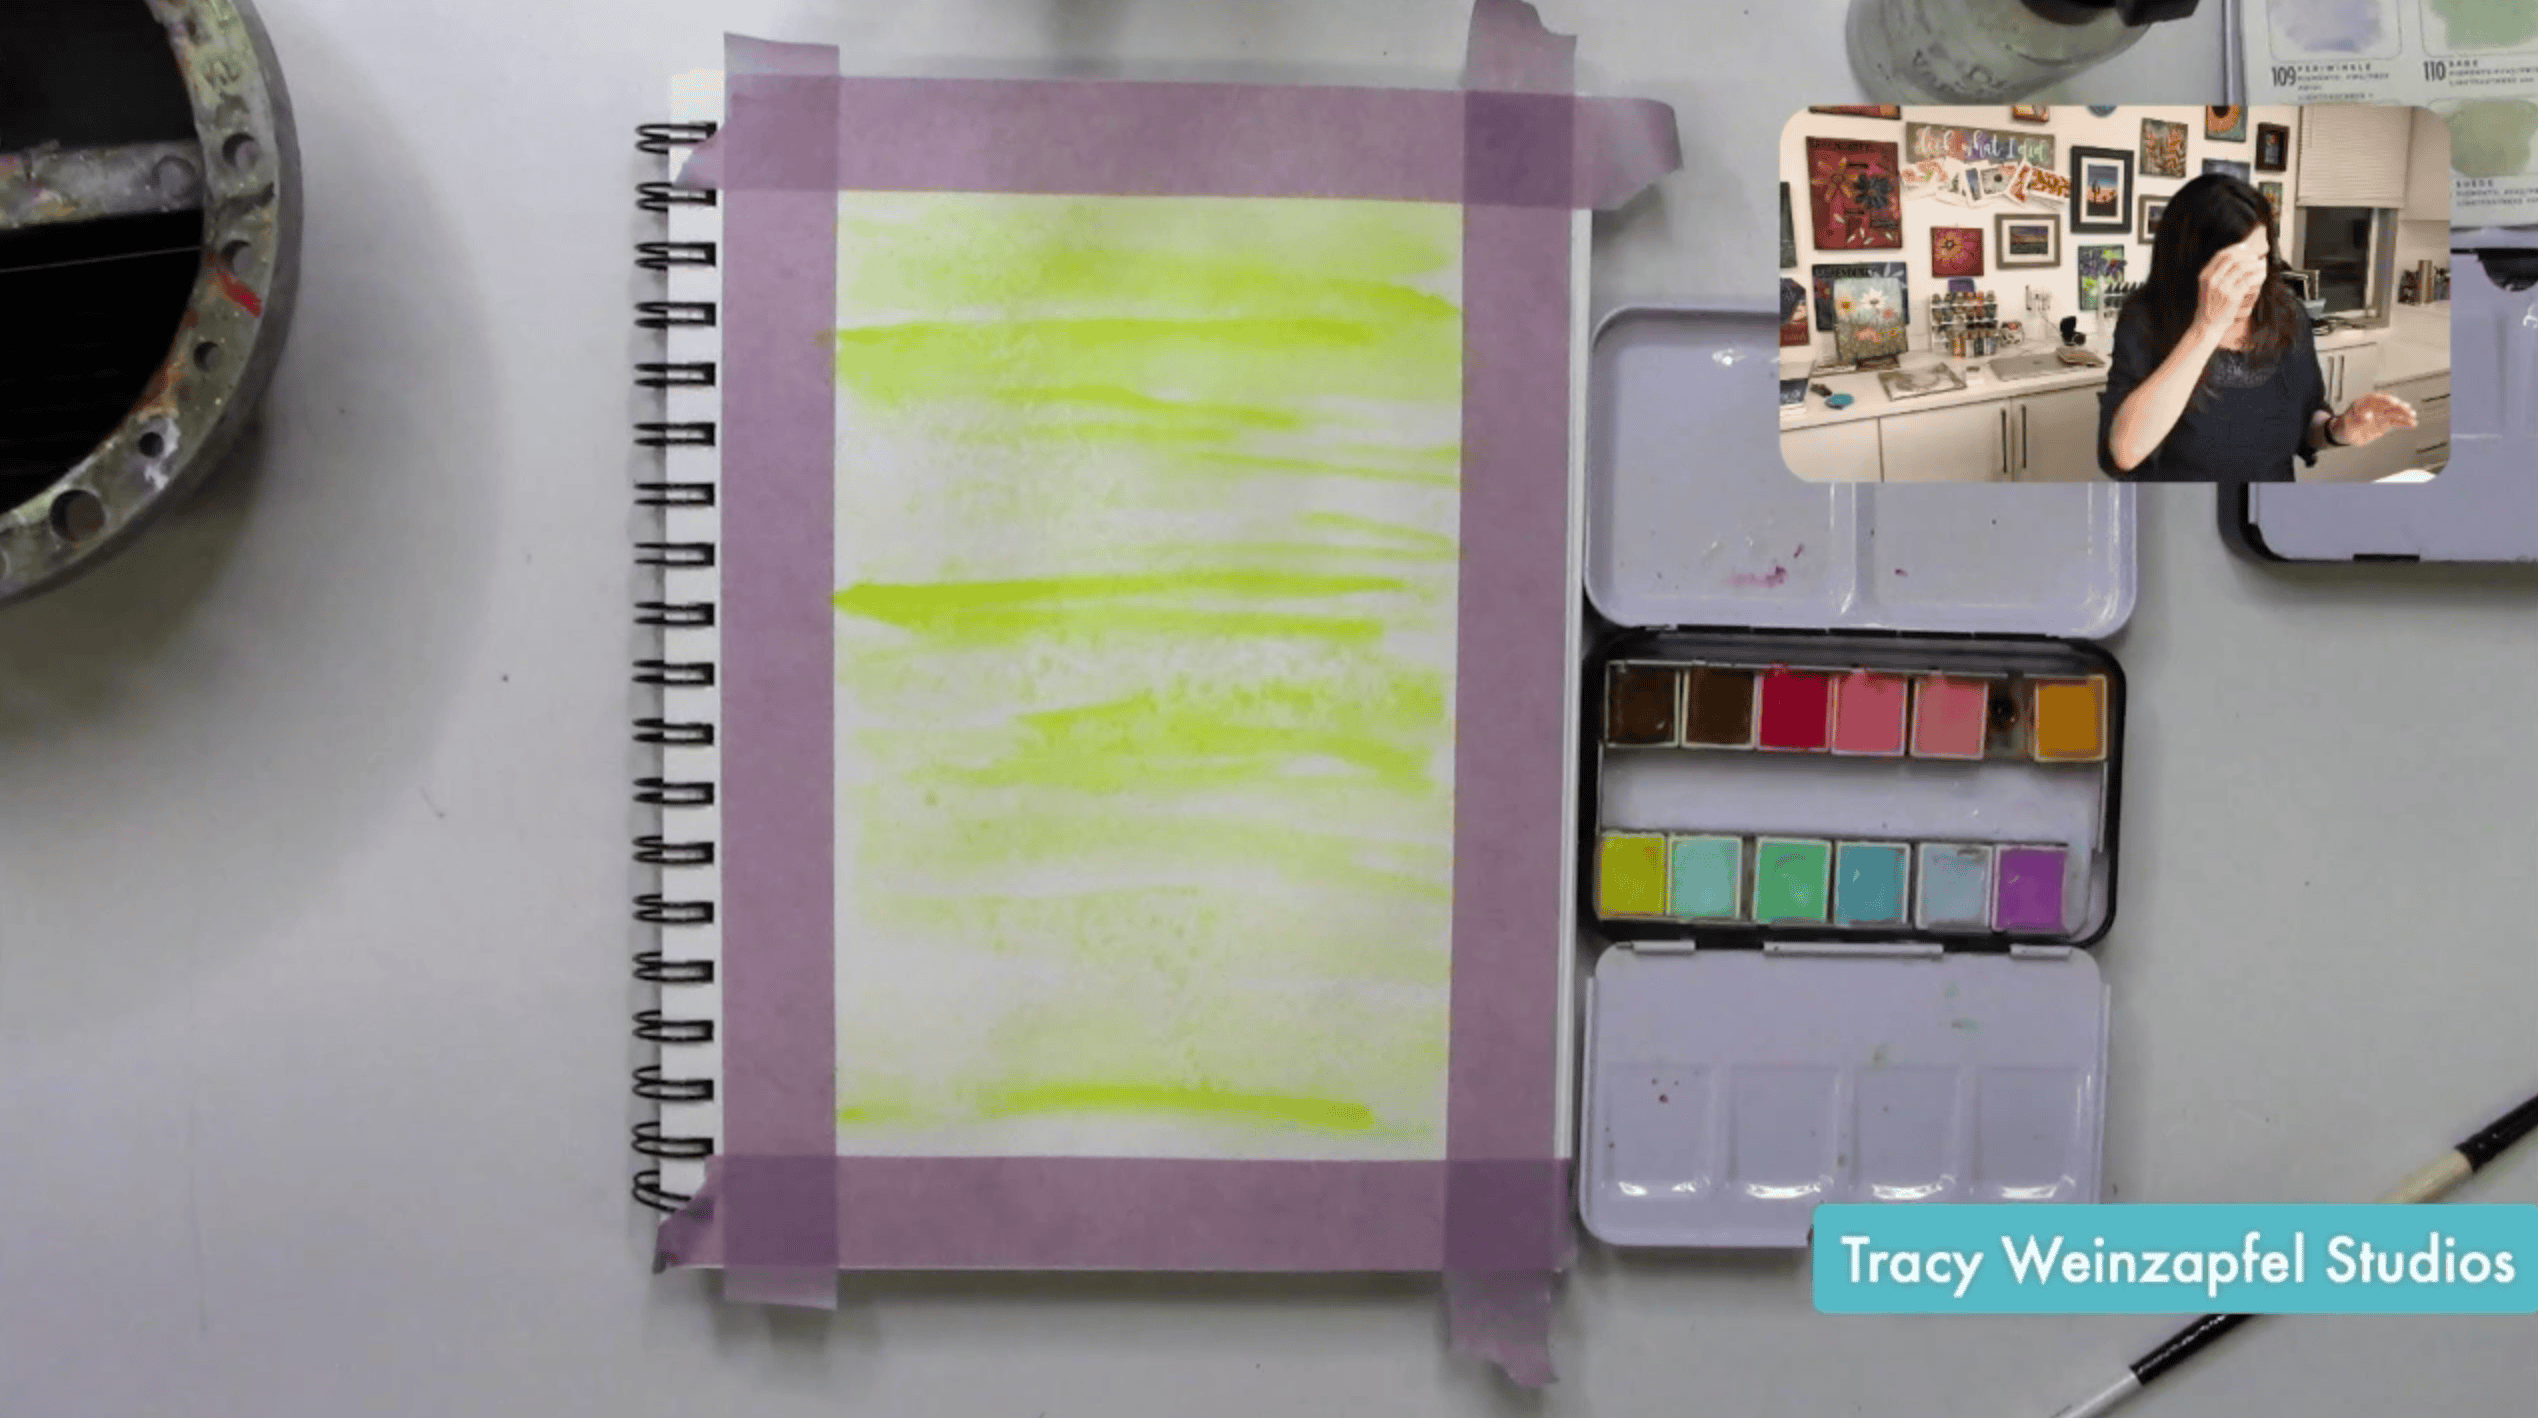
Prep your art journal page by taping off the edges with painter’s tape. Mist your watercolor palette with water to activate the colors.
Begin by lightly wetting your background with a flat brush. Once the surface is damp, add a very soft wash of pale yellow watercolor. Keep your strokes light and loose. You can add a bit more water (or even a touch of rubbing alcohol) to help the color move and blend. Let this layer dry completely before moving on.
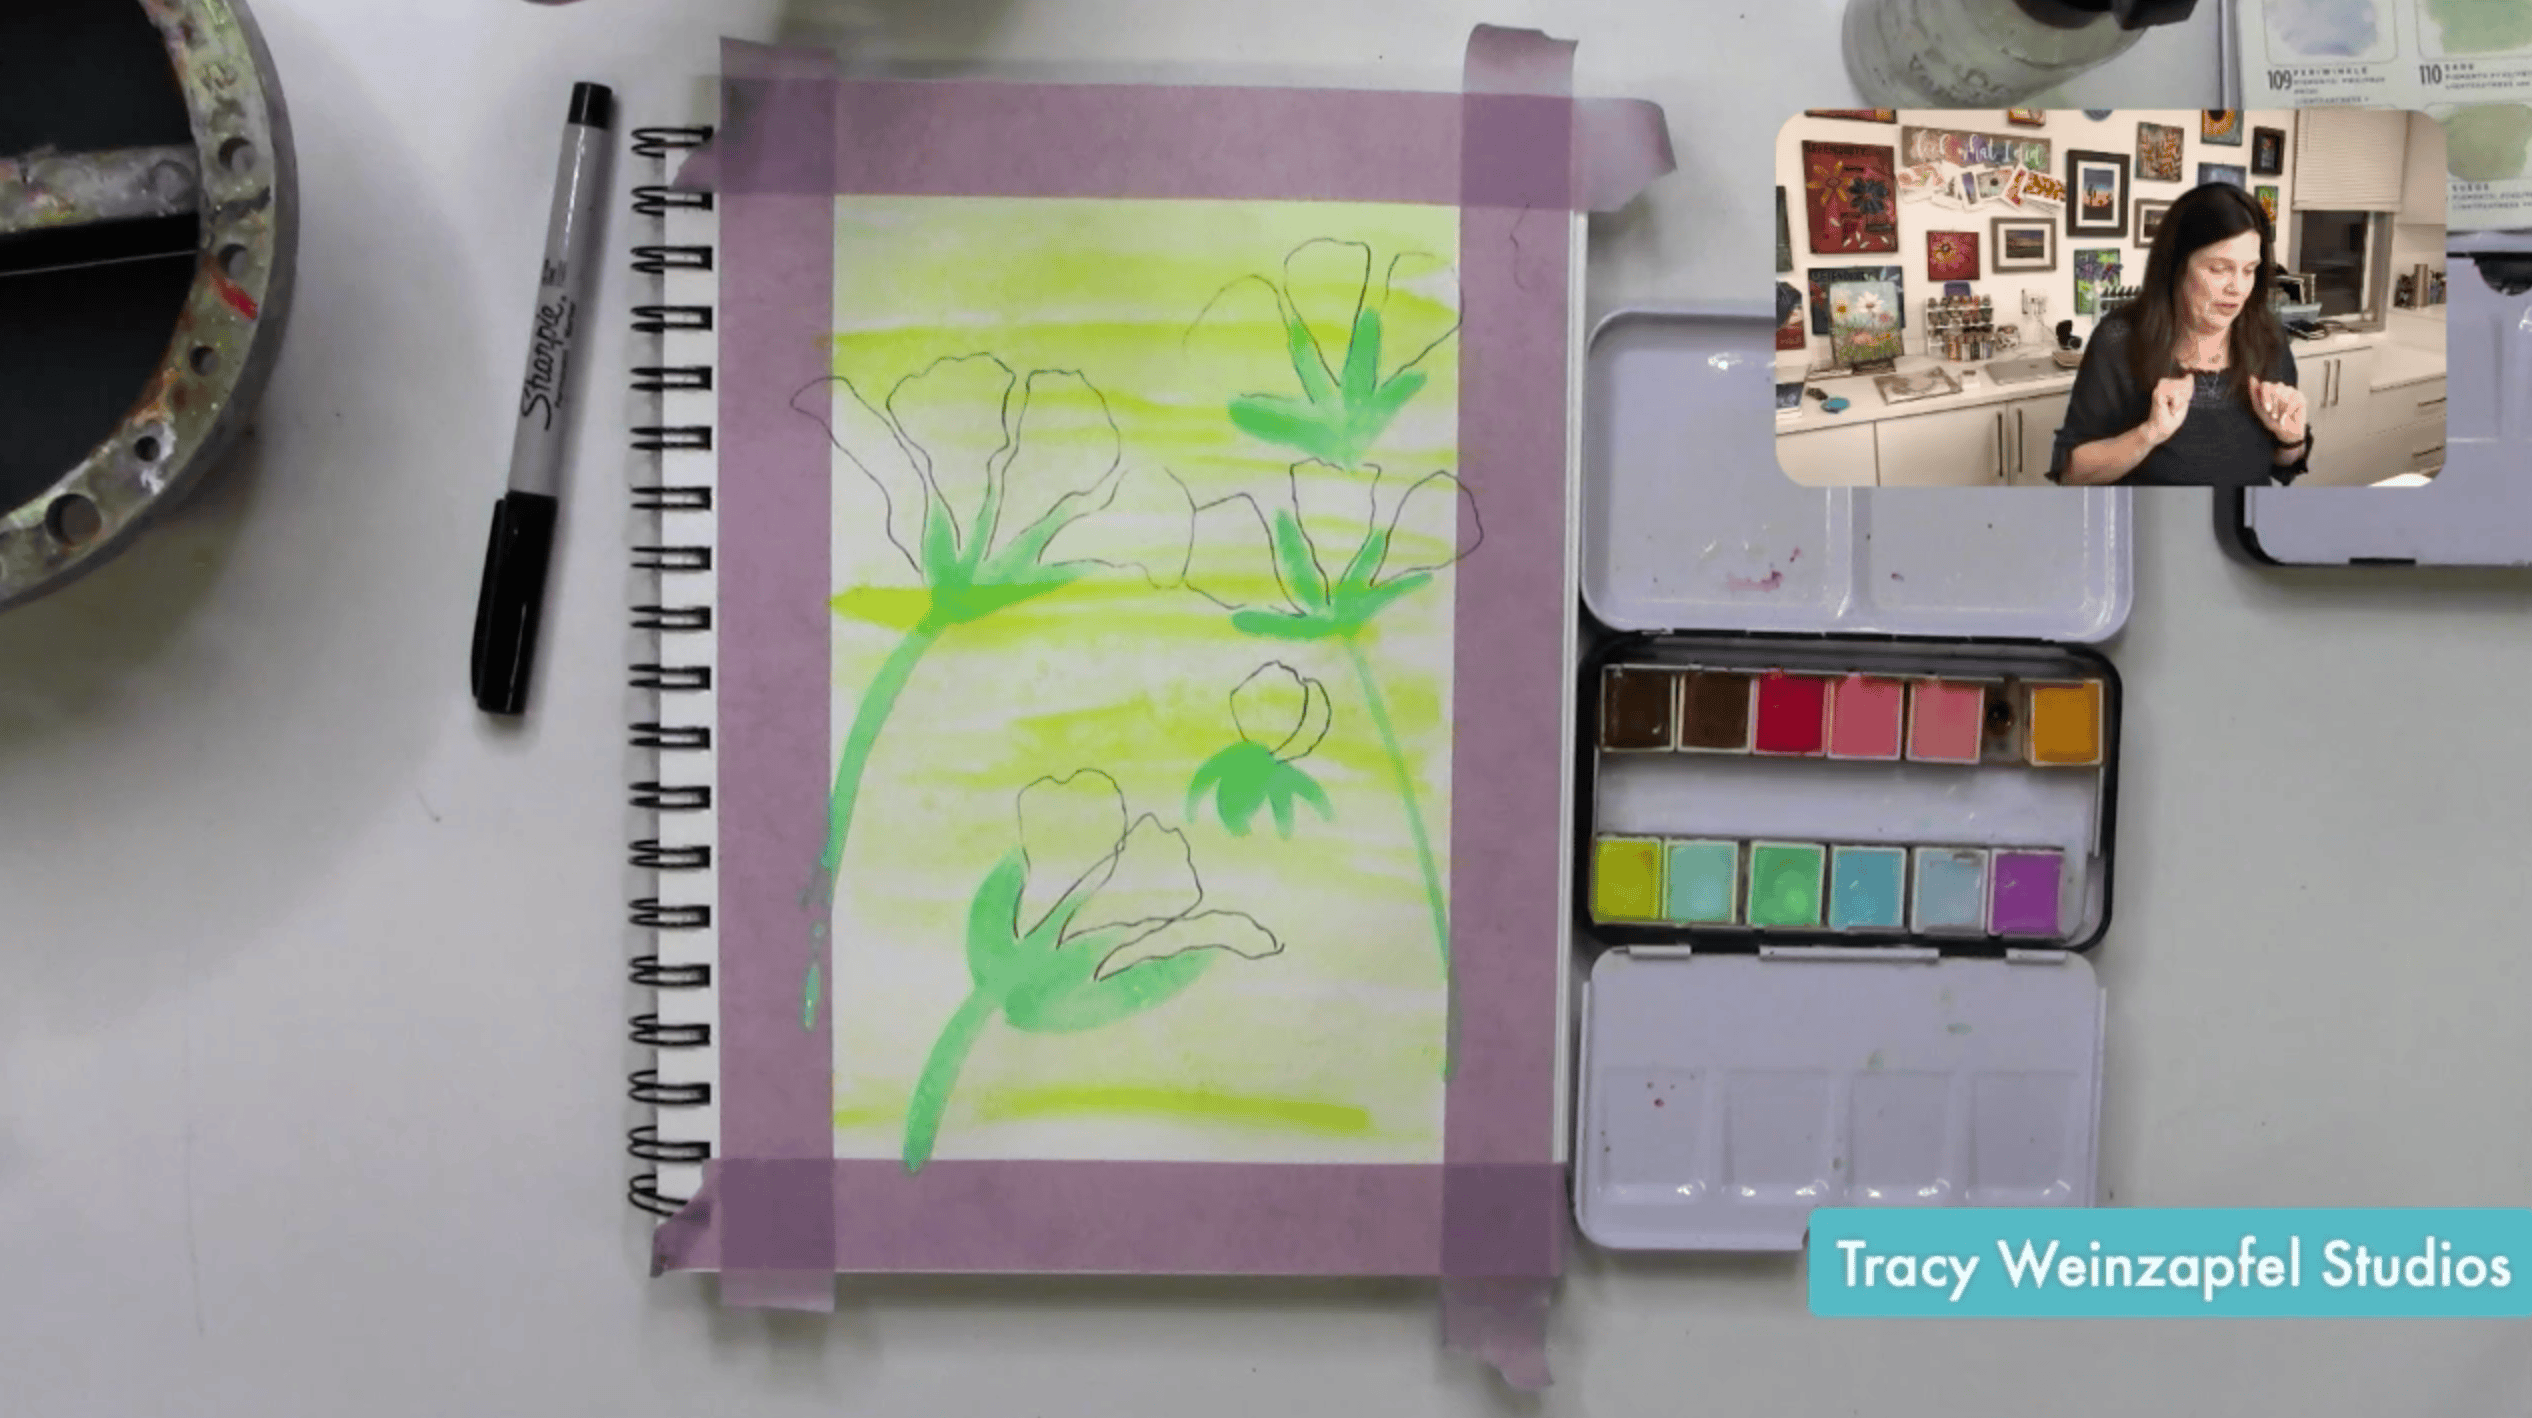
Once your background is dry, use light green watercolor paint to begin forming stems for your flowers. Then, take your ultra-fine Sharpie and begin sketching loose, whimsical flower shapes directly onto the page. Don’t worry about making them perfect or even realistic. Let the lines feel a little wonky and natural. Vary the size and direction of the flowers so the composition feels playful and balanced across the page.
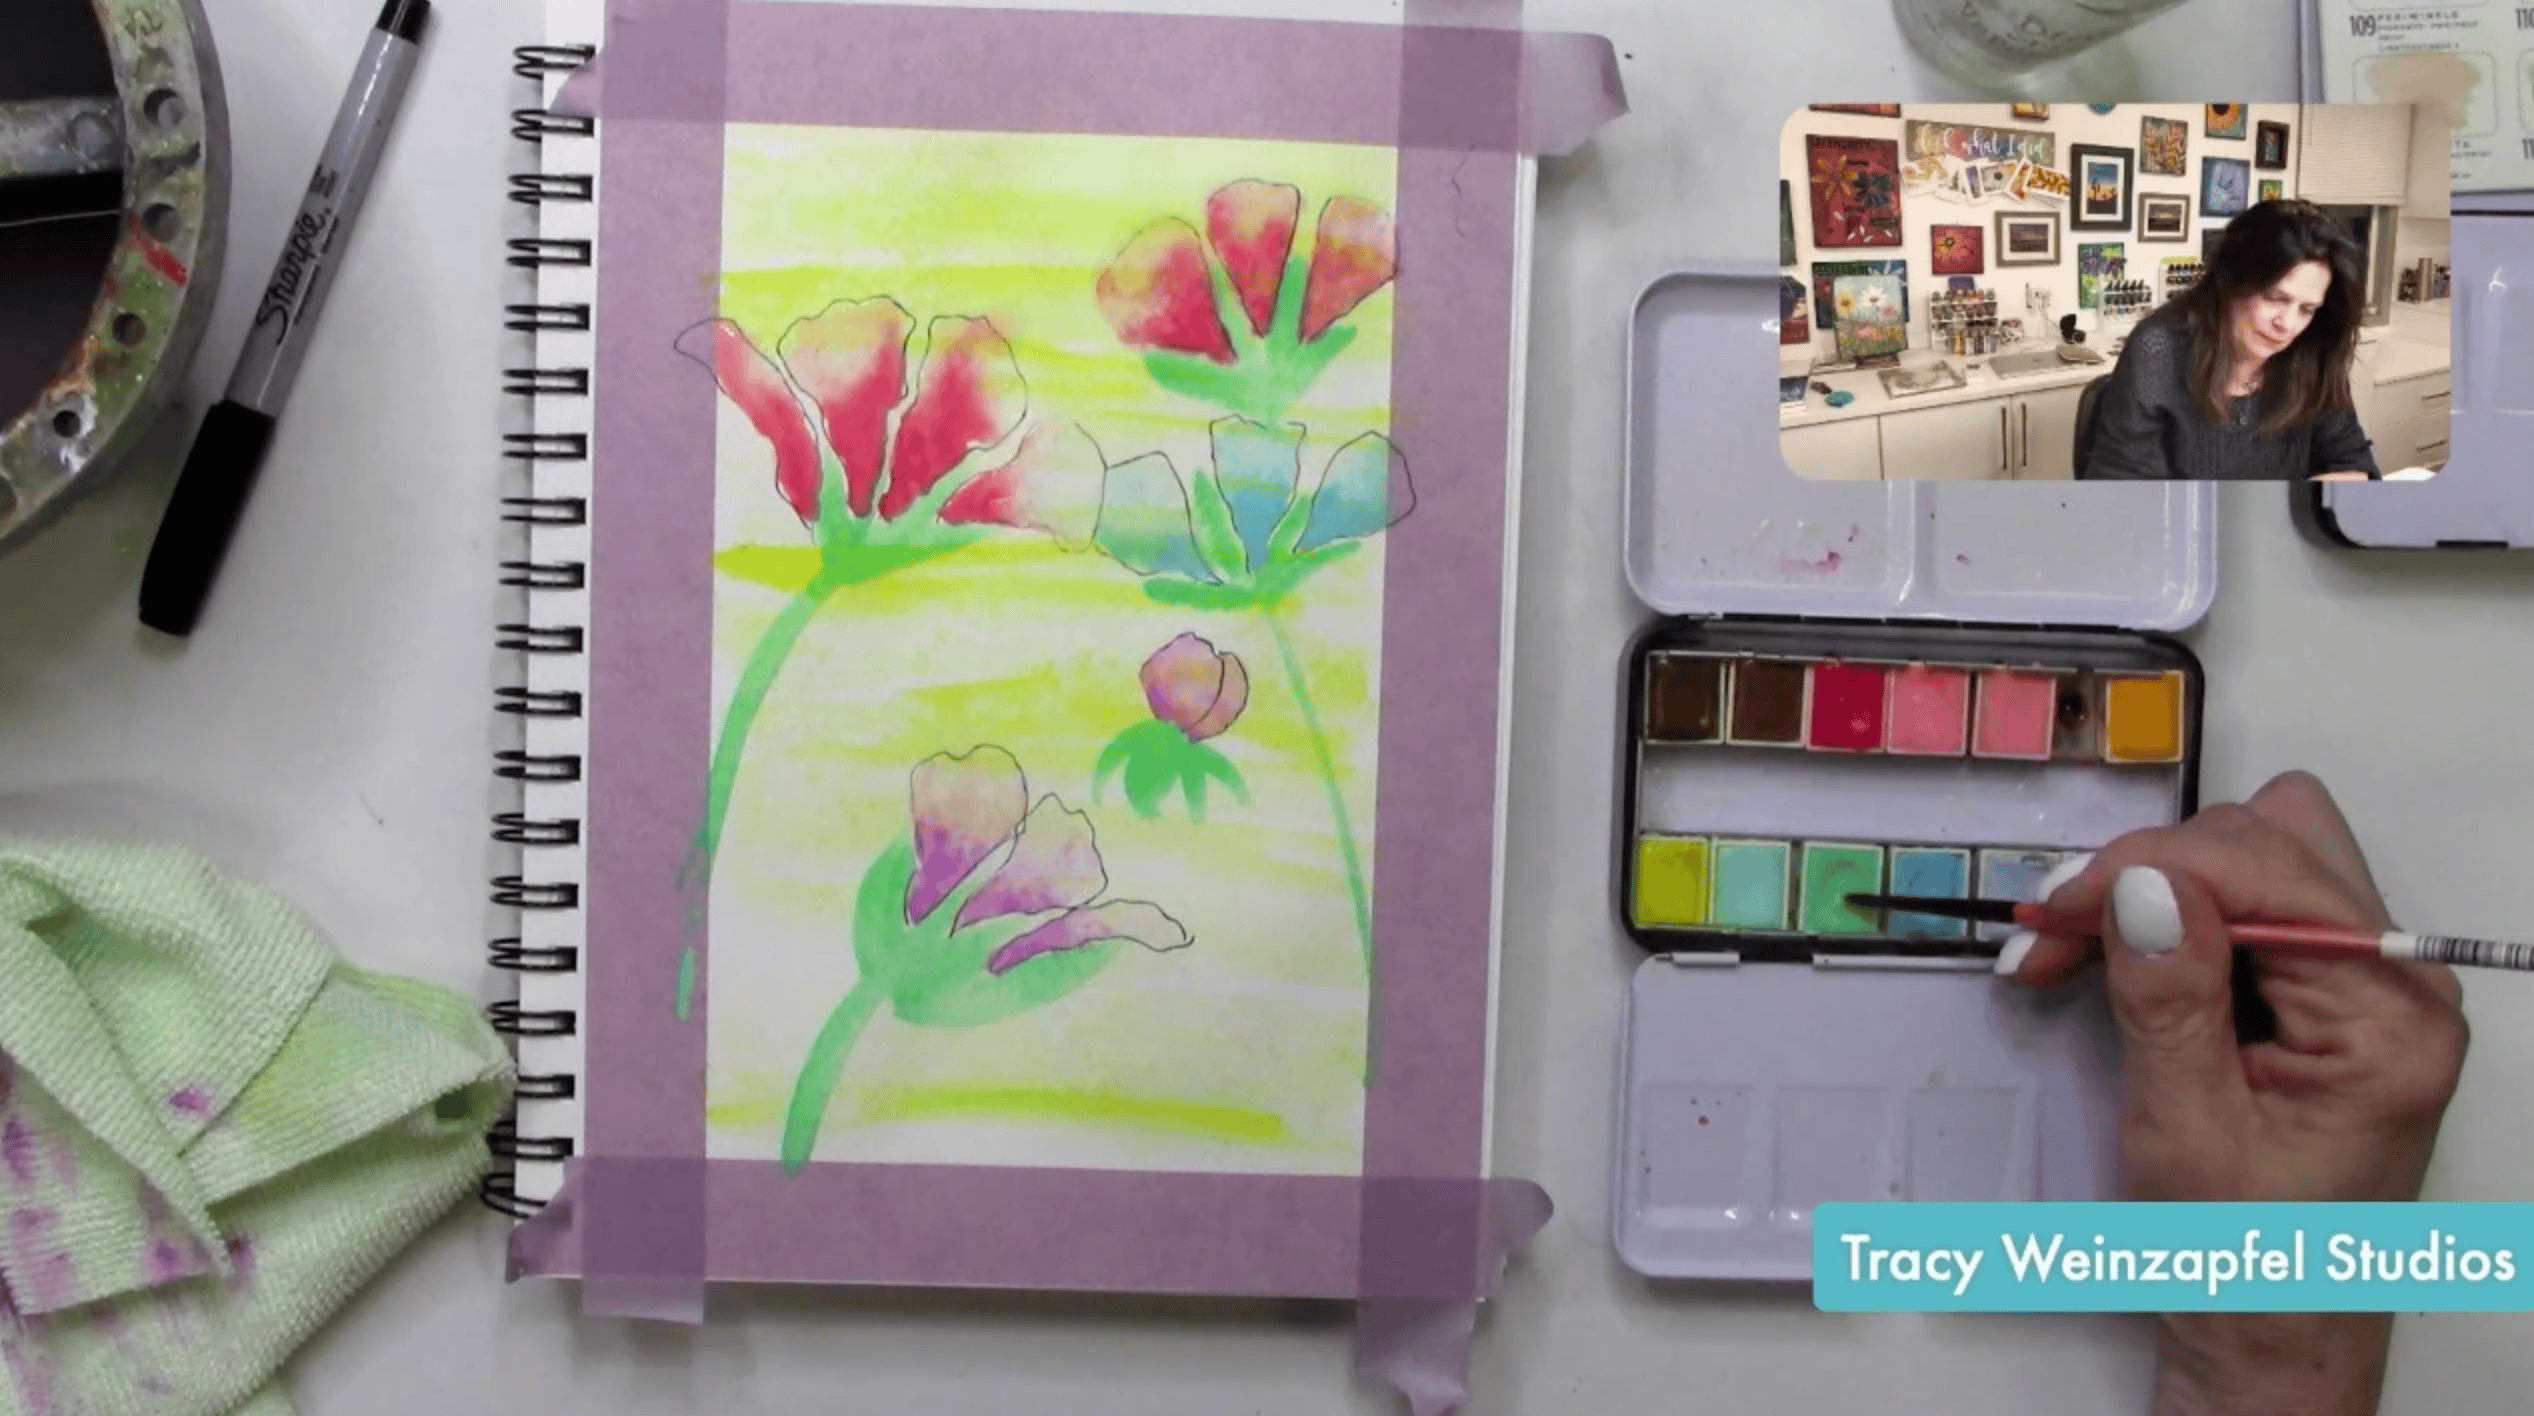
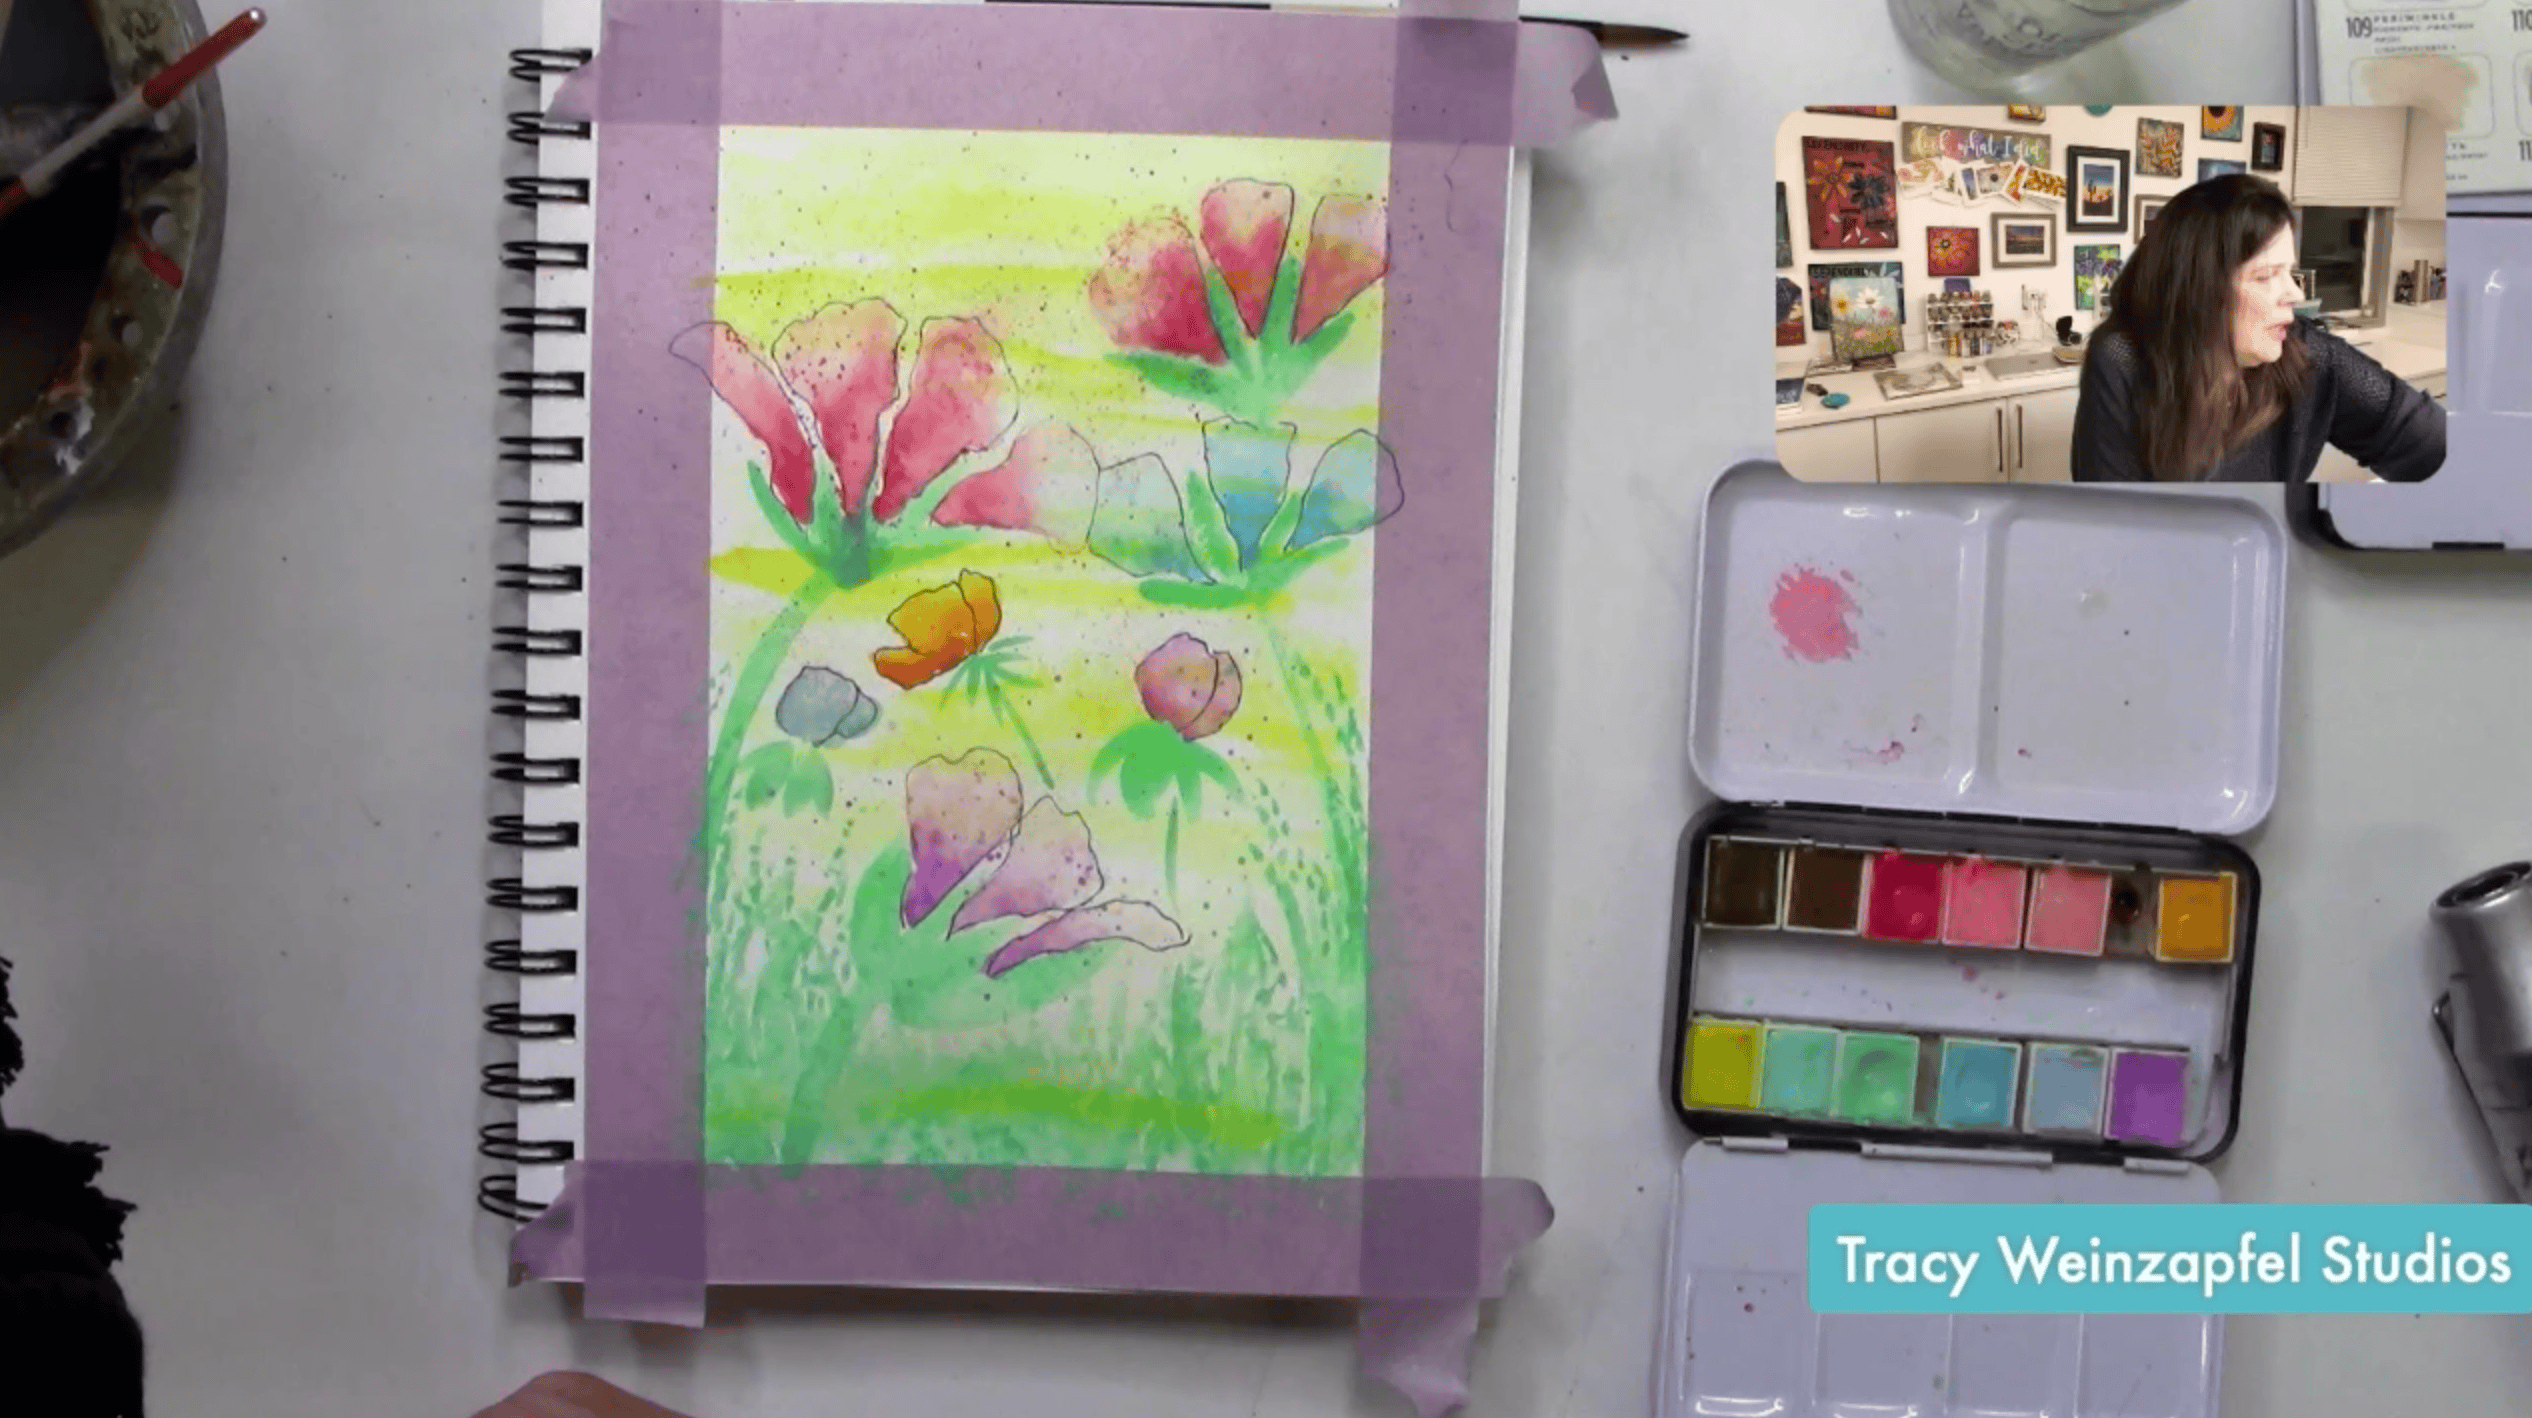
Now begin adding watercolor inside each flower shape. Start with soft pinks, purples, and blues, letting the paint spread naturally within the lines. You can tilt your page slightly and allow gravity to help the colors blend and flow downward. If the paint starts to pool too much, simply dry your brush and lift a little color. Let the water and pigment do the work for you.
Continue building your flowers by dropping in deeper tones while the paint is still slightly wet. This creates natural shadows and dimension. Add a few unexpected color touches here and there to keep things interesting. Some areas can stay soft and blended while others have a bit more contrast – this variation is what makes the piece feel alive.
Switch to a smaller brush and add a few tiny flowers or filler shapes around your larger blooms. This step adds that whimsical, garden-like feel to your page.
Use a fan brush dipped in pinks and purples and splatter it across your flowers for even more texture.
Next, use your fan brush and begin adding grassy texture along the bottom of the page. Start with lighter greens and then layer in darker tones to build depth. Use quick, upward strokes to mimic the look of grass. Dry with a heat tool.
Bring in a few darker green acrylic paints and layer them over your grass area to deepen the color and create contrast. Blend these into your watercolor base so everything feels cohesive. This step helps ground the painting and gives it a more dimensional look.
Go back in with your Sharpie and refine the flowers by adding extra lines, petal details, and centers. You can also define stems and connect elements across the page.
Once your painting is fully dry, apply a small amount of Dorland’s Wax using a soft cloth. Gently rub it across the surface and buff lightly. This seals the watercolor without disturbing it and gives your piece a smooth, finished feel. Remove the painter’s tape for a clean border and enjoy!

Watch the replay below!
Thank you for joining in on the creative fun. Join us LIVE every Wednesday at 5:30 pm PST on Facebook at Tracy Weinzapfel Studios.
Join the waitlist for Your Artful Journey! This is my exclusive creative membership where you can explore the world of art journaling! Join a community of support and inspiration with interactive art sessions full of tips and tricks, conversation, Q & As, and most of all, FUN!
Supply List:
- Fabriano or Grumbacher 7 X 10 Watercolor Journal
- Painter’s Tape
- Watercolors: Pastel Dreams
- Acrylic Paints: Decoart Media & Americana – Amaze-Mint, Lush Green, Green Gold & Sap Green
- Brushes: Tracy Weinzapfel Sets
- Twin Tip Sharpie
- Liner Brush: Micron 10/0 X Long Liner Brush
- Sealer: Dorland’s Wax
Check out Tracy’s Art Journal Starter Kit!
Tracy’s Resources Page and visit Tracy’s Shop