

This colorful floral art journal page is all about letting go of realism and leaning into something playful, bold, and a little unexpected. I describe this style as “Dr. Seuss meets Mother Nature,” and that is exactly the energy here. Instead of starting with a finished plan, the flowers are built directly onto the page with bright acrylic color, then layered with black linework, white details, dots, foliage, and a few tiny red hearts. The result is bright, whimsical, full of movement, and proof that your flowers do not have to look like anything that grows in nature.
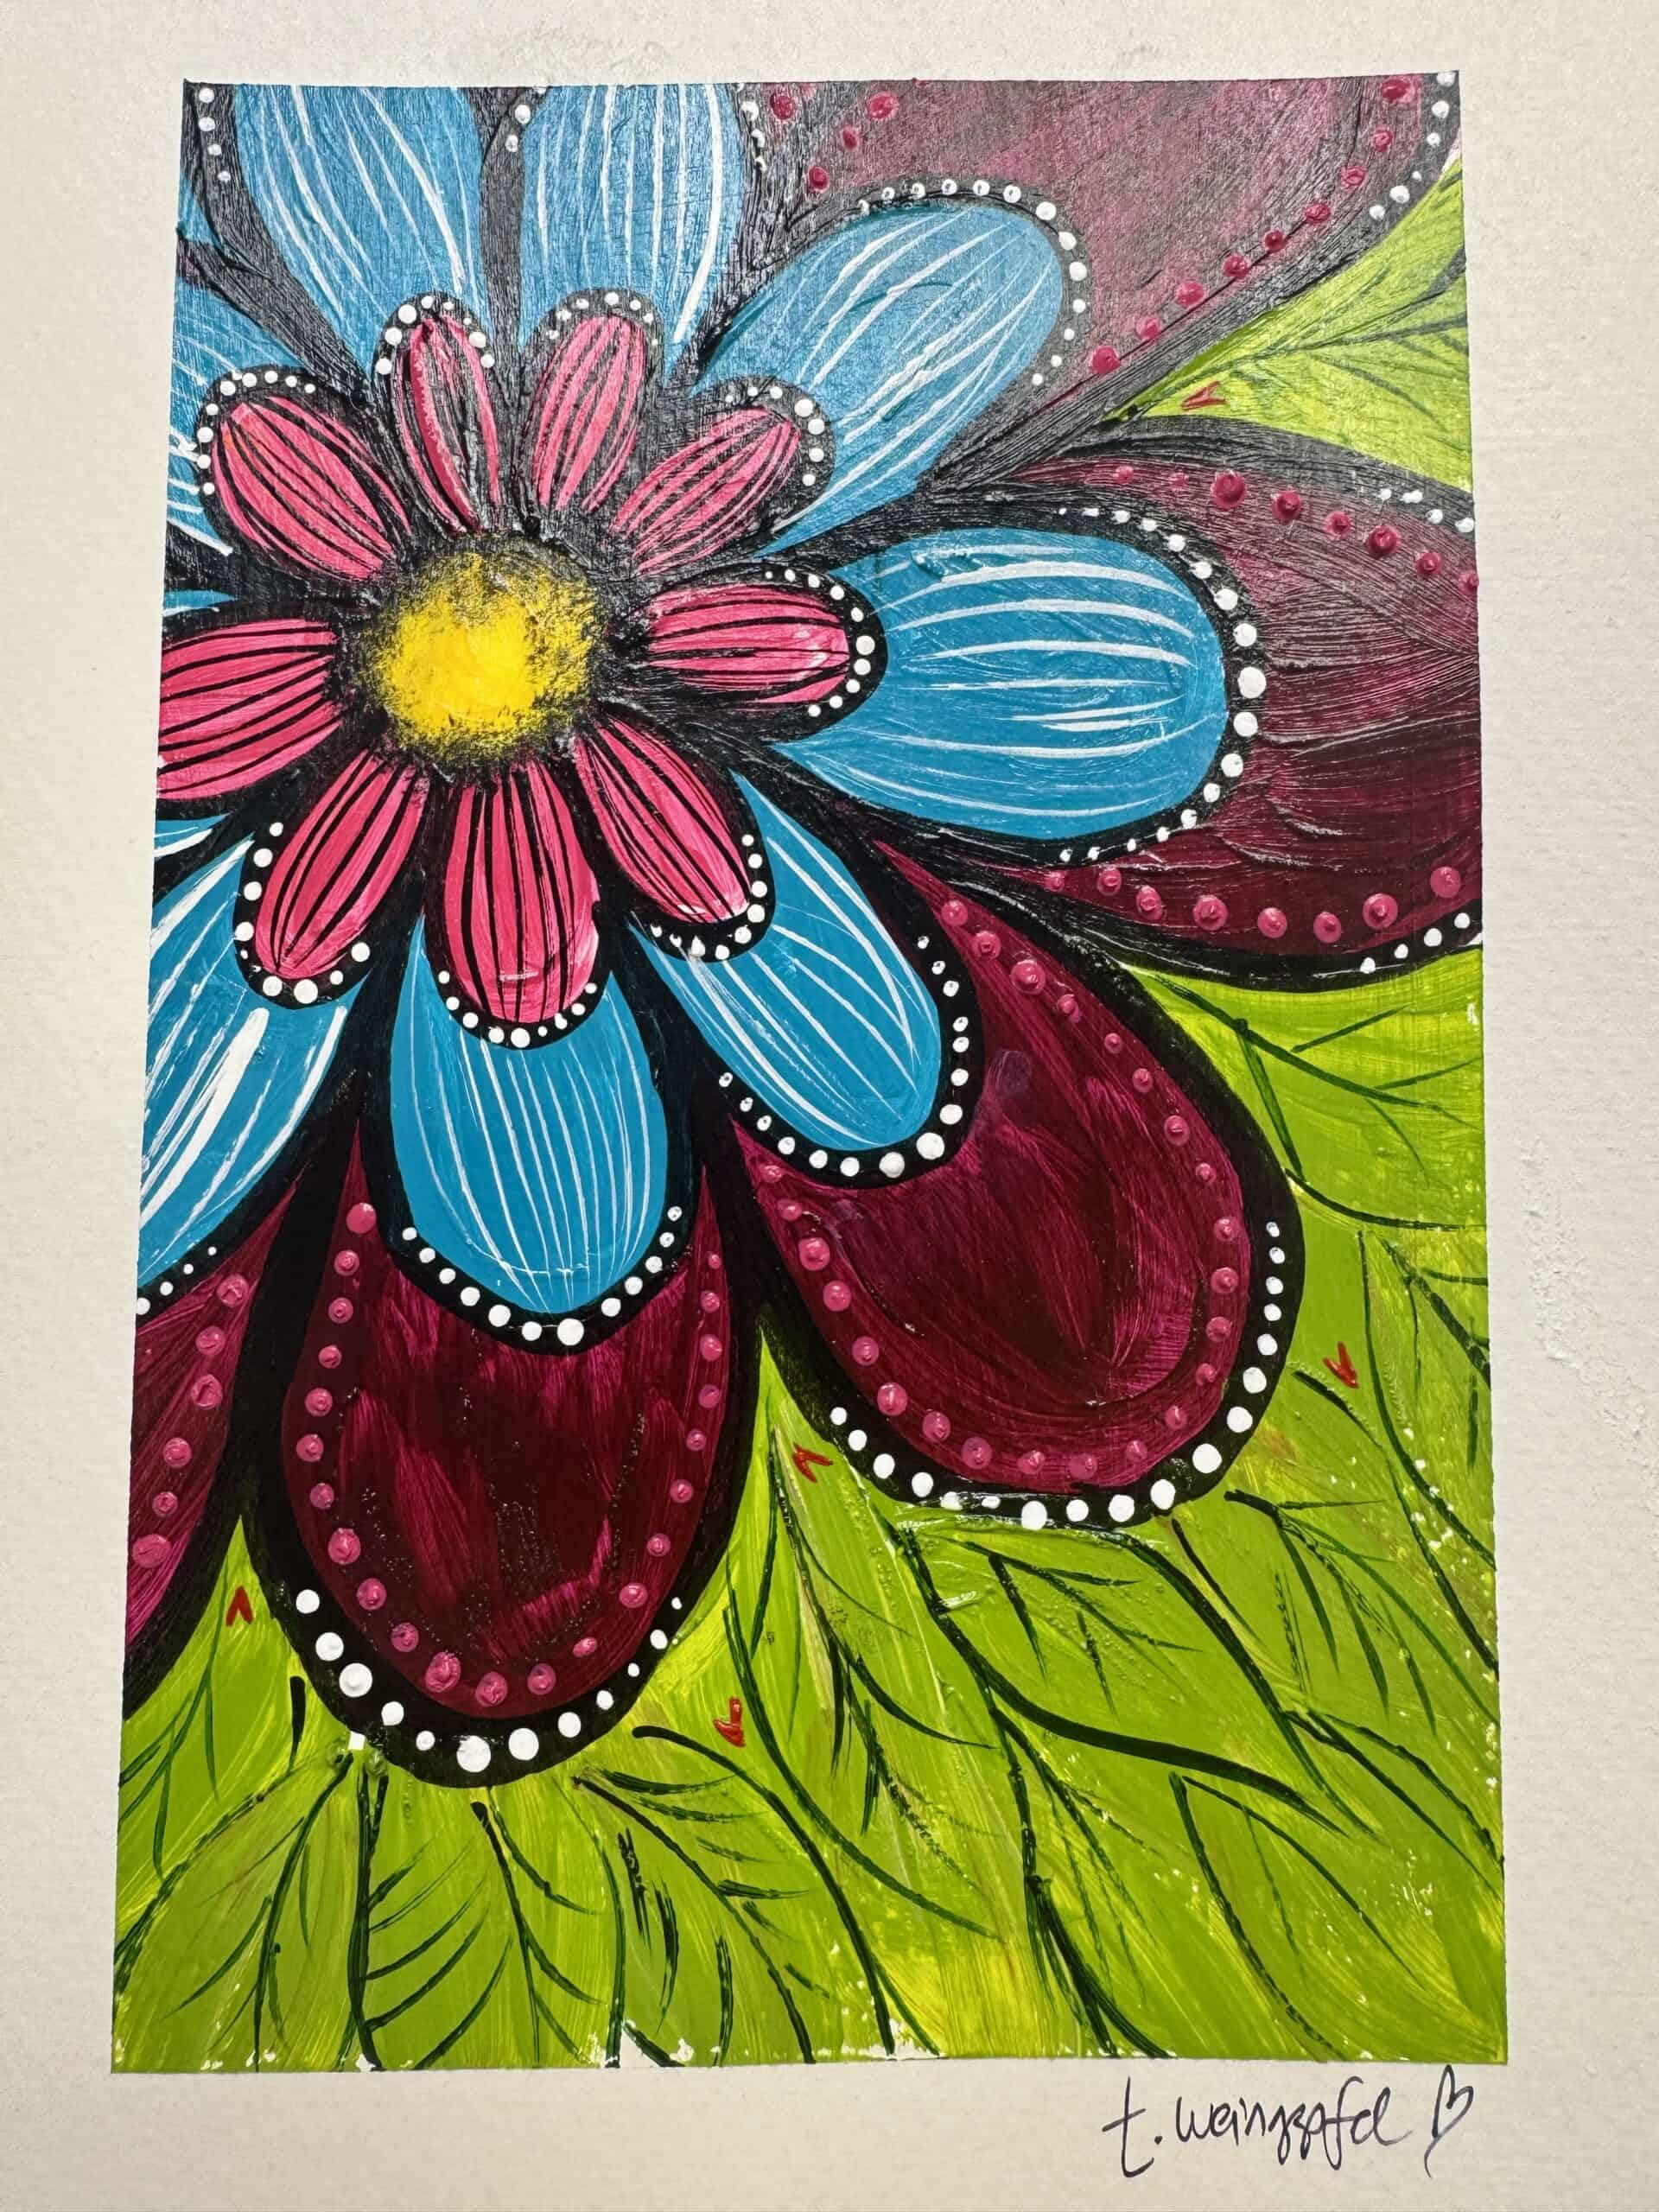
Begin by taping around the edges of your journal page with painter’s tape to create a clean border.
Apply a light coat of white gesso over the surface. You do not need a heavy layer. The goal is simply to prepare the paper and give the acrylic paint a nice surface to sit on. Let the gesso dry before moving on.
Choose the acrylic colors that are calling to you and place small amounts on your palette. This project uses bright pinks, turquoise, yellow, green, violet, red, black, and white, but there is no need to match the colors exactly. Pick the shades that make you happy.
Instead of painting the background first, begin directly with the flower. Use a round brush to paint a large whimsical flower toward the upper-left area of the page. Keep the petals simple, loose, and exaggerated.
Layer bright pink and magenta through the petals, allowing some areas to stay lighter and others to become deeper. Do not worry about making the flower symmetrical. This project is meant to feel playful. Let dry.
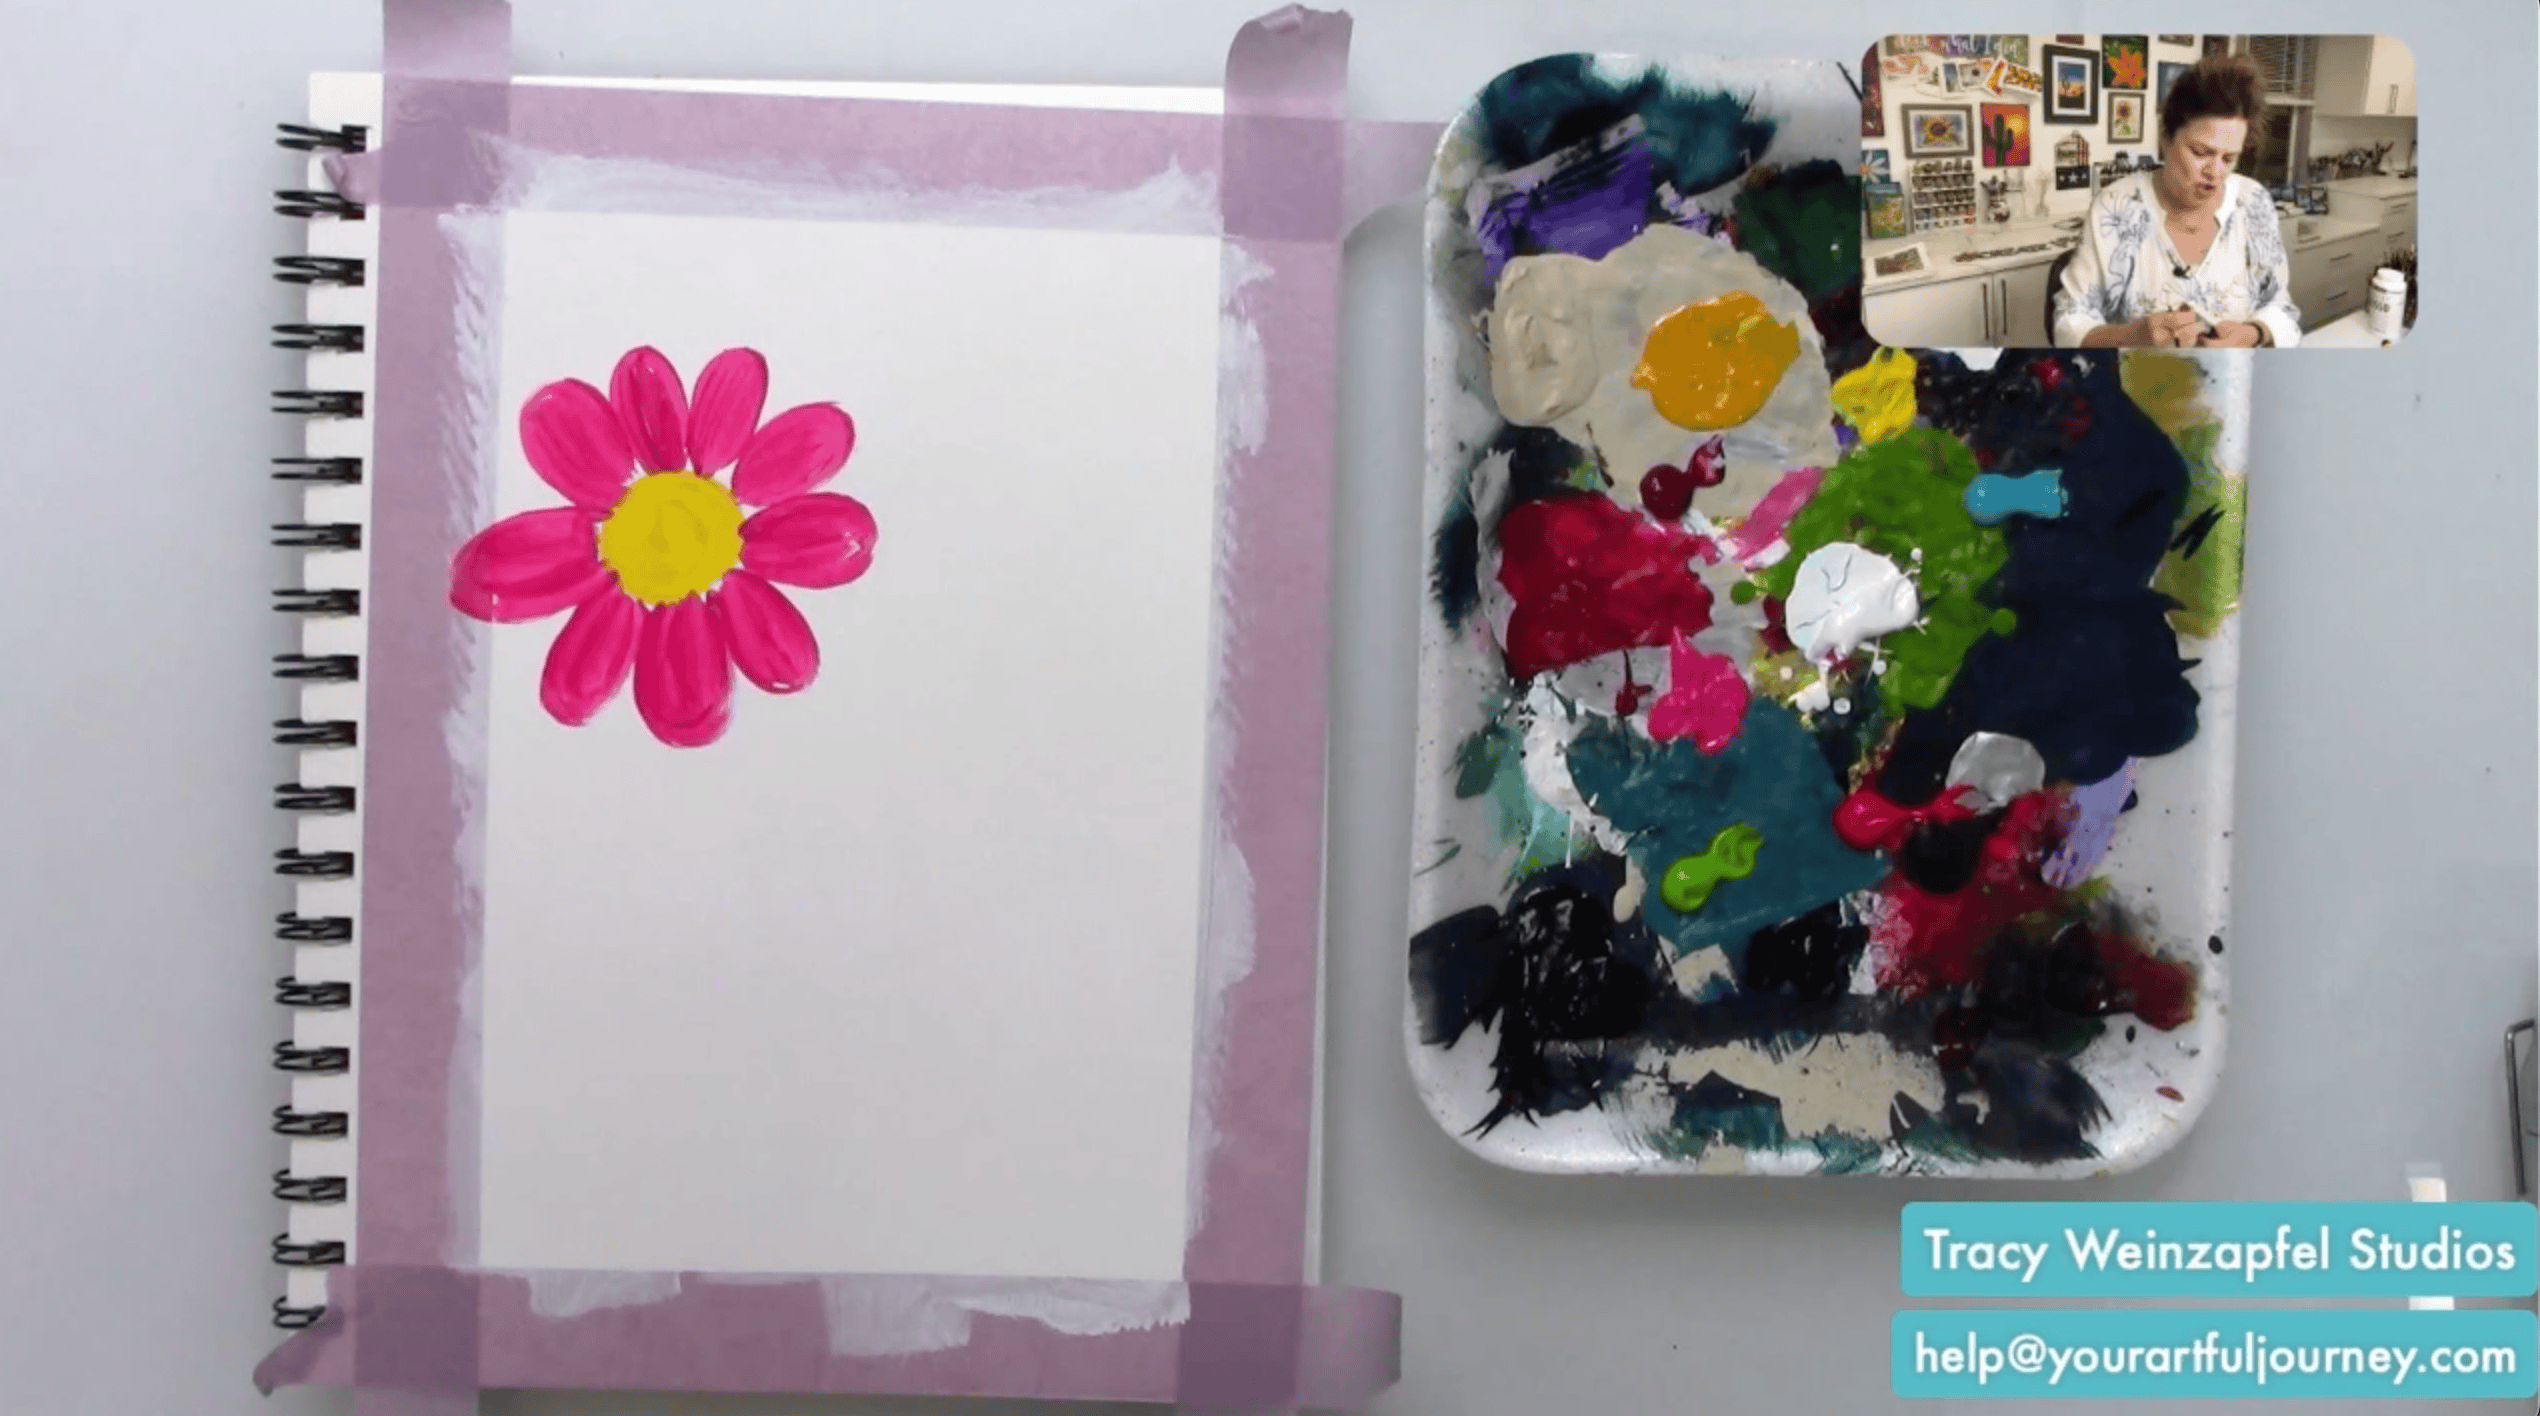
Begin building another layer of larger petals around the first flower. Use turquoise blue for several of these petals and vary their size and shape. Some can extend off the page so the composition feels larger than the journal itself.
Introduce Permanent Red Violet, Quin Rose, or another deep pink-red shade to create another layer of petals. Allow these petals to overlap the turquoise areas and extend around the outside of the flower. Let dry.
Instead of filling the remaining space with a traditional painted background, use foliage to fill the page.
Paint large leaves throughout the open areas using Olive Green Light and Sap Green. This is a great way to let the design itself become the background. Layer lighter and darker greens so the leaves have more depth and variation.
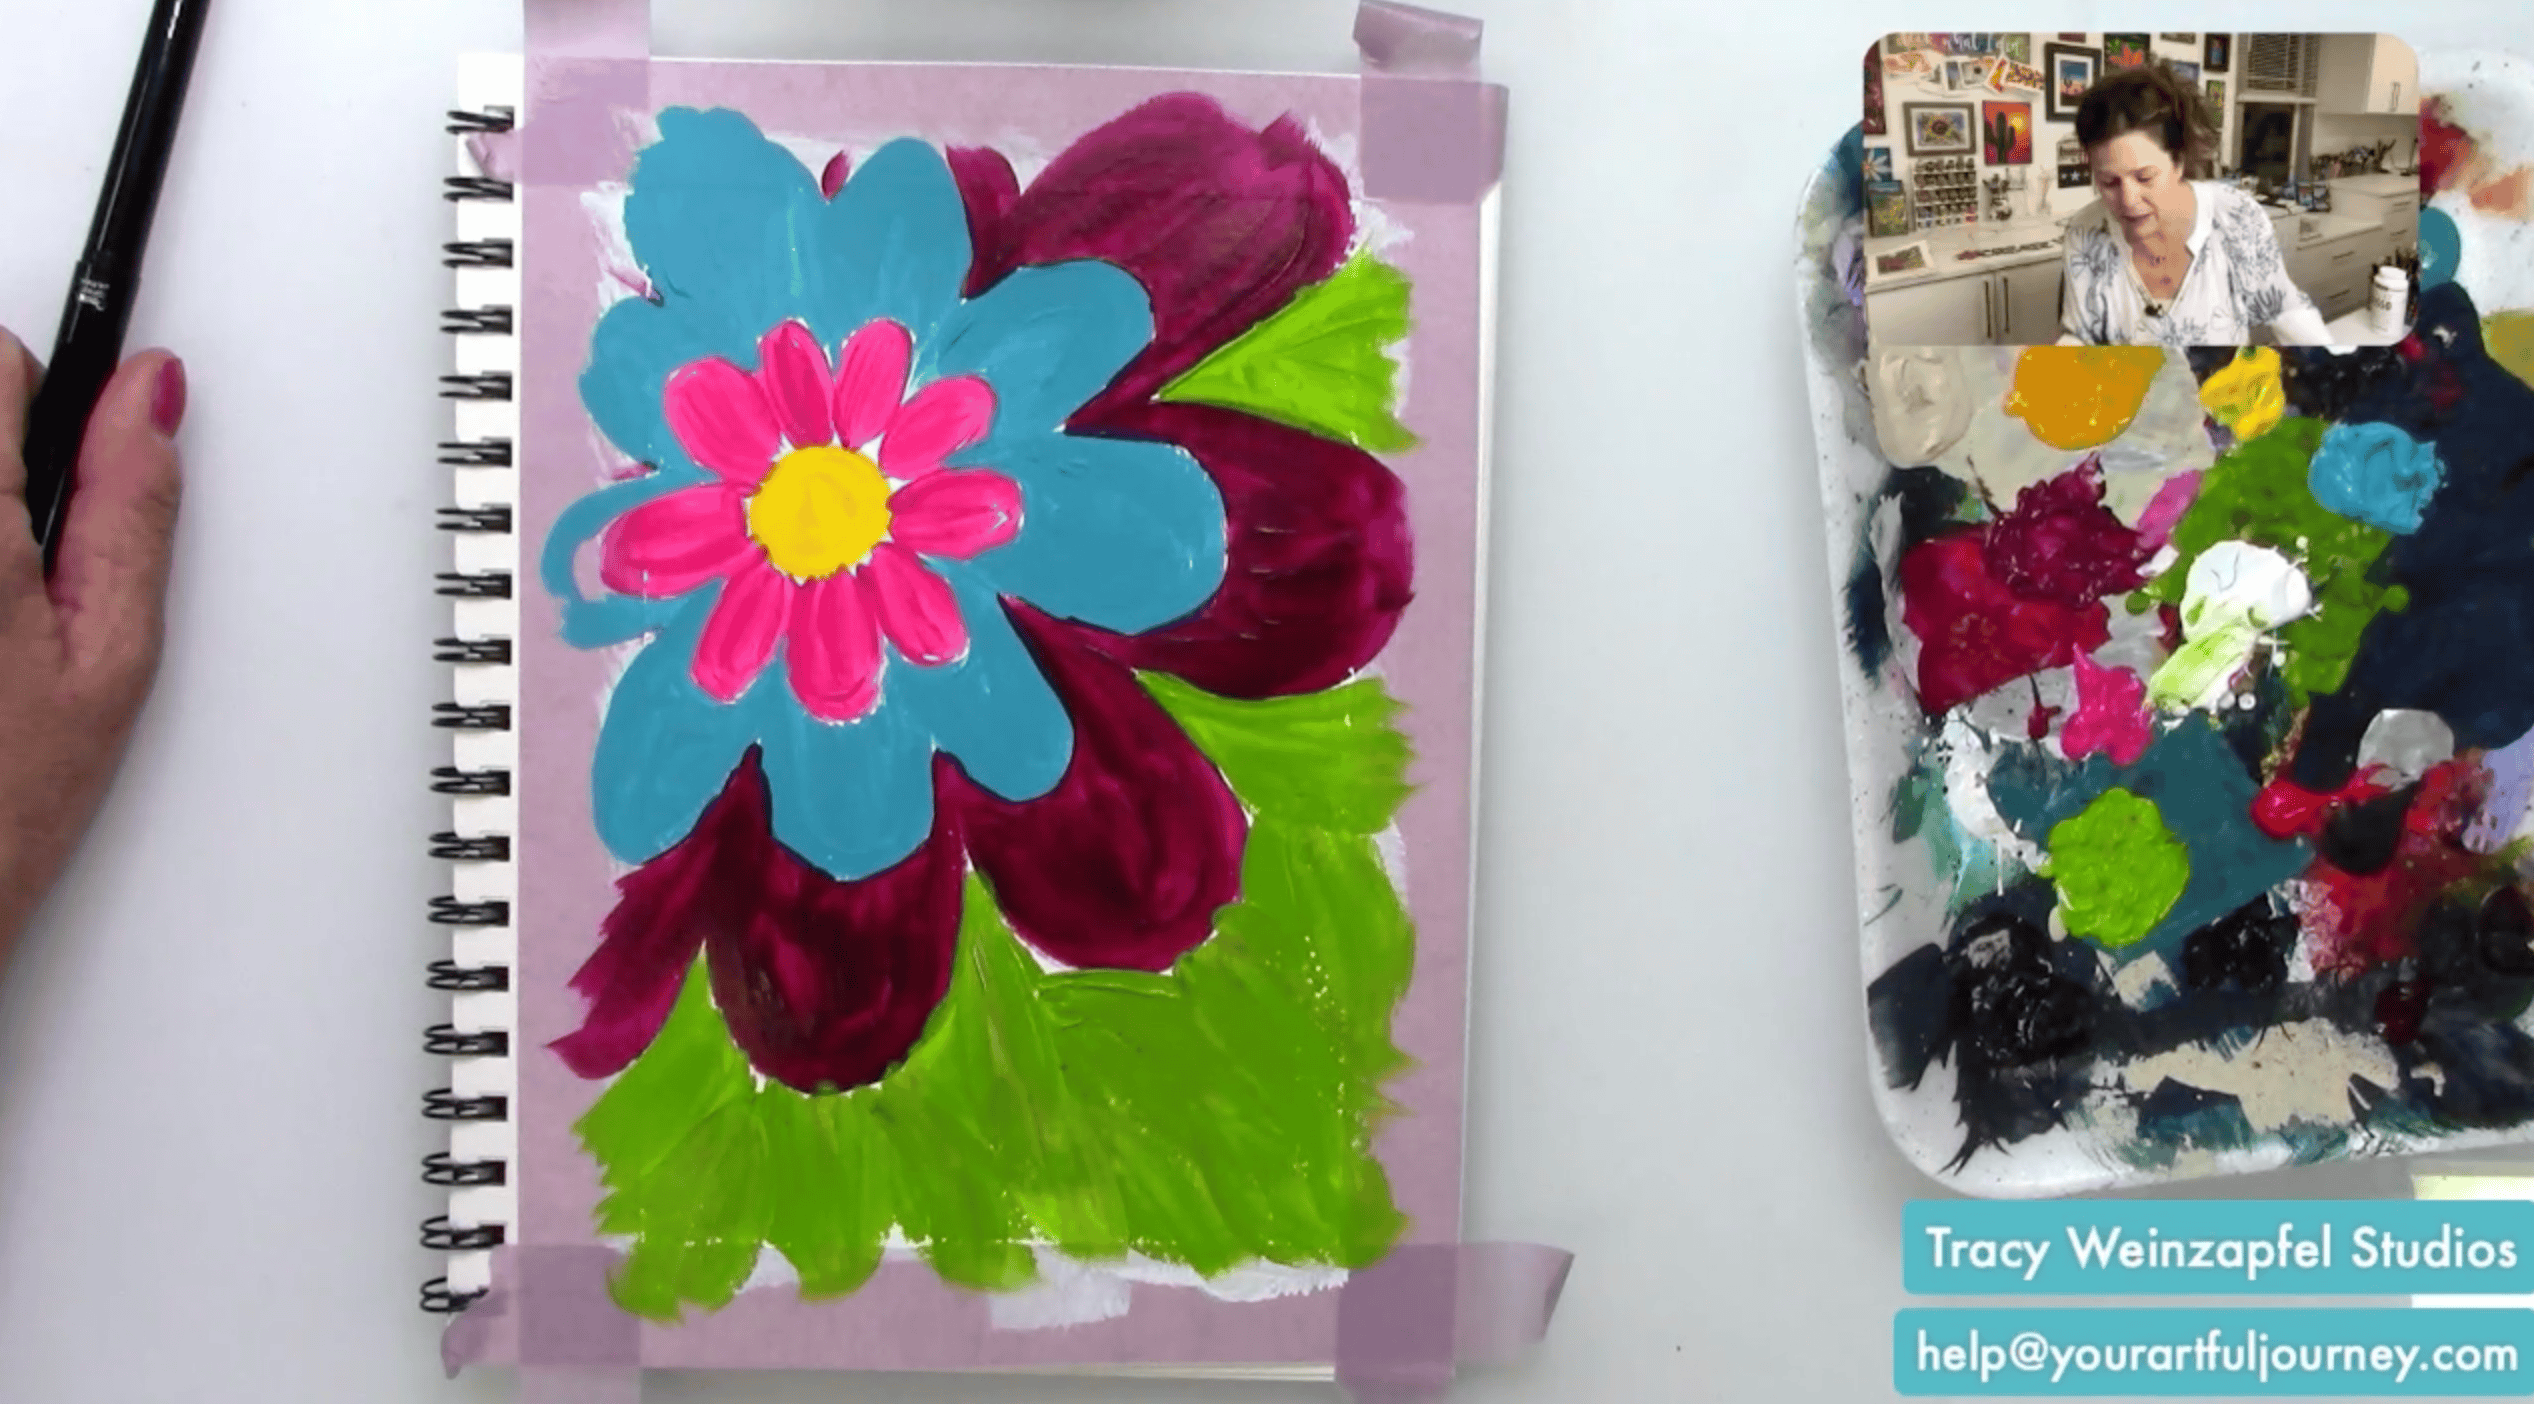
Once the acrylic paint is dry, use a permanent black brush pen or black acrylic paint with a liner brush to outline the flower petals. Press harder for thicker lines and ease up for thinner marks. Add dark accents between petals and around the flower center to help each section stand out.
Use Carbon Black acrylic paint and a liner brush to add thin lines inside the petals. Follow the shape of each petal so the lines create movement from the center outward. Then use Titanium White to add similar loose highlights inside the turquoise petals.
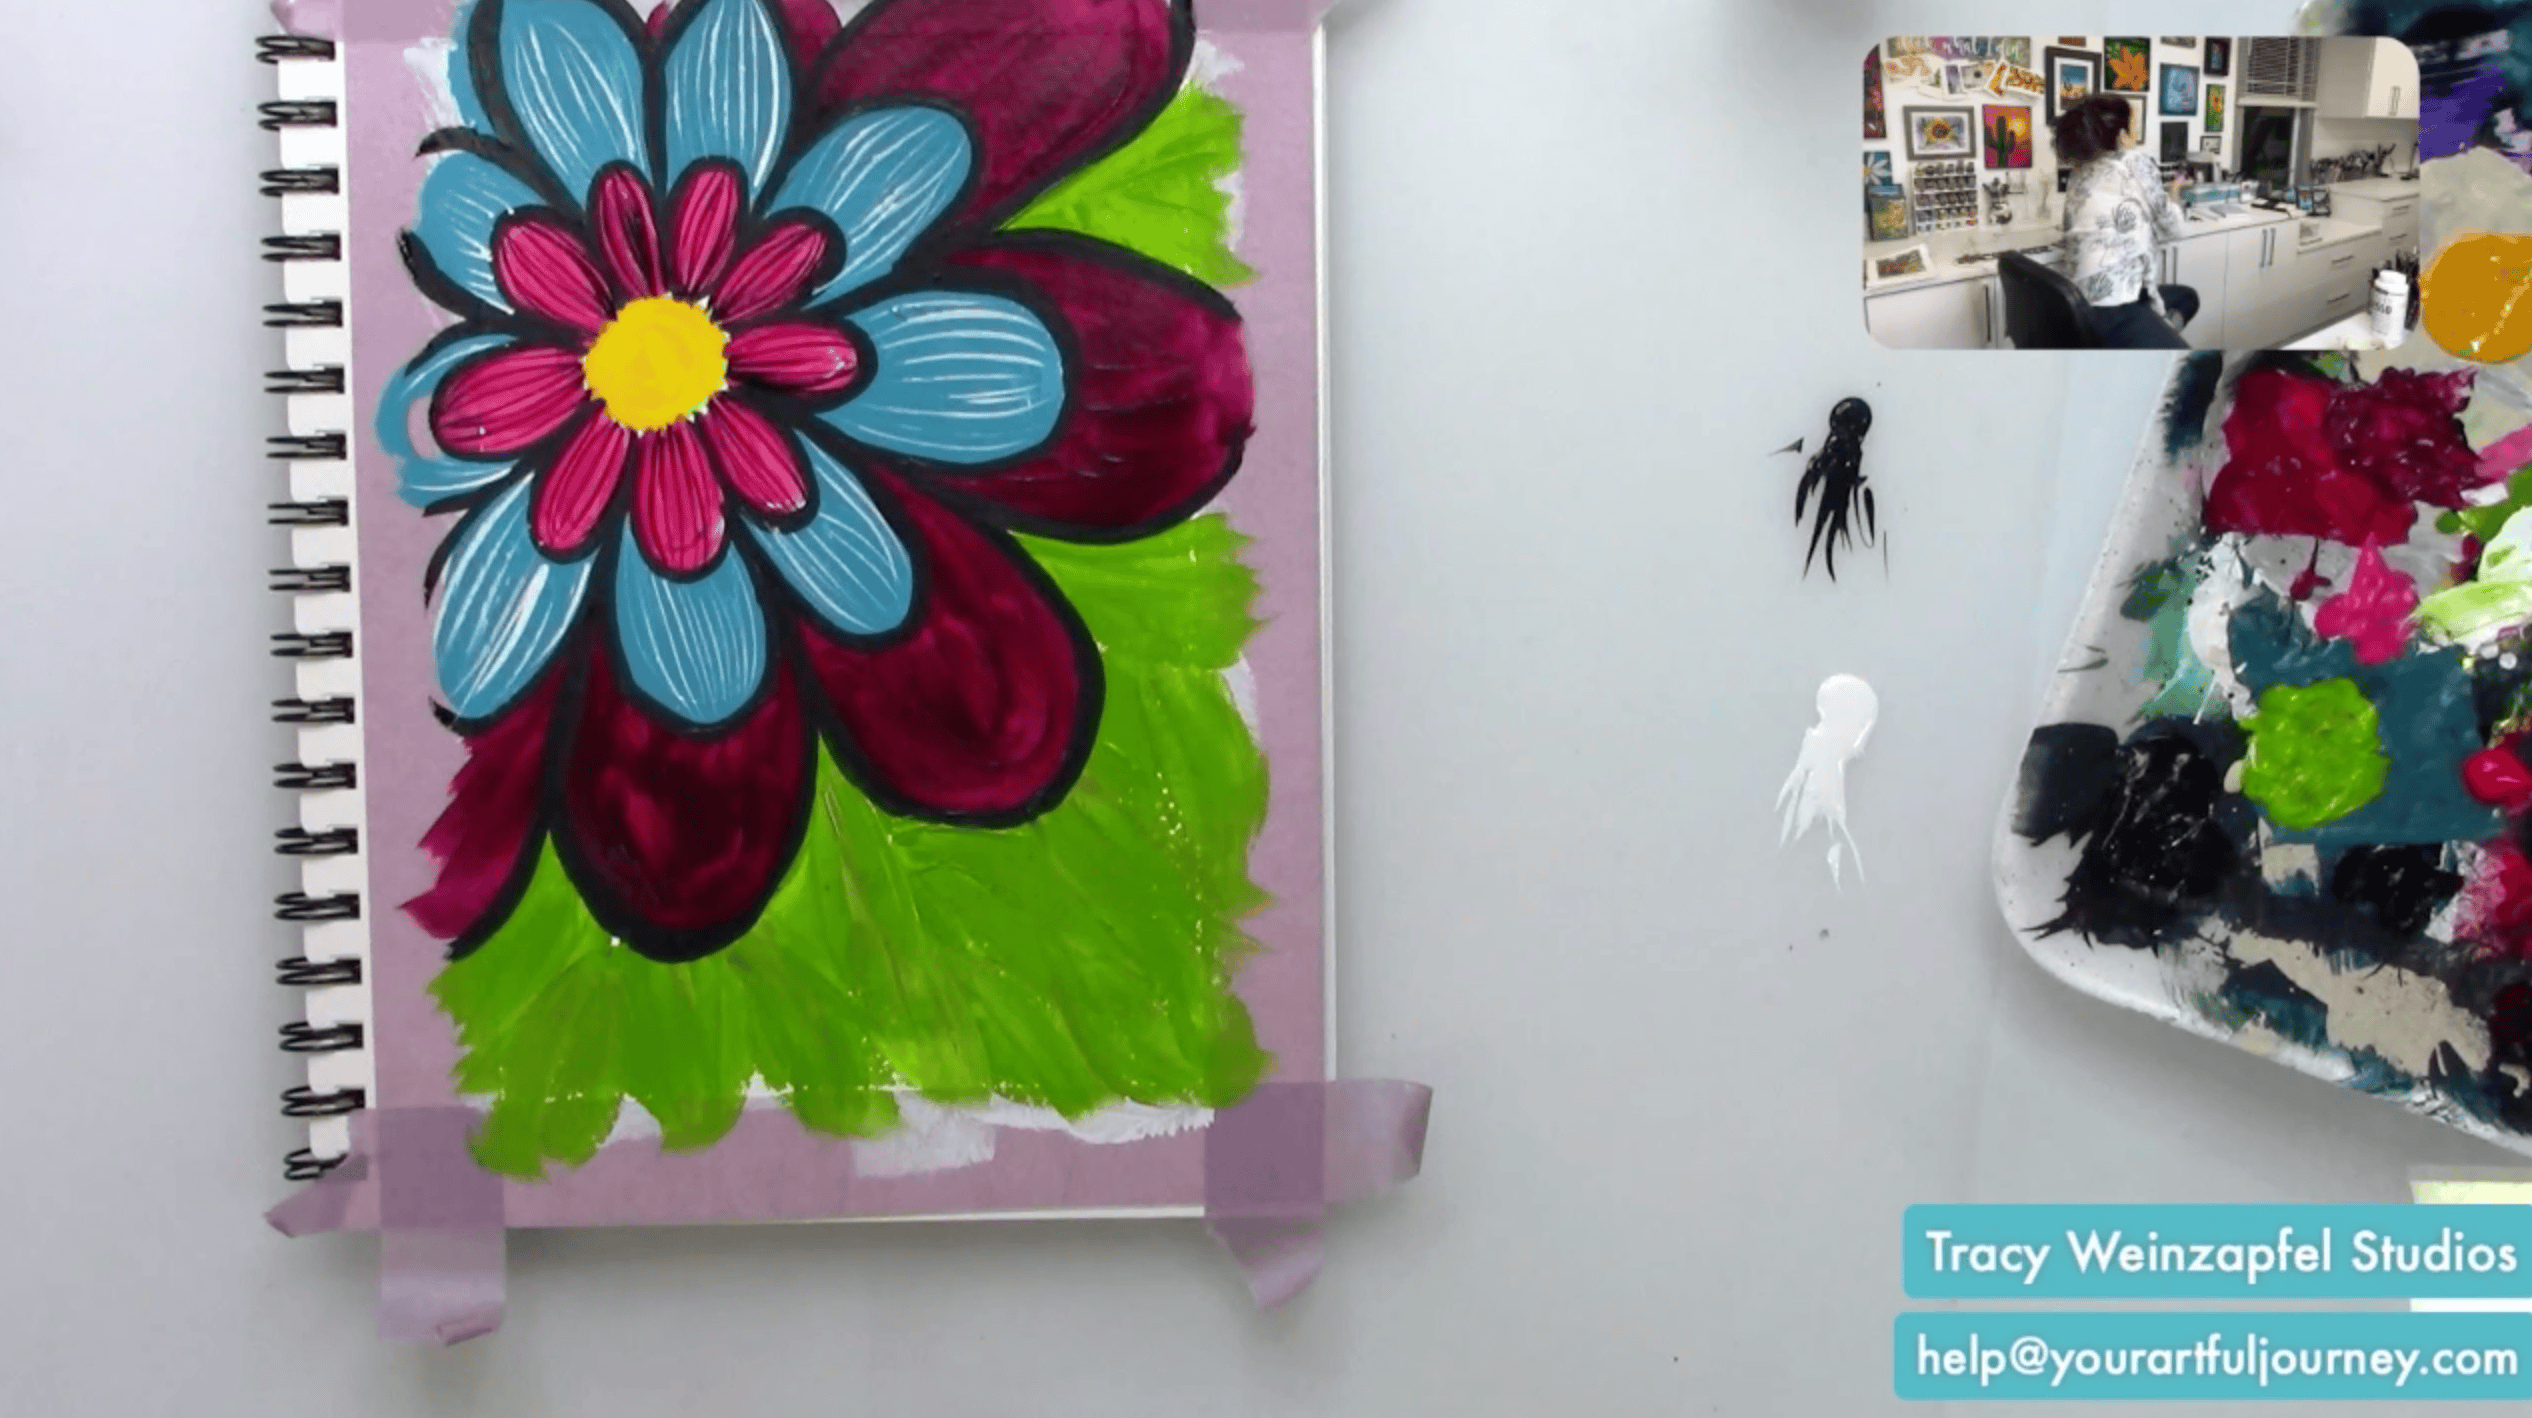
Use a liner brush and darker green or black paint to add loose veins and stems throughout the foliage. There is no need to make every leaf identical. Let the lines bend, overlap, and move naturally across the page. These simple details help break up the large green areas and make the foliage feel more intentional.
Use a stencil brush and Carbon Black acrylic paint to add texture around the flower center. Load the brush lightly, then pounce some of the paint off before touching the page. Build the darker area gradually.
Load a foam detailer or dotting tool with magenta paint and add dotted lines around selected red-violet petals. Start with larger dots and gradually reduce your pressure so the dots become smaller as they move around the petal. This small detail adds a lot of personality and gives the piece that whimsical, almost storybook feeling.
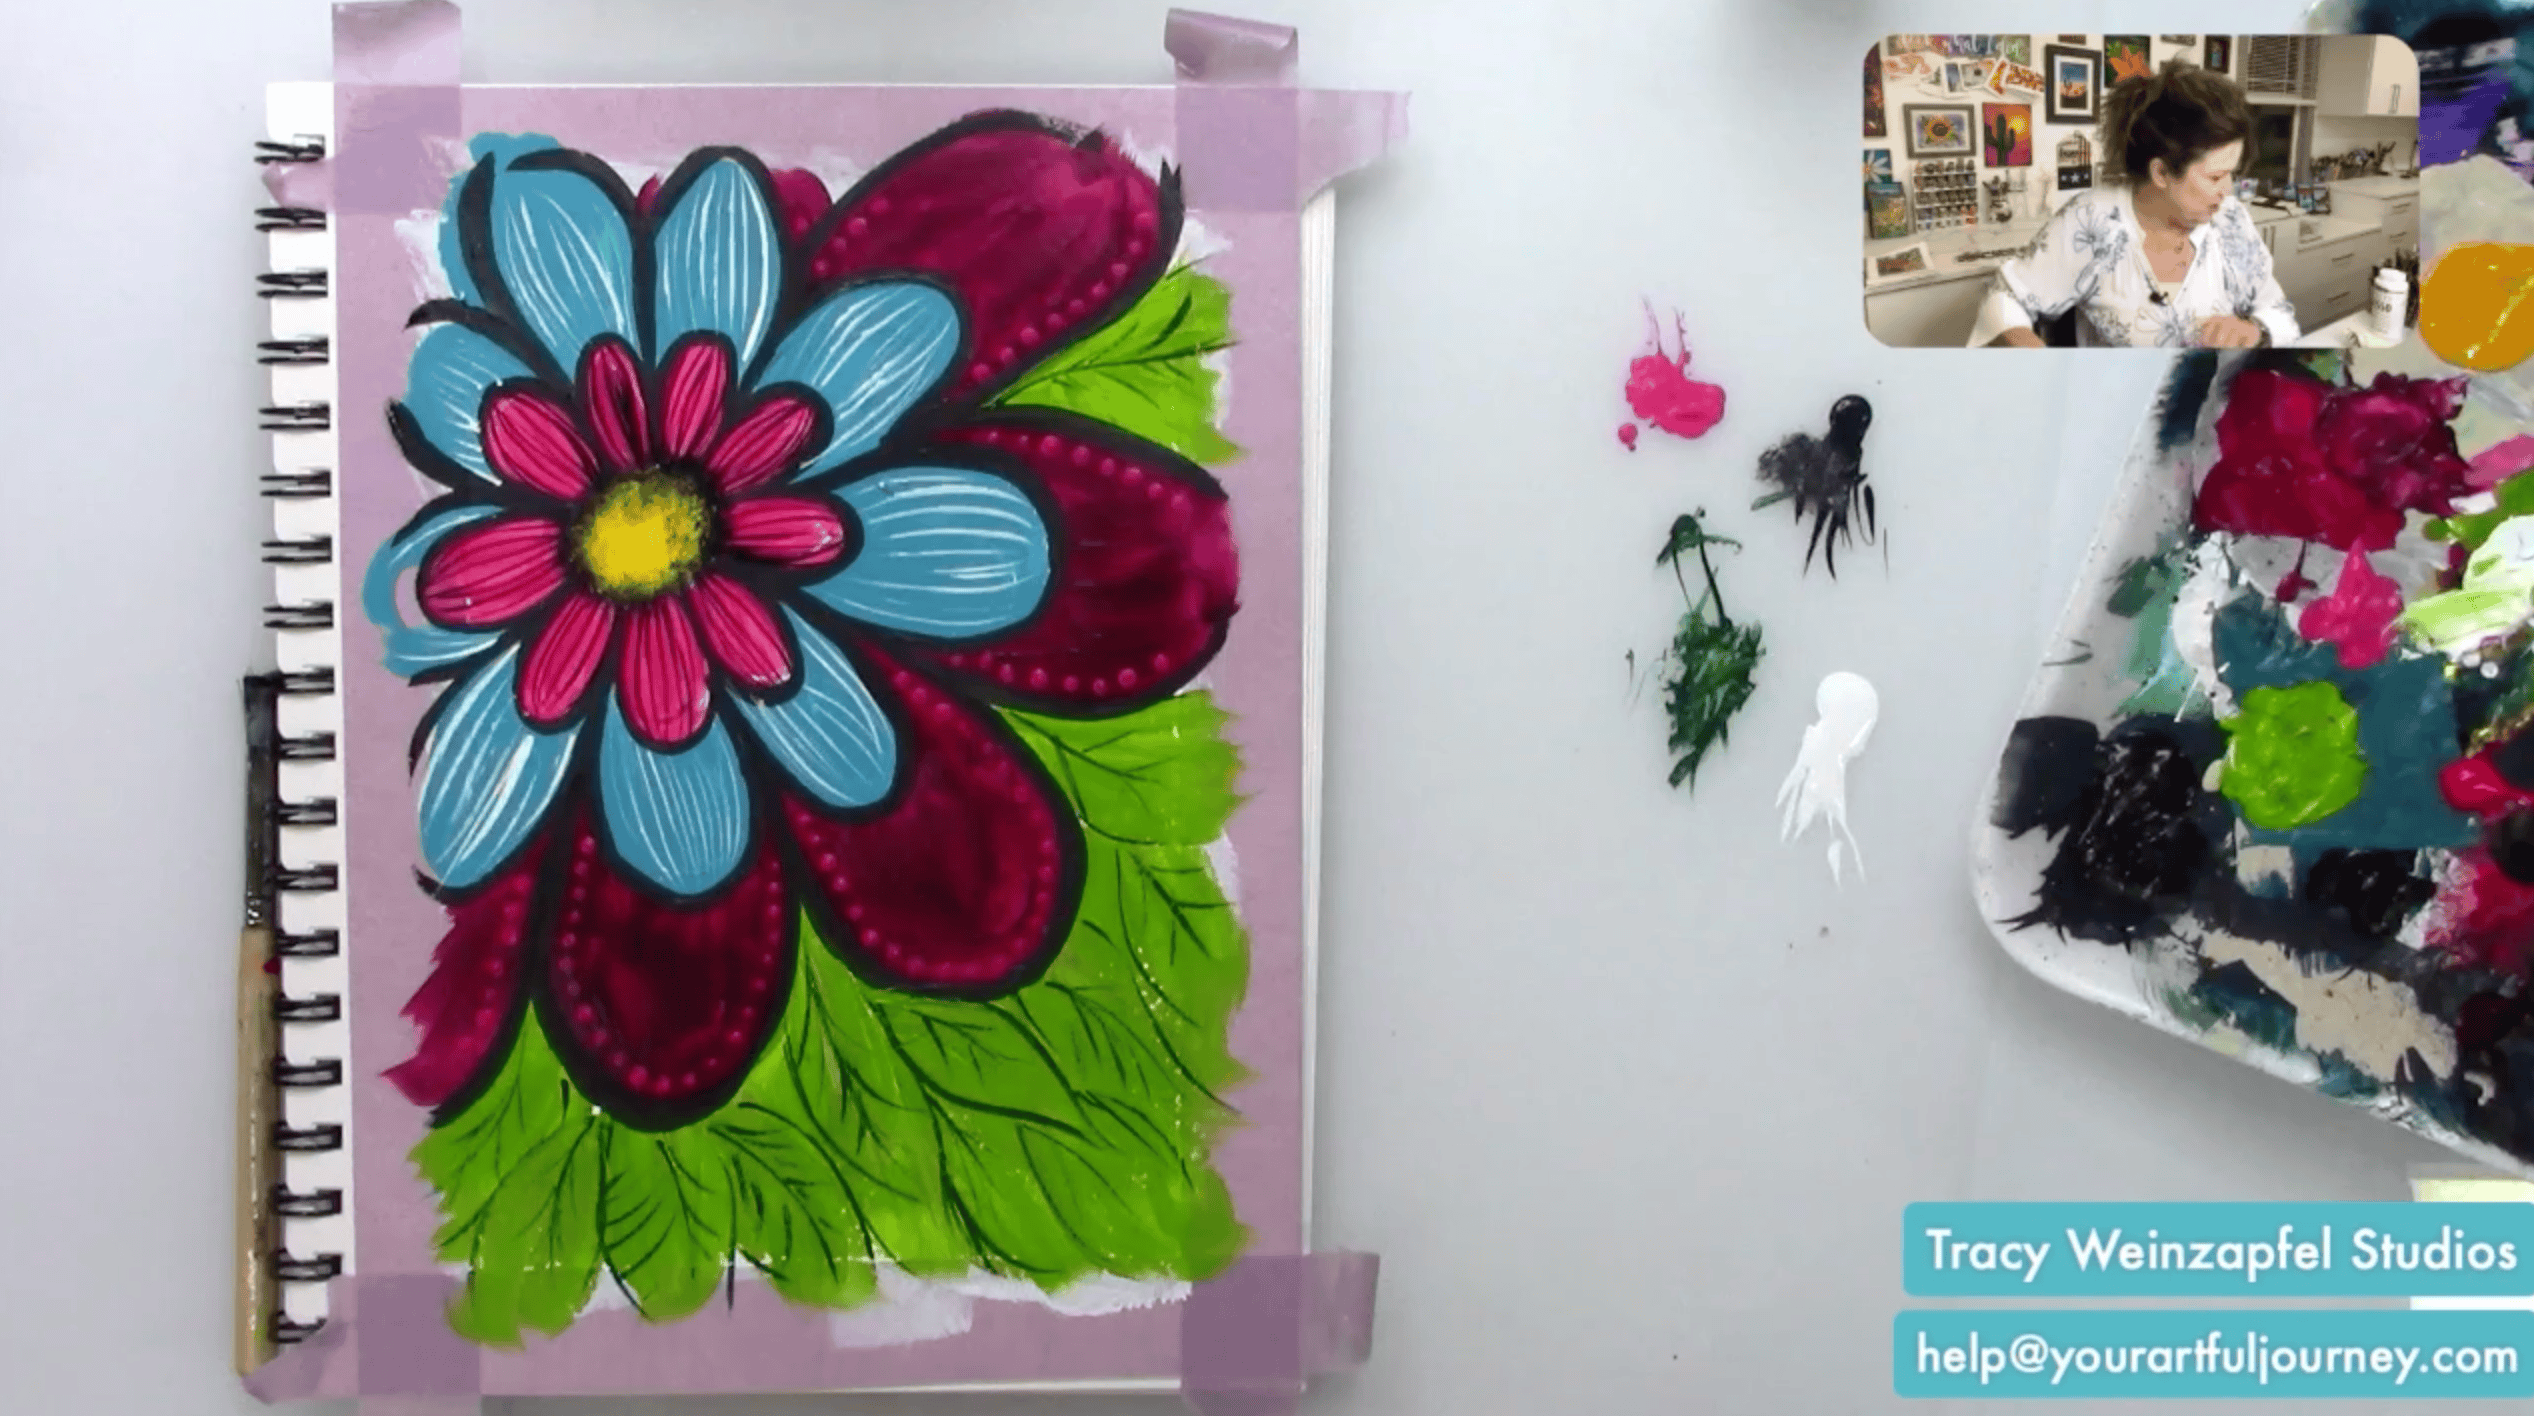
Repeat the dotting technique with Titanium White around the turquoise petals. Vary the size of the dots instead of trying to make every one identical.
For the smaller inner flower, use a very fine pointed tool or toothpick with white paint. Add tiny dots around the petal edges to create a delicate decorative border. These smaller marks help distinguish the inner flower from the larger petals surrounding it.
Use Pyrrole Red acrylic paint and a liner brush to add a few tiny hearts throughout the green foliage.
This project includes several thicker layers of acrylic paint and raised dots, so allow everything to dry completely. You can use a heat tool to speed up the process, but keep it moving so you do not overheat the paint.
Once everything is completely dry, apply a thin coat of satin varnish. The satin finish gives the page a soft sheen without becoming overly glossy and helps protect all of the dimensional acrylic details.
Carefully pull the painter’s tape away from the artwork at approximately a 45-degree angle. Take your time, especially if gesso has bonded around the edges. Once the tape is removed, enjoy that crisp white border and finish by signing your artwork.

This page is a reminder that art does not always need to be realistic. Sometimes it can simply be fun.
The oversized petals, unexpected color combinations, bold dots, graphic lines, and bright green foliage turn this into a floral composition that feels more like imagination than nature, and that is exactly what makes it special.
Watch the replay below!
Thank you for joining in on the creative fun. Join us LIVE every Wednesday at 5:30 pm PST on Facebook at Tracy Weinzapfel Studios.
Join the waitlist for Your Artful Journey! This is my exclusive creative membership where you can explore the world of art journaling! Join a community of support and inspiration with interactive art sessions full of tips and tricks, conversation, Q & As, and most of all, FUN!
Supply List:
- Grumbacher 7 X 10 Watercolor Journal
- Painter’s Tape
- Paint: Royal Talens Amsterdam Standard Series Acrylics
-
- Olive Green Light — #621
- Titanium White — #105
- Turquoise Blue — #522
- Primary Cyan — #572
- Pyrrole Red — #315
- Oxide Black — #735
- Quinacridone Rose — #366
- Azo Yellow Medium — #269
- Permanent Red Violet — #567
- Brushes – Tracy Weinzapfel Brush Set 2
- Dynasty Stencil Brush
- Dynasty Micron Detail Brush
- Micron Small Detail Round Brush
- Micron Fine Liner Brush
- Foam Detailer
Check out Tracy’s Art Journal Starter Kit!
Tracy’s Resources Page and visit Tracy’s Shop